What is Valve Maintenance?
The importance of valve maintenance can’t be overstated. Inspecting your control valves and replacing the key components is vital to long-term performance.
While valve bodies can last decades, internal parts like packing, o-rings, diaphragms, and valve trim are constantly exposed to production fluid and must be examined and replaced regularly.
Establishing a consistent valve maintenance routine of tearing down, examining, and replacing these parts is a simple, cost-effective way to keep them running longer.
However, sometimes this valve maintenance process can be more challenging than it sounds!
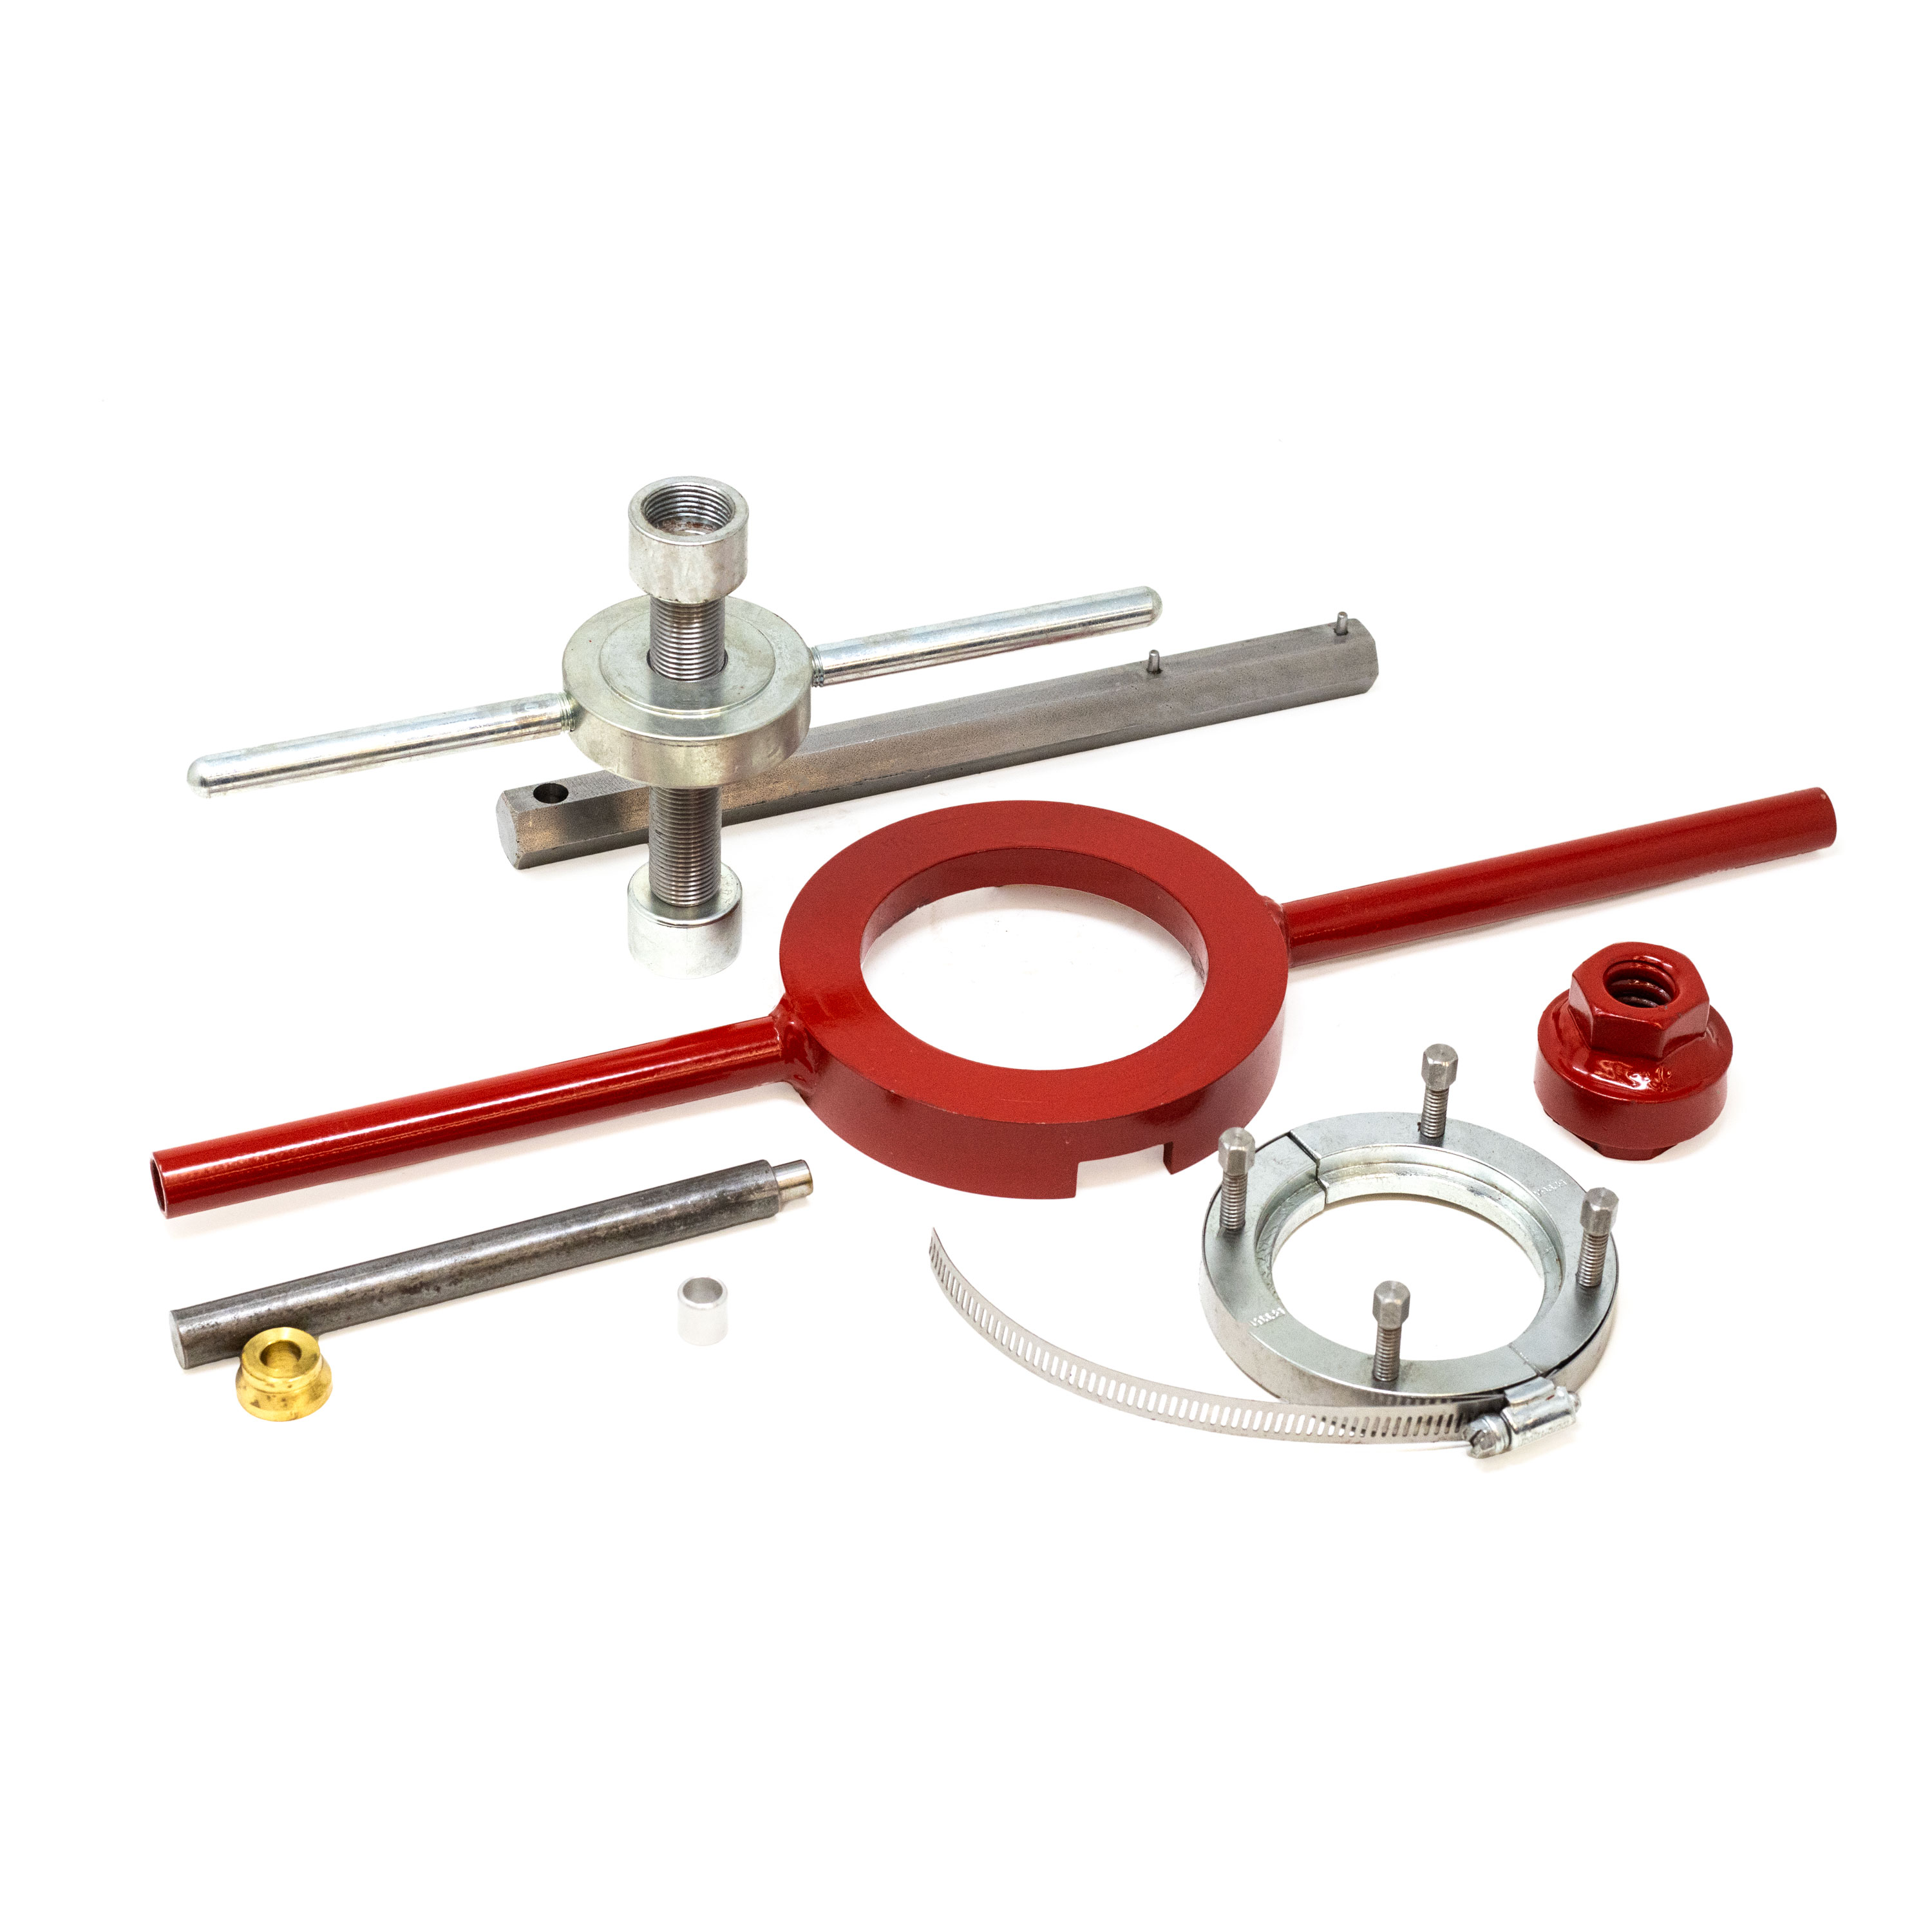
Valve Seat Tools and More
While an adjustable wrench and socket set can get you a long way, they can’t always get to the hard-to-reach places in your control equipment.
The right tool for the job can make all the difference. That’s why we have designed some custom tools to help you break down your Kimray control valves.
In the video above and the list below, we'll cover the tools needed for each Kimray product line.
We’ll be showing how to use each tool for 2” valve connections, but the working principle is the same regardless of the valve size. You can download the official Kimray Repair Tools Guide to identify your product and the associated repair tool part numbers.
Download Kimray Repair Tools Guide
How to Use Kimray repair Tools for each product line
High Pressure Control Valves
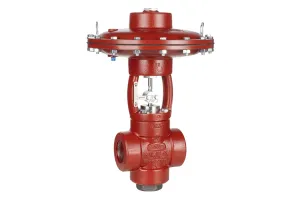
We’ll start with the High Pressure Control Valve product line.
Seat and Cage Removal Tool (3033).
On the stem-guided high pressure control valve, you can use a Seat and Cage Removal Tool (3033) if the seat and/or cage are firmly stuck in the body. The tool is designed so that you can use one end to remove the cage, and if the seat remains stuck in the body, you can flip the tool over and use the other side to easily remove the seat.
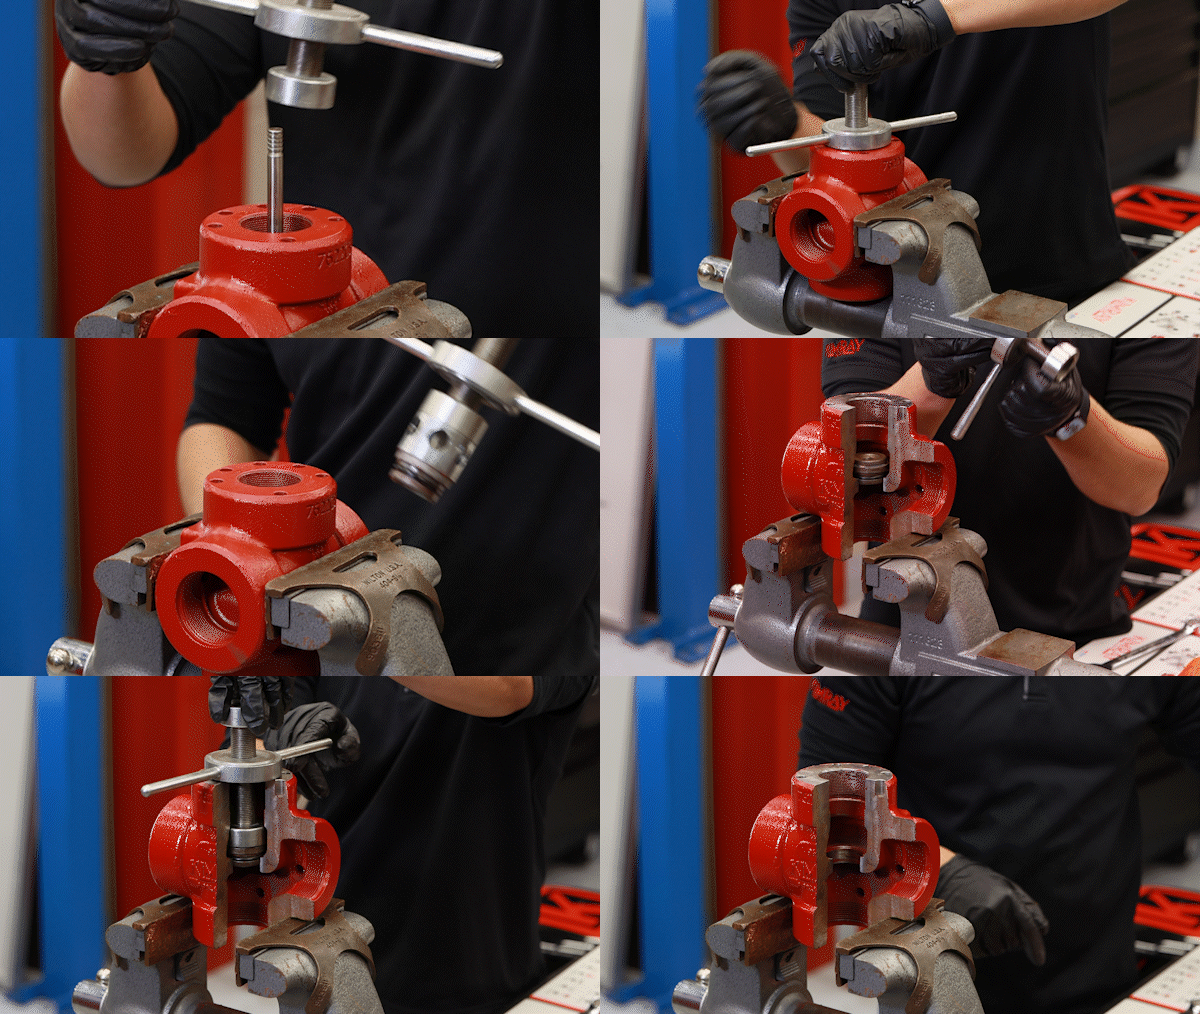
Seat Removal Tool (614)
The second tool for stem-guided high pressure control valves is specific for those using zirconia trim. This Seat Removal Tool (614) is only used with this trim set material.
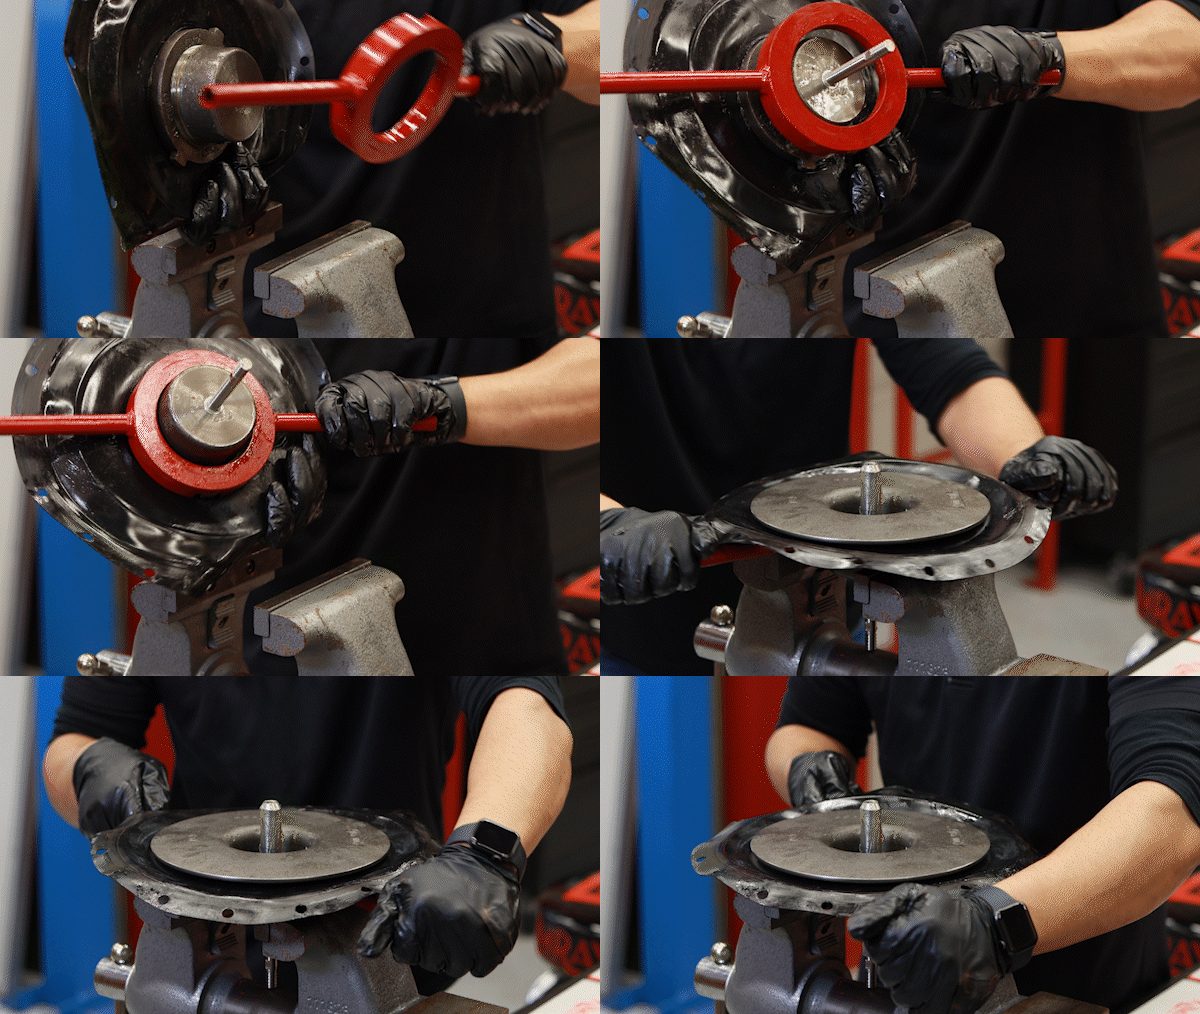
Diaphragm Nut Wrench (4356DNW)
The Diaphragm Nut Wrench (4356DNW) is used when you need to replace the diaphragm safely and efficiently. It is used the same way for both the stem-guided and cage-guided high pressure control valves.
Seat Installation Tool (6670)
A tool specific for cage-guided control valves is the Seat Installation Tool (6670). The design on this tool allows for the best installation to avoid damaging the seat.
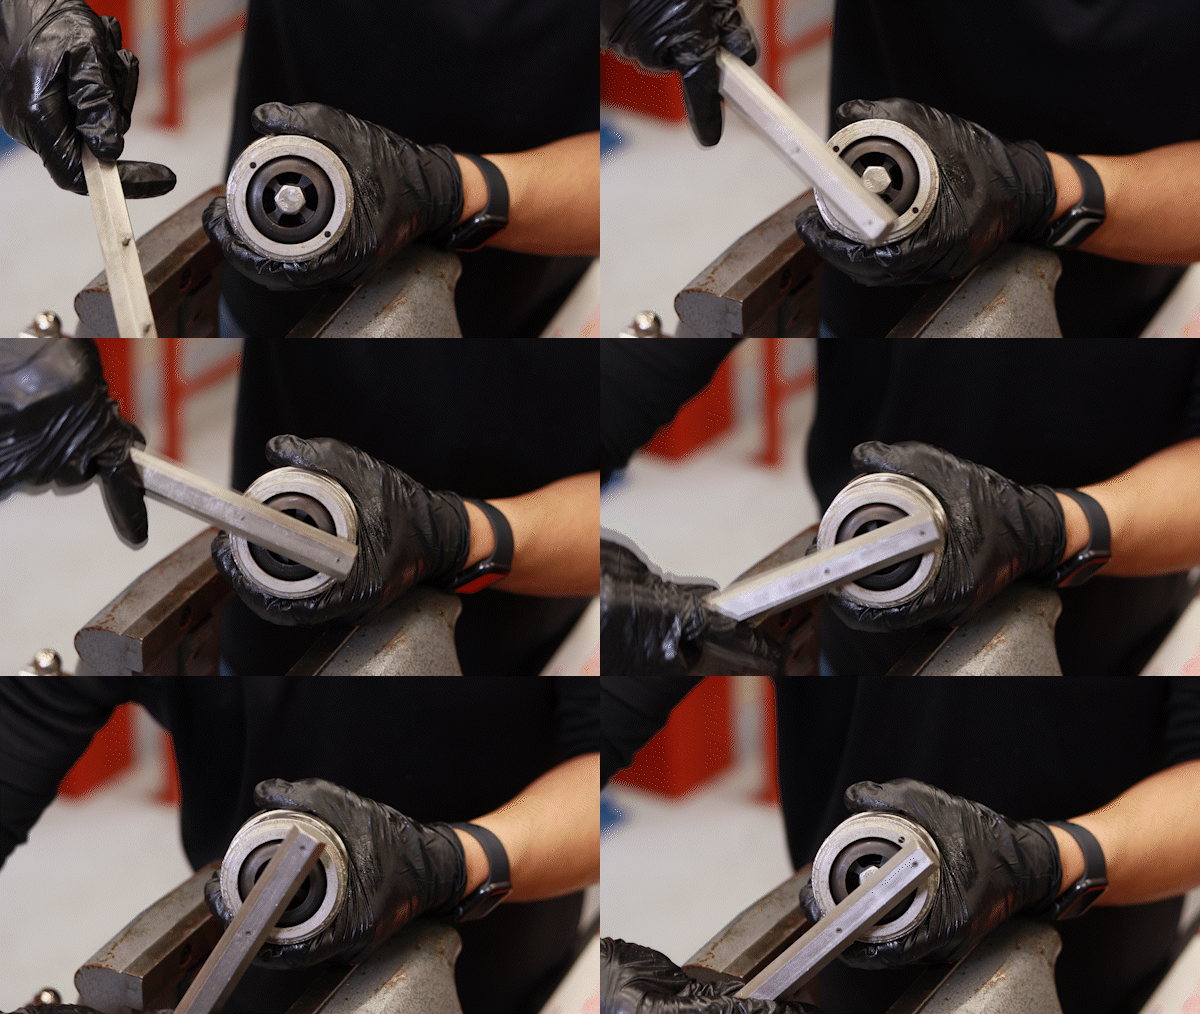
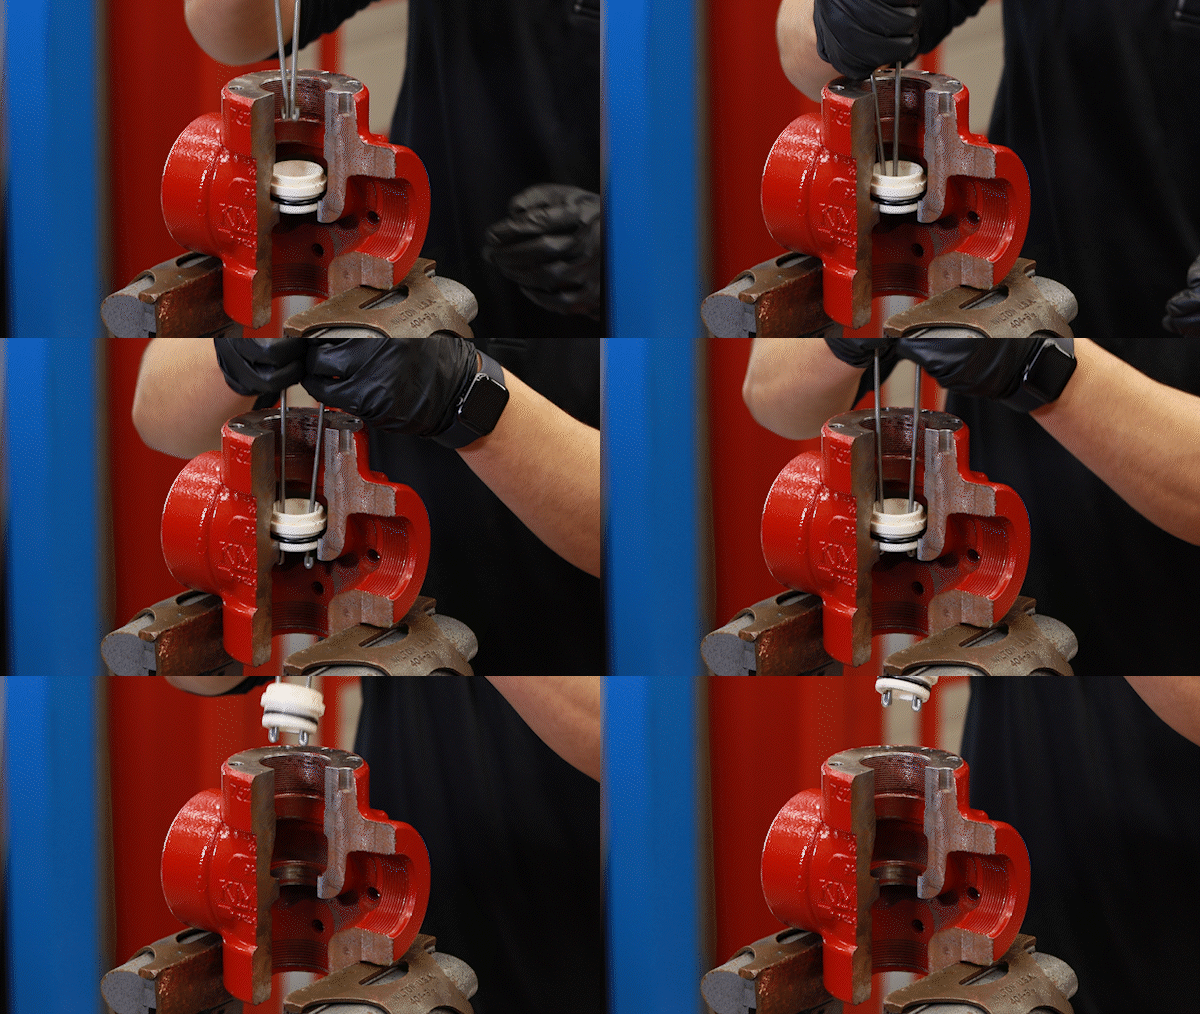
Upper Cage Puller (5296)
The final tool for cage-guided control valves is the Upper Cage Puller (5296). After removing the O-ring, secure both sides around the cage. As you tighten down the bolts, the cage comes out easily.
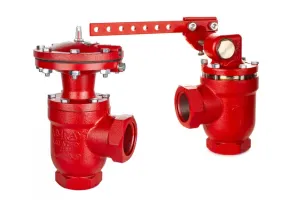
Weight Operated Dump Valves
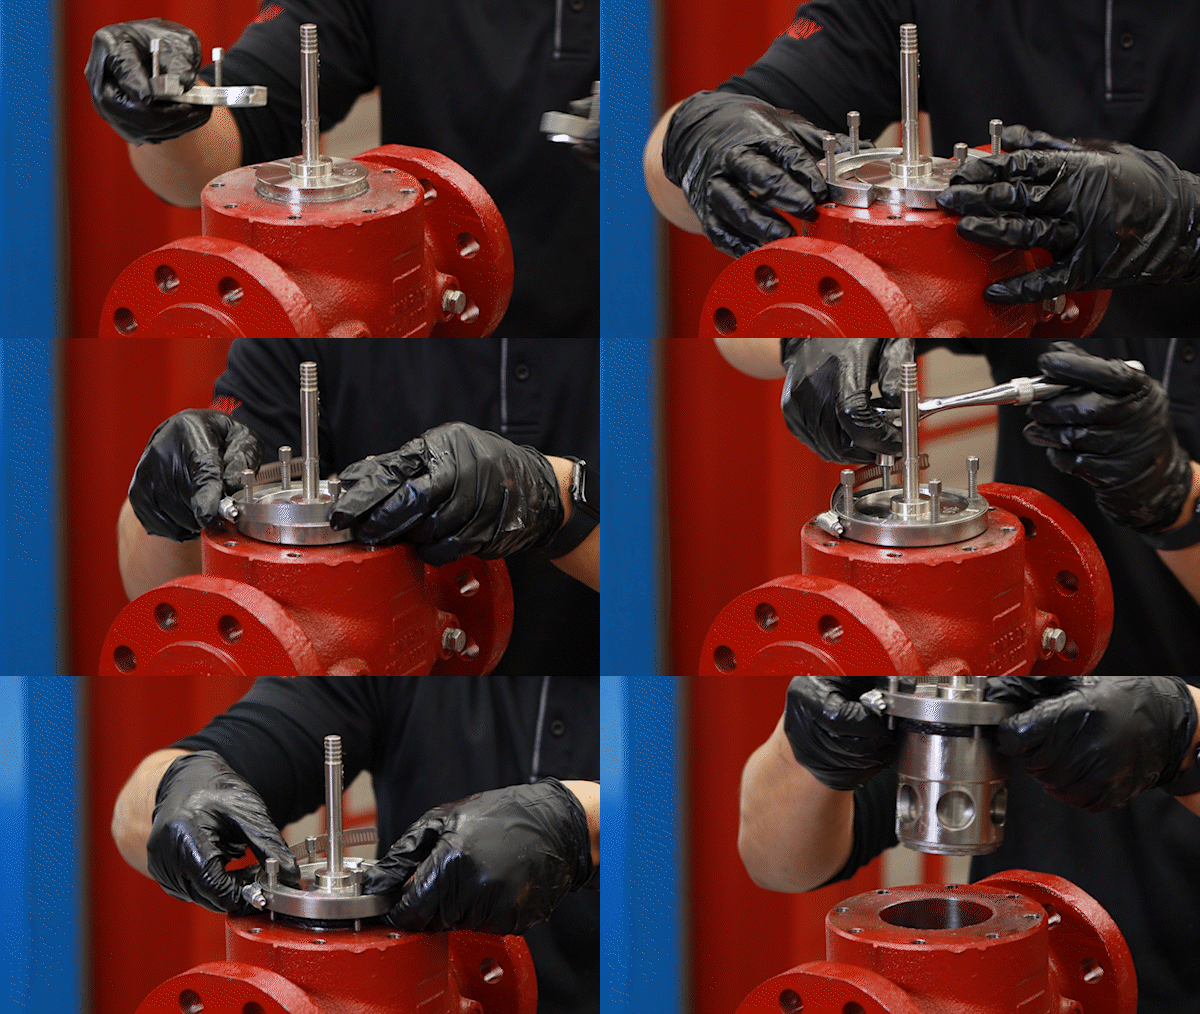
Seat Wrench (384SW)
To repair the Weight Operated Dump Valve, you will only need one specialty too—the Seat Wrench (384SW). This tool has been redesigned with safety in mind. The previous design has a large handle and was shown in our repair video. When you order this tool, you will receive the new design that is used with a socket.
Pneumatically Operated Liquid Dump Valves
Pneumatically Operated Liquid Dump Valves fall into one of four types: Diaphragm Balanced, Piston Balanced, Piston Balanced Throttling, and Low Pressure High Volume.
Diaphragm Nut Removal Tool (1471SNW)
The first tool we’ll talk about is the Diaphragm Nut Removal Tool (1471SNW). This is used on both the DB and PB models.

Spring Compression Tool (5534)
The Spring Compression Tool (5534) is a very helpful tool for assembling pneumatic dump valves. The tool safely compresses the spring, allowing you to more easily thread on the diaphragm plate. This tool is used on the DB, PB and PBT models.

Stem Guide Wrench (2463SW)
The next tool you can use is the Stem Guide Wrench (2463SW). This one is exactly what it sounds like and is used to remove and install the stem guide in the valve.
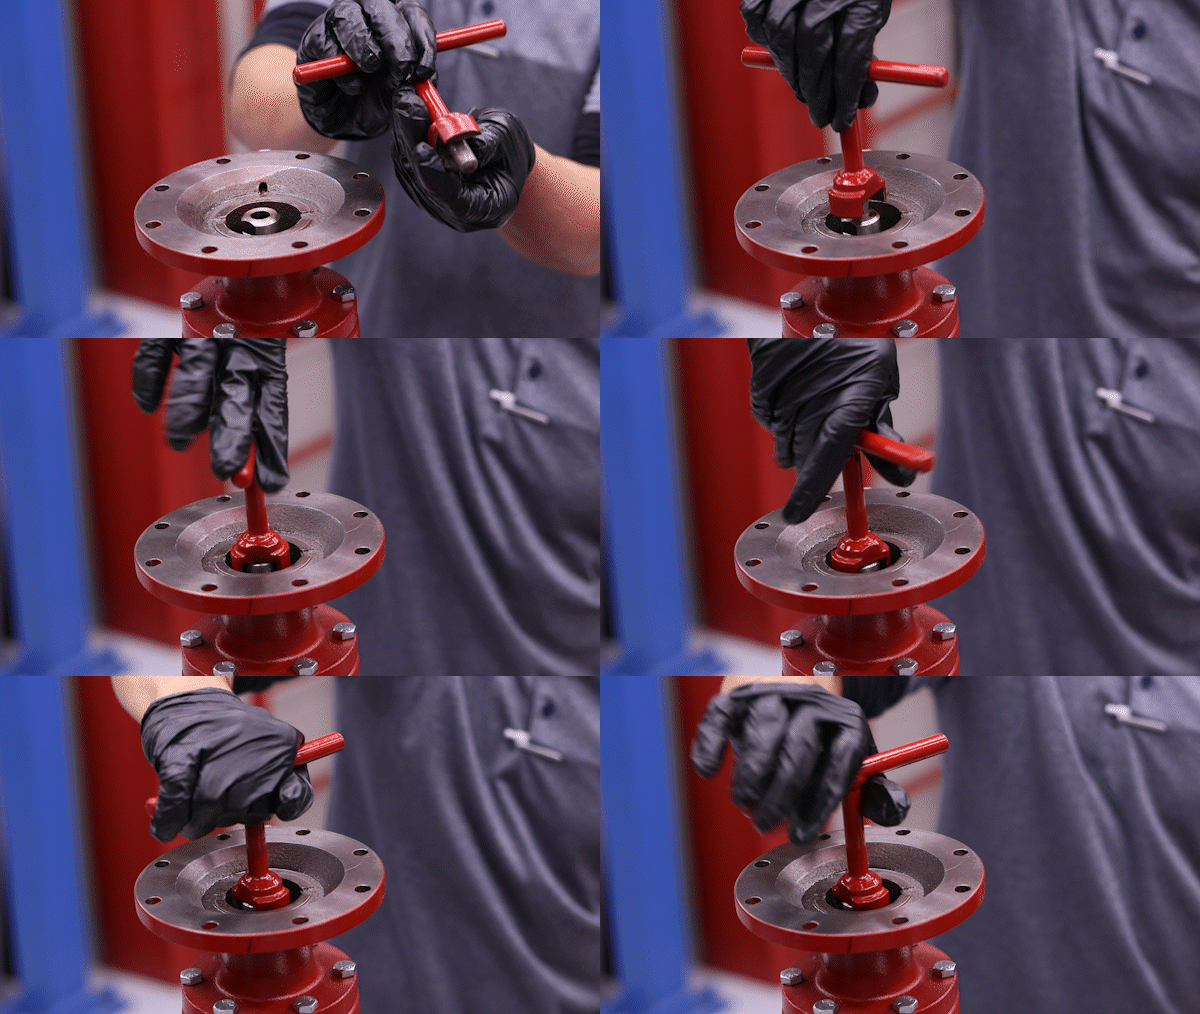
Stem Guide Tool
The Stem Guide Tool is an O-ring protector. Not to be confused with the stem guide inside the valve, this tool is a simple sleeve that slides over the stem to protect the O-ring inside. Stem guides come in several sizes and are used on many different regulators and control valves.
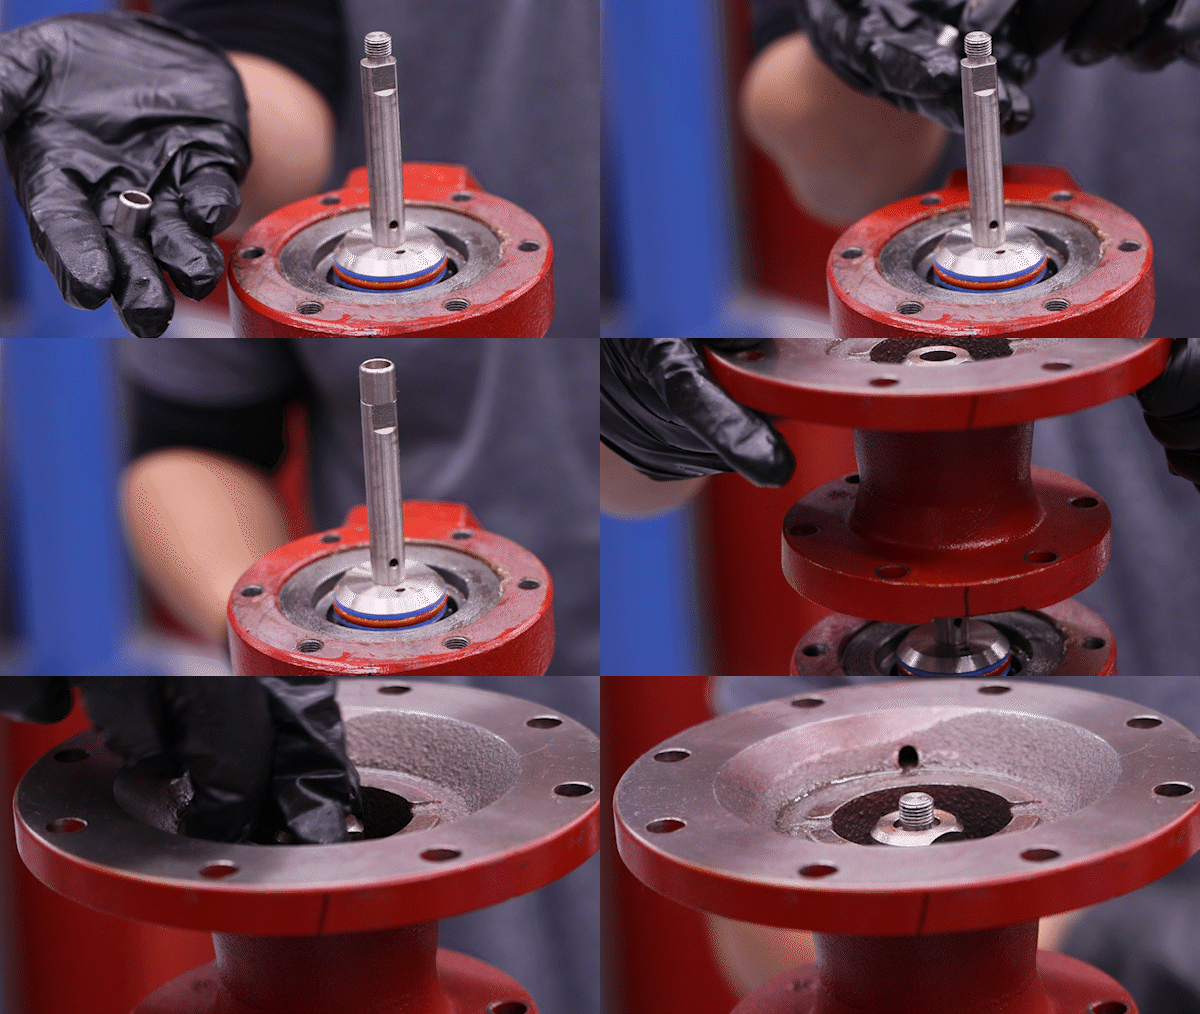
Seat Removal Tool (7701SW)
The Low Pressure High Volume Valve is the only pneumatic liquid dump valve that uses a different seat removal tool. The 7701SW is used with a socket to safely remove the seat. The Diaphragm Nut Removal tool, previously shown on the high pressure control valve topworks, is also used on the LPHV.
Three-Way Valves
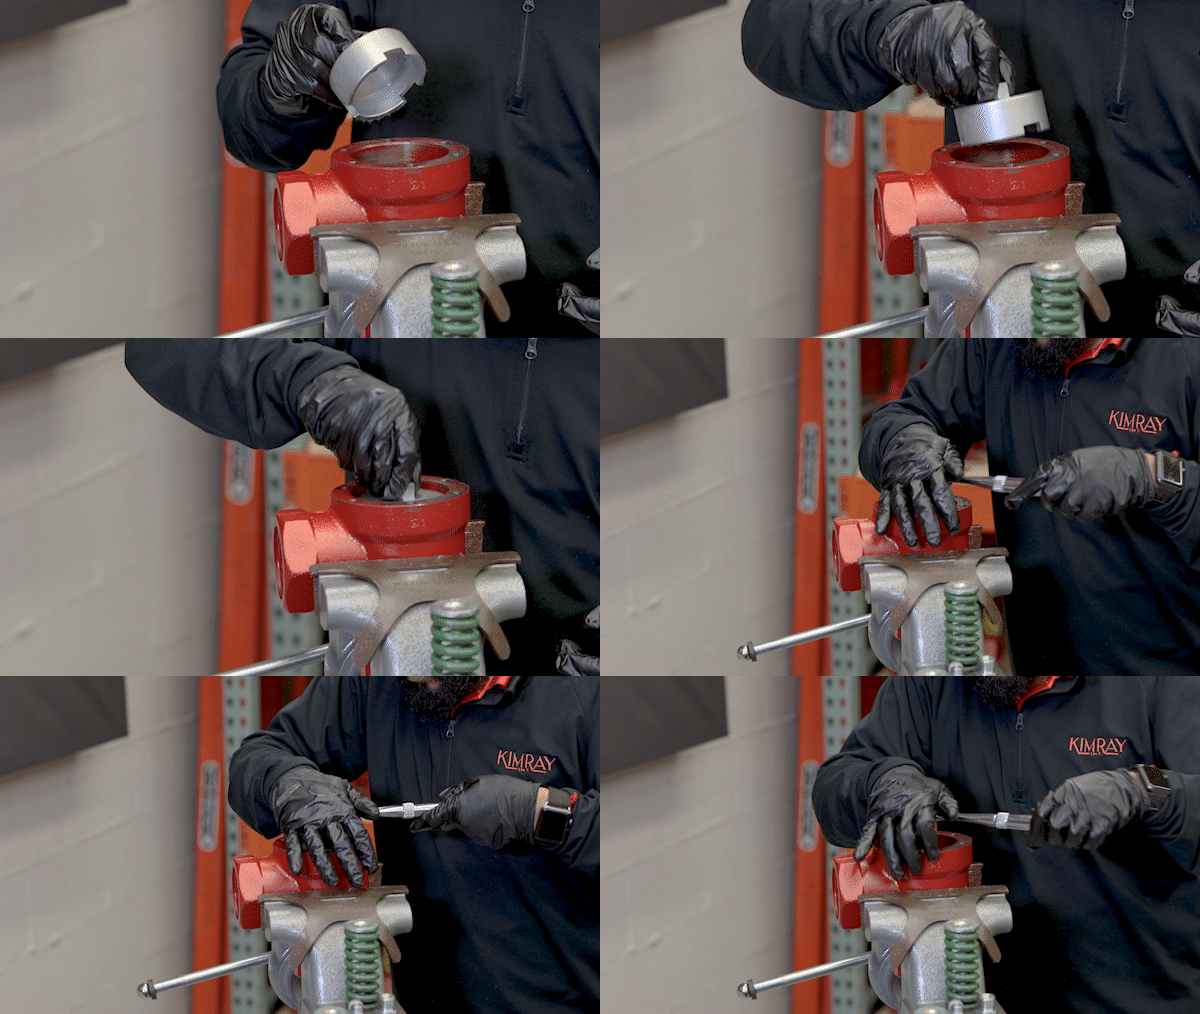
Diaphragm Nut Removal Tool (1471SNW), Spring Compression Tool (5534), Seat Wrench (384SW)
For maintenance on 2” Three-Way Valves, the Diaphragm Balanced and Piston Balanced both use the same tools. These are also the same tools previously shown in the Pneumatically Operated Liquid Dump Valves. These include the Diaphragm Nut Removal Tool, Spring Compression Tool, and Upper Seat Wrench (PB).
Regulators
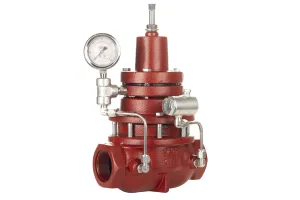
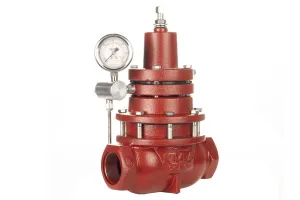
Regulators, both pneumatic and spring-loaded, use only two tools.
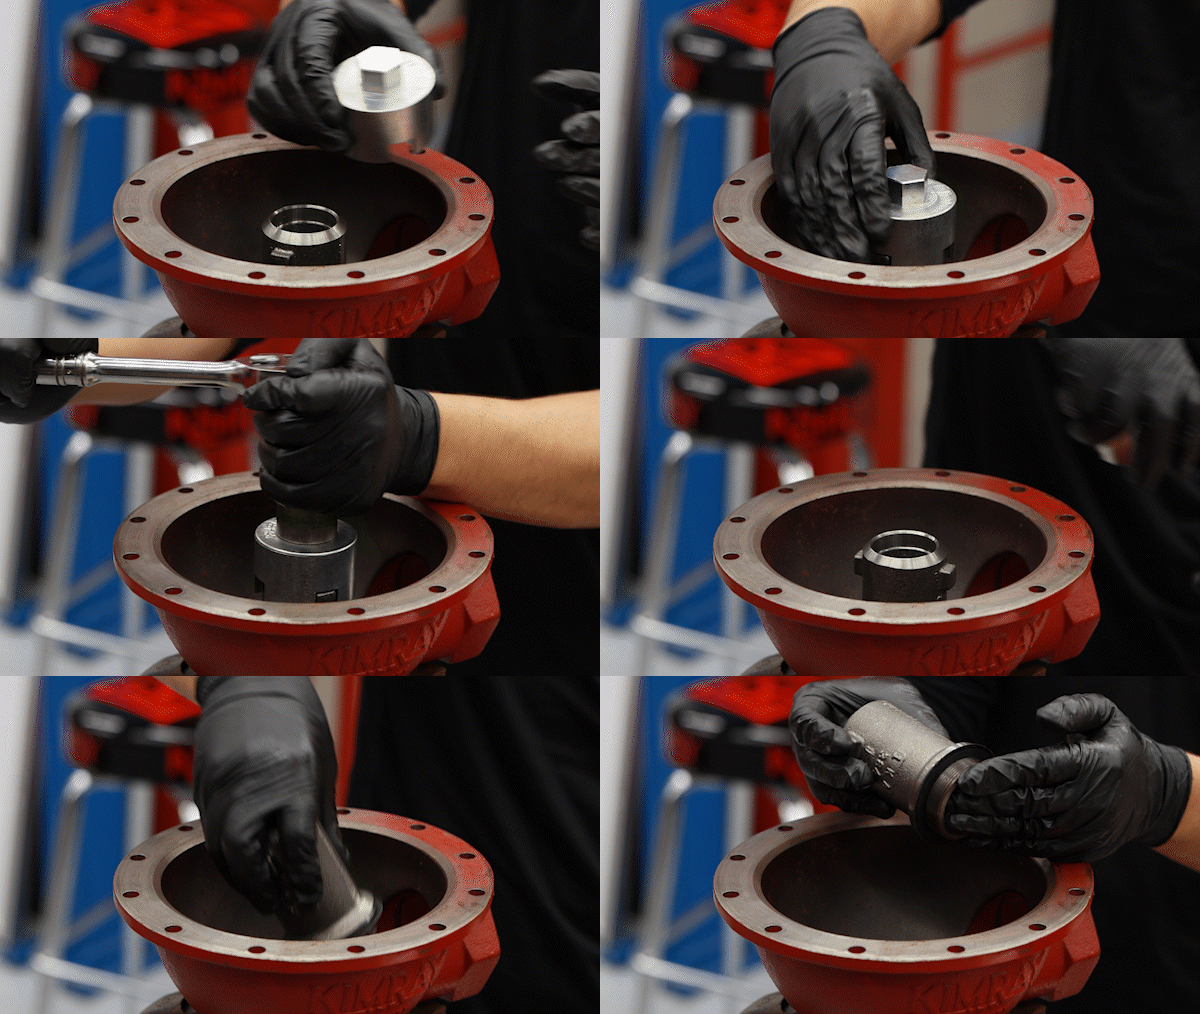
Seat Removal Tool (6945SW or 272SW)
The first is the Seat Removal Tool (6945SW or 272SW). These designs differ depending on your trim size and valve connection size. There are two different part numbers for this tool. The 6945SW is the one we show in the video. It requires an additional 1-1/4” socket, but it is the best tool for the job.

An alternative tool, the 272SW, removes the seat using a handle-design instead. This may be more convenient for the occasional repair because you don’t need the large socket adapter. However, if you’re doing high volume repairs like in a repair shop, this design can be worn out more quickly, and you may prefer the 6945SW instead.
Stem Guide (1852)
You’ll also want to use a Stem Guide (1852) on all models during assembly to avoid shearing the O-ring.
Low Pressure Control Valves
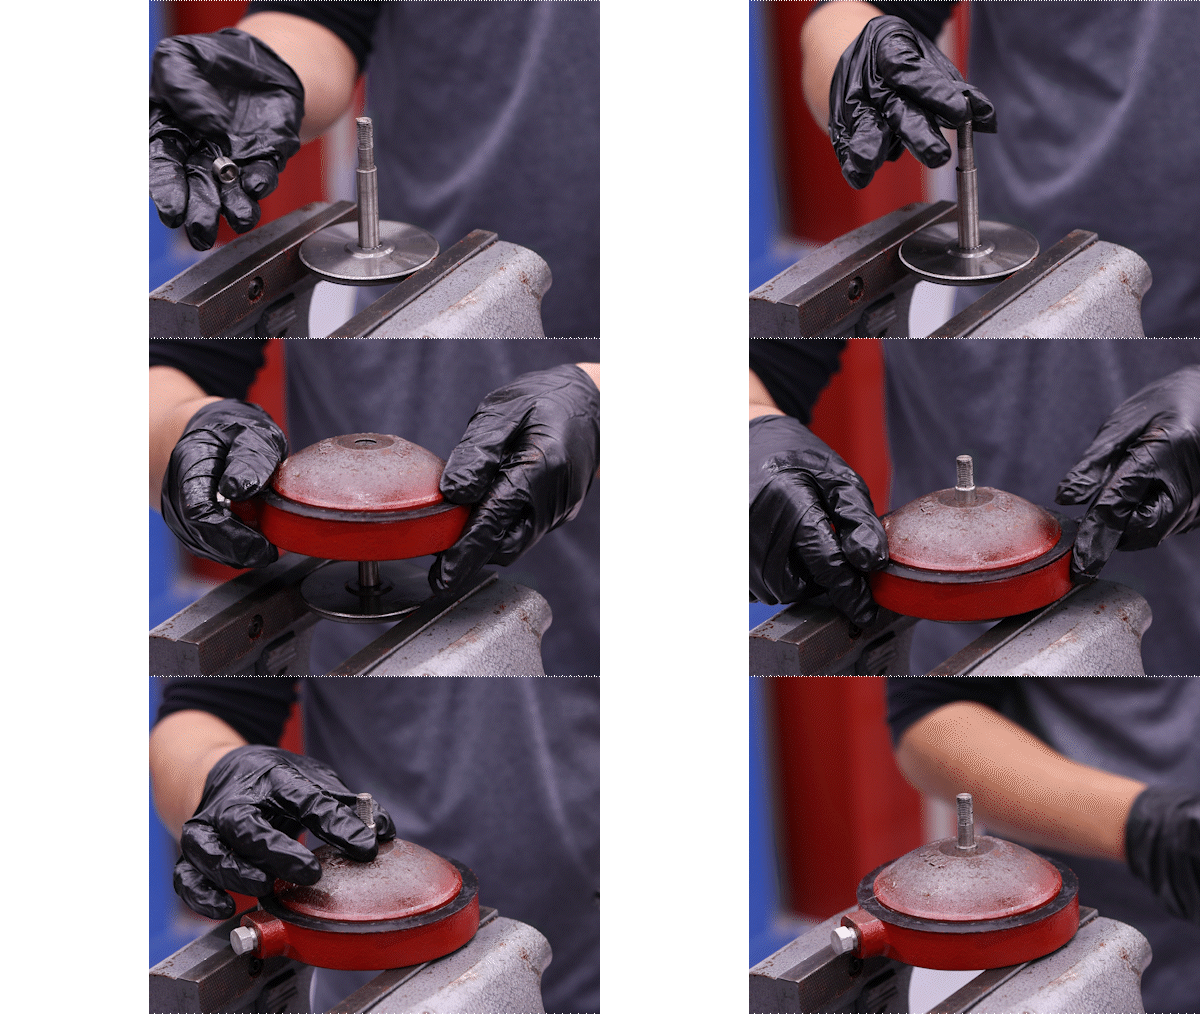
Seat Removal Tool (6945SW or 272SW), Stem Guide (1852)
Maintenance on Low Pressure Control Valves use the same tools we showed for regulators—the seat removal tool and stem guide.
Lever Operated Liquid Dump Valves (PBT only)
Seat Removal Tool (6945SW or 7701SW)
The only Lever Operated Liquid Dump Valve that uses a Kimray seat removal tool is the Piston Balanced Throttling model. The 6945SW works for both full and reduced trim, while the 7701SW is specific for the 2” CXA5 with 1” reduced trim.
Energy Exchange Glycol Pump
The final product we’ll look at for maintenance is the Energy Exchange Glycol Pump. These tool part numbers differ by pump size.
Suction Seat Removal Tool (615)
The first tool is the Suction Seat Removal Tool (615). This is the same tool we showed earlier in the high pressure control valve with zirconia trim. For the glycol pump, however, this tool is needed for all models to remove the suction seat.
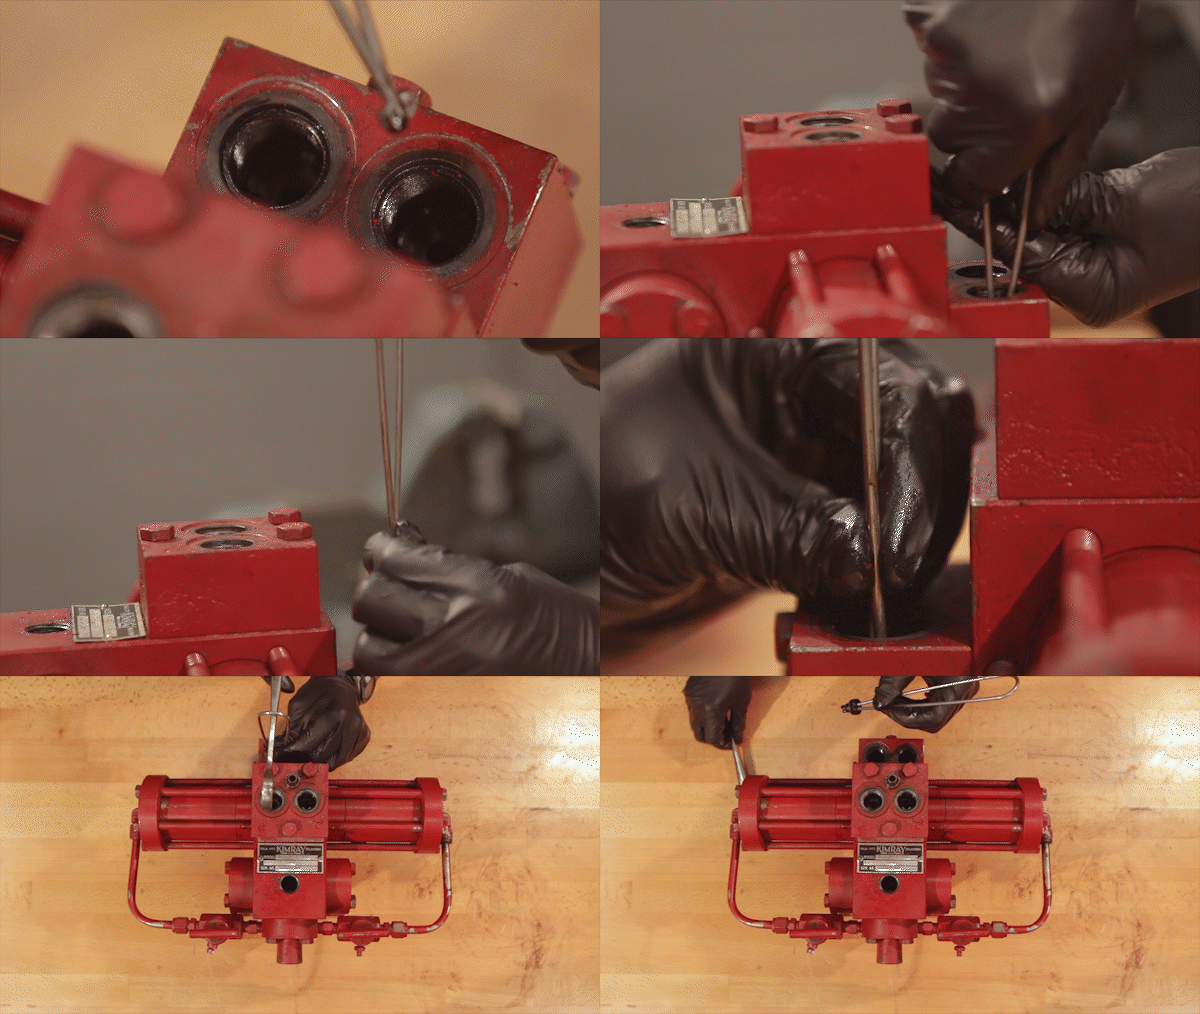
The Suction Seat Insertion Tool (1542)
You can use the Suction Seat Insertion Tool (1542) to both remove and insert the suction seats from the suction block.
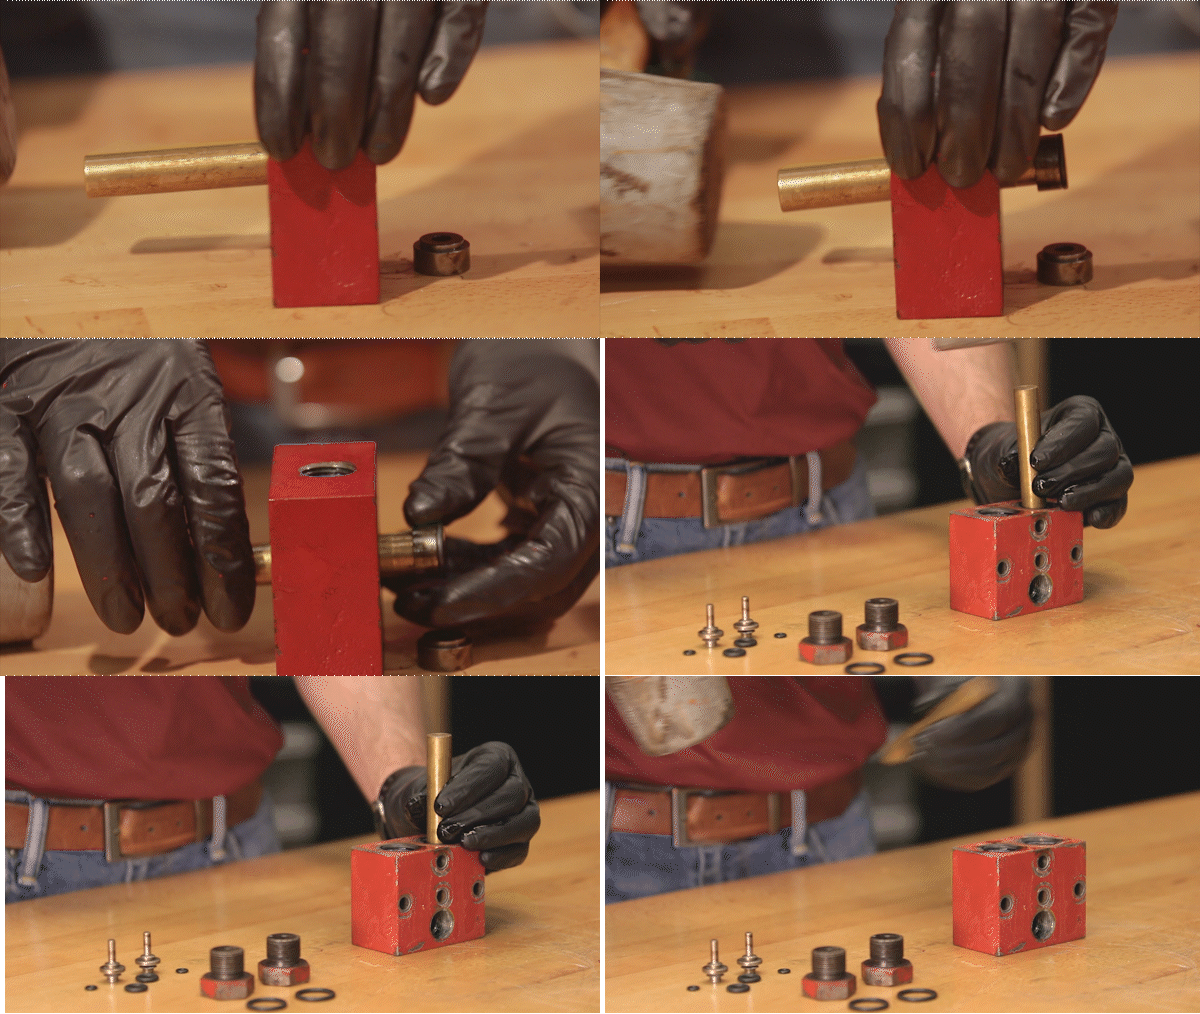
Seal Retainer Tool (4456)
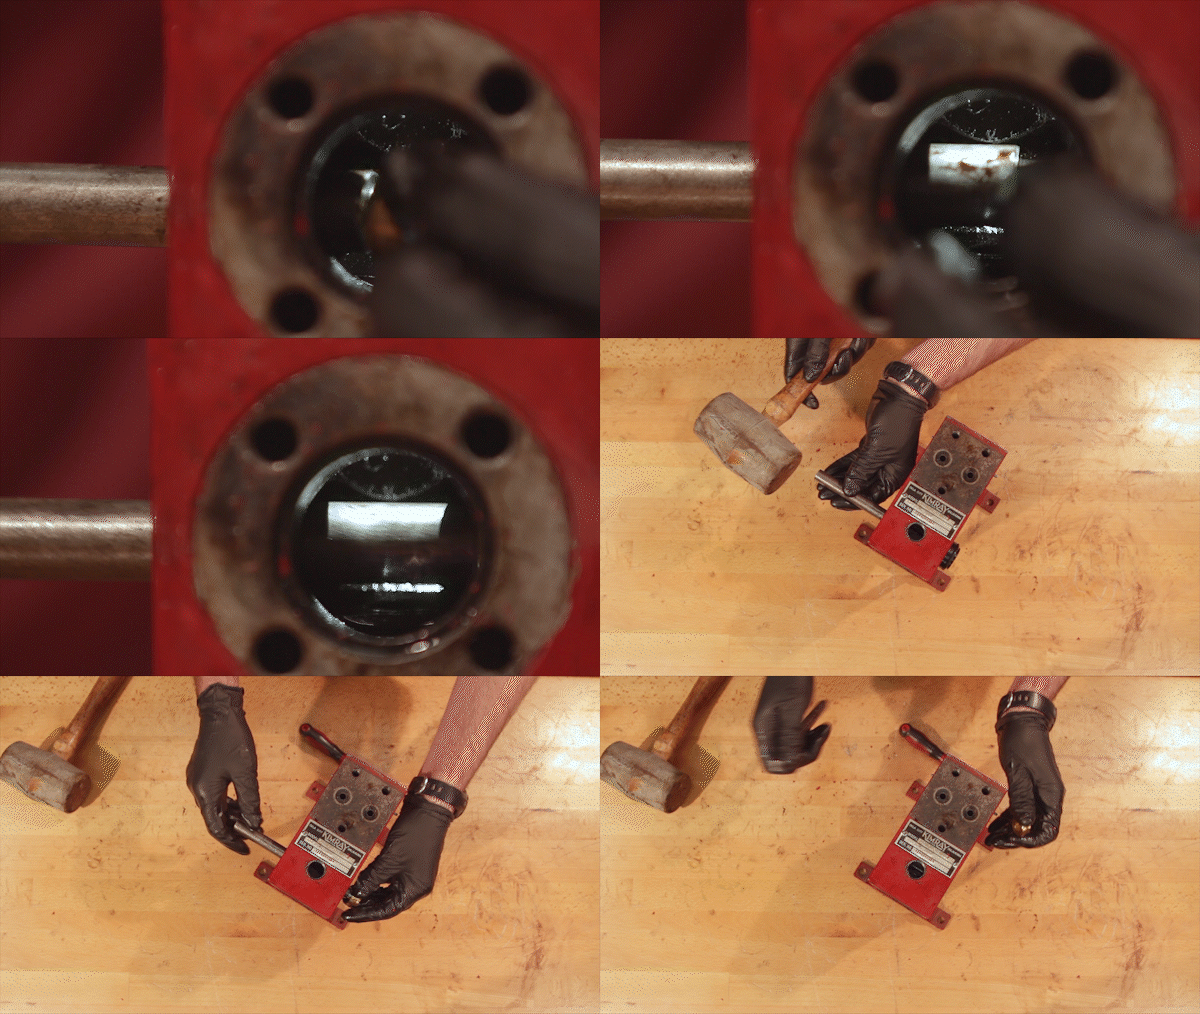
You can use the Seal Retainer Tool (4456) if the piston bearings don’t come out on their own upon disassembly. Simply insert the Kimray seal retainer tool into the pilot piston hole and tap it with a mallet to remove them.
Kimray Repair School Videos
For step-by-step video tutorials on how to repair Kimray products, see our Repair School videos.
If you need more information about this guide, or if you run into an issue while repairing any Kimray product, contact your local Kimray store or authorized distributor. We’ll be happy to help.
