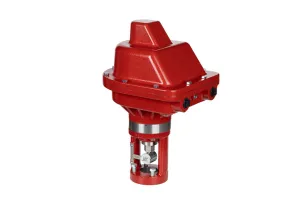
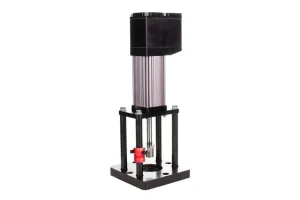
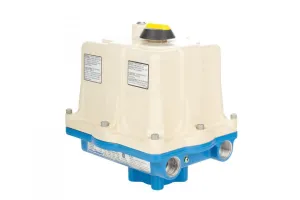
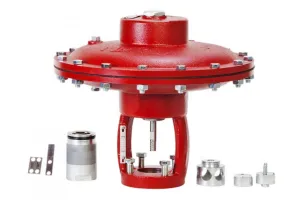
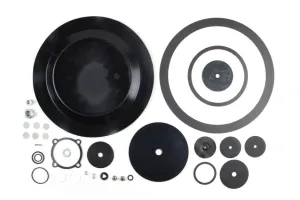
One effective way to repair your control valve is to replace the valve trim.
Replacing valve trim is a simple and cost-effective option when compared to replacing an entire valve. There are two primary reasons to change your valve trim:
- Your process flow rates have changed so that the original valve trim is no longer sized correctly.
- You have worn out the trim in your valve.
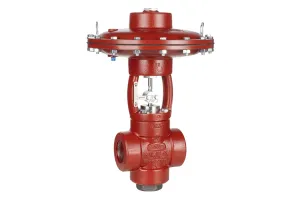
Fortunately, replacing the trim in your valve is a simple process. In this example, we'll change out the valve trim on a 2" High Pressure Control Valve.
How to Remove Control Valve Trim
- Unthread and remove the adjusting screw.
- Remove the bolts on the coupling block.
- Unthread and remove the four body bolts holding the topworks on.
- Remove the topworks.
- Unthread and remove the stuffing box from the valve body.
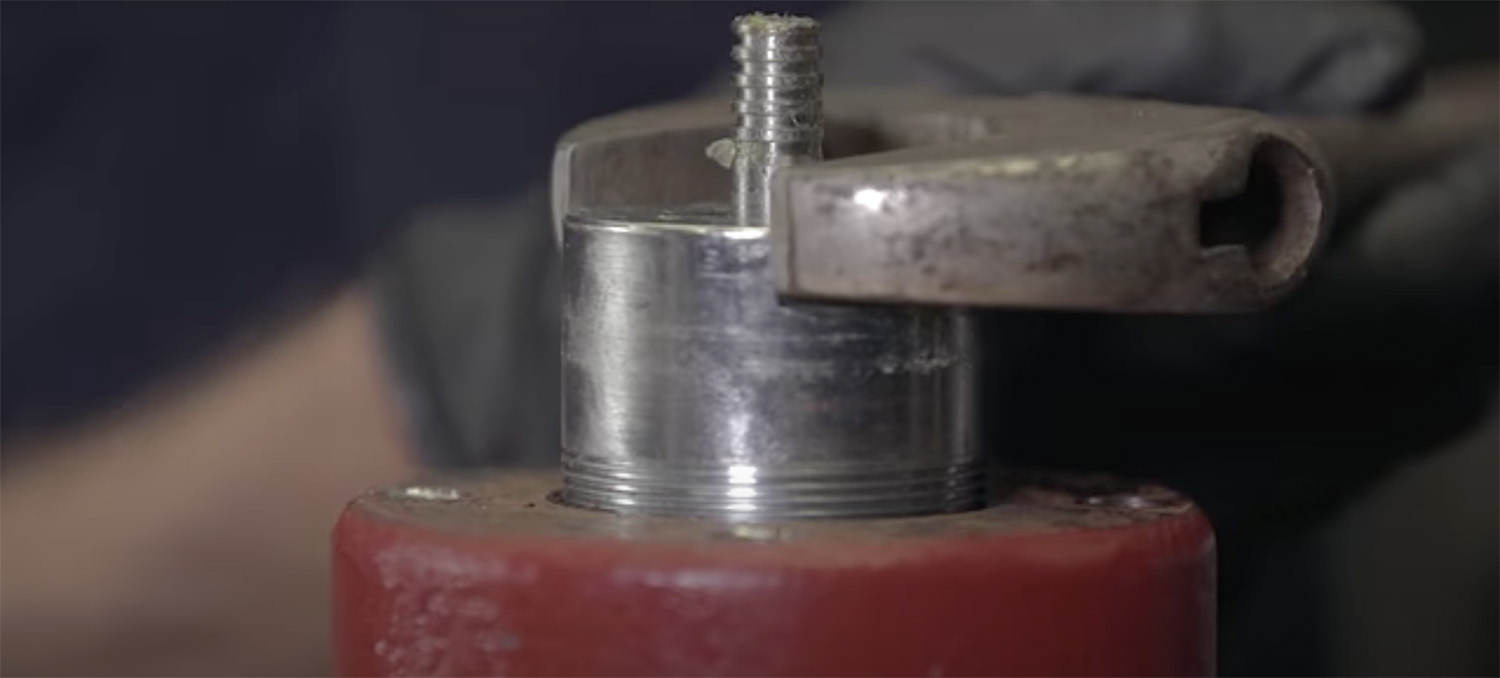
When removing the stuffing box, you may hear a hissing noise. This is coming from the communication hole in the trim, which is alerting you there is still pressure in the valve body. If you hear this noise, you have a leak somewhere upstream of the valve. You need to STOP WORK IMMEDIATELY to locate and fix the leak in order to depressurize the valve.
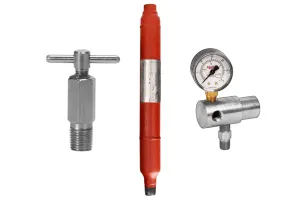
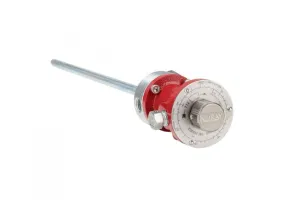
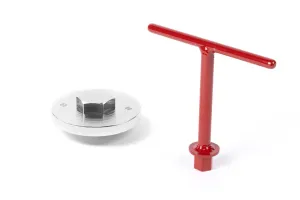
This whole piece should come out as one assembly. If it doesn’t, you can use Kimray's Seat Removal Tool. This tool threads directly onto the seat for easy removal.
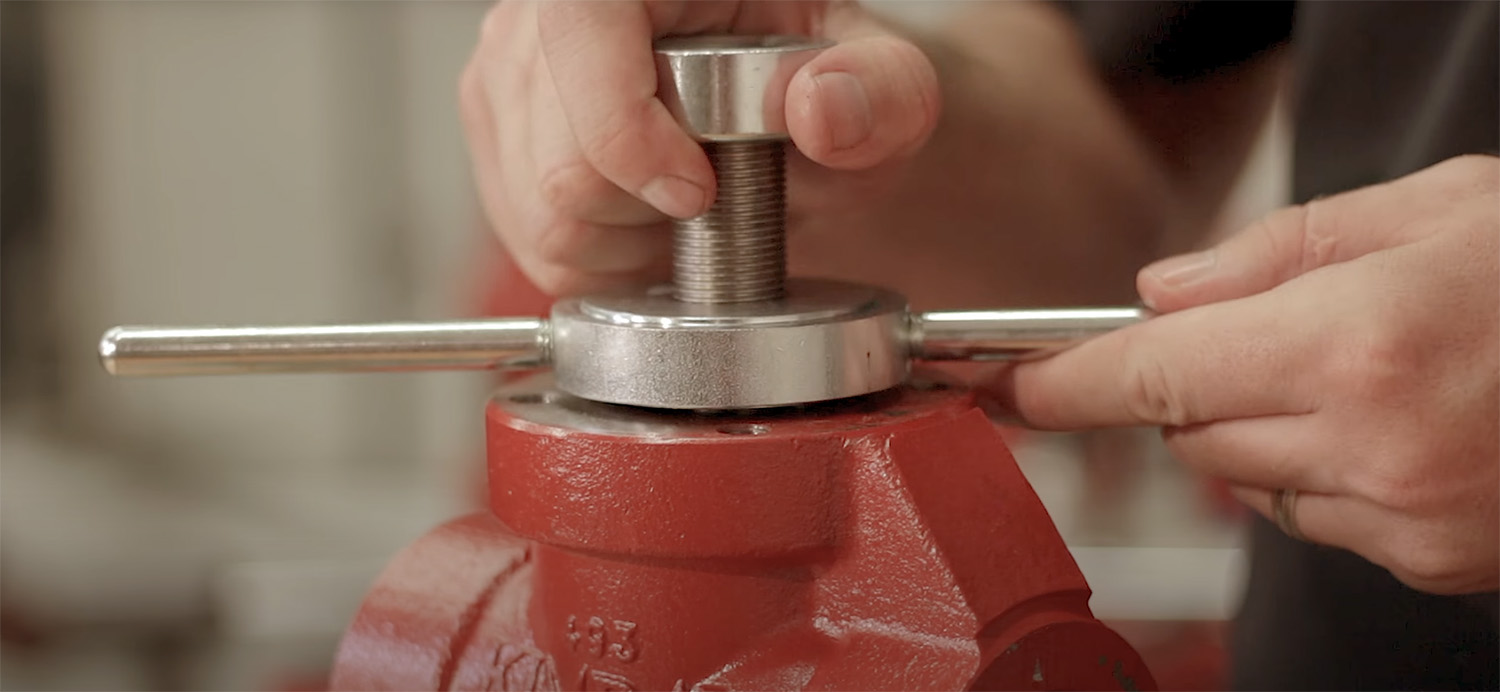
- Place the stuffing box into a vice, clamping on the flats.
- Unthread and remove the seat from the stuffing box.
- Loosen the cage to take the spring tension off of the packing. This will prevent tearing the packing and make removal and reinstallation easier.
- Finally, remove the ball and stem.
How to Install Control Valve Trim
- Grease the new stem.
- Install the new ball and stem. Make sure it is inserted fully into the cage to prevent potential contact with the seat.
- Retighten the cage.
- Grease the o-ring on the new seat.
- Thread on the new seat and tighten.
- Thread the stuffing box assembly into the valve body.
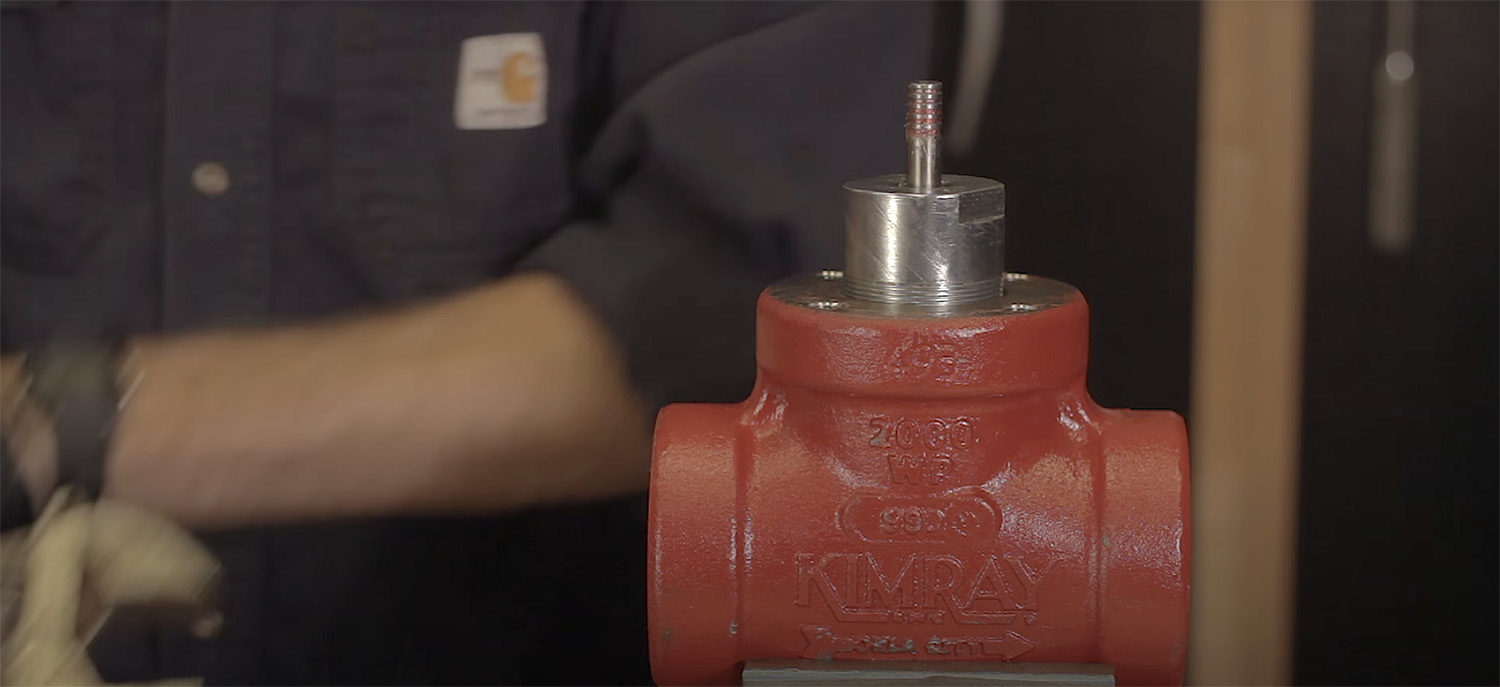
- Replace topworks.
- Get the body bolts started, but do not tighten fully.
- Put the coupling block back on. Make sure to replace the travel indicator with indicator included with the replacement trim.
- Tighten the body bolts fully.
- Tighten the adjusting screw.
Now that you’ve changed the trim size of your control valve it’s ready to handle your new flow conditions.
