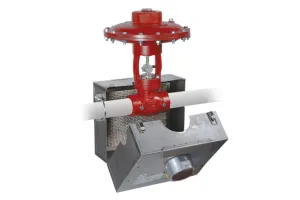
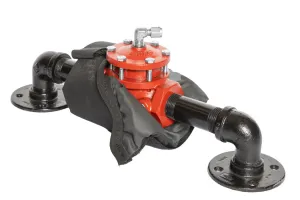
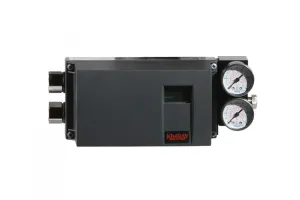
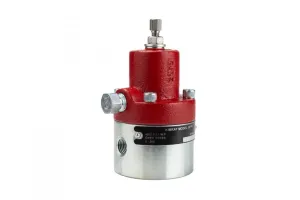
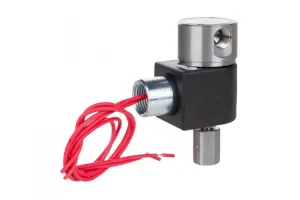
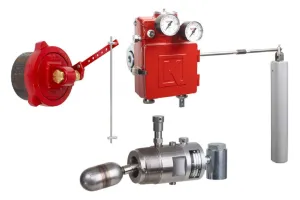
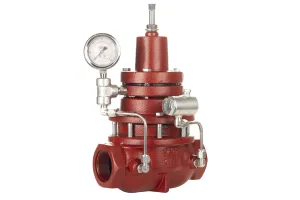
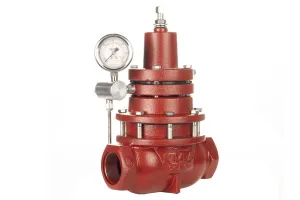
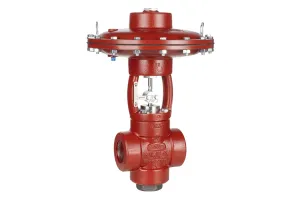
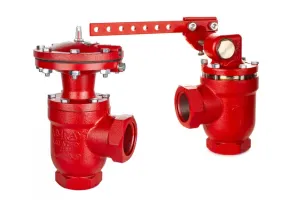
To control the gas, liquid, and oil interface in process equipment, many producers employ a liquid level controller in conjunction with a liquid dump valve.
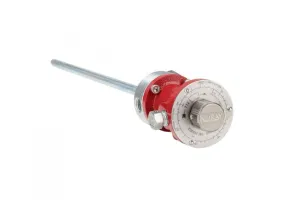
A mechanical level controller consists of three primary parts:
- A float ball, which is inserted into the vessel
- A trunnion, which is bolted onto the exterior of the vessel
- An arm, which connects the two
As the liquid level in the vessel rises, the float rises, which drops the rod on the trunnion. This opens the liquid dump valve and sending liquid out of the vessel.
As the liquid level in the vessel falls, the float falls, which raises the rod on the trunnion. This closes off the liquid dump valve and stopping flow of liquid from the vessel.
The dump valve regularly cycles through this routine, adjusting its opening to ensure that the rate of liquid flowing into the vessel matches the rate out of the vessel.
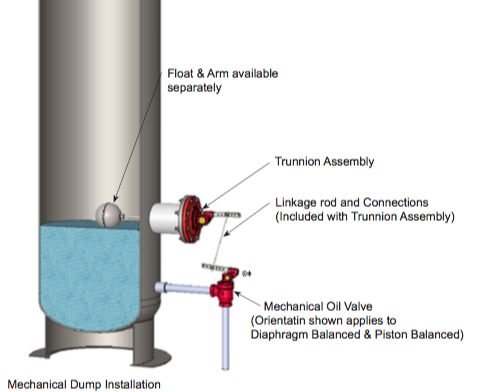
In order for the level control system to work correctly, the float ball must be filled with sand or BBs to achieve the appropriate weight to rest at the top of the liquid you are trying to control.
This quick tip helps you weight the float ball for the interface surface.
What you’ll need:
- 5-Gallon bucket
- Water
- Dry sand or BBs
- Drill
- Metal pipe nipple
- Plastic funnel
- Teflon tape
1. Thread a short metal pipe nipple onto the float ball to protect the threads
This will prevent incidental damage and ensure a good seal.
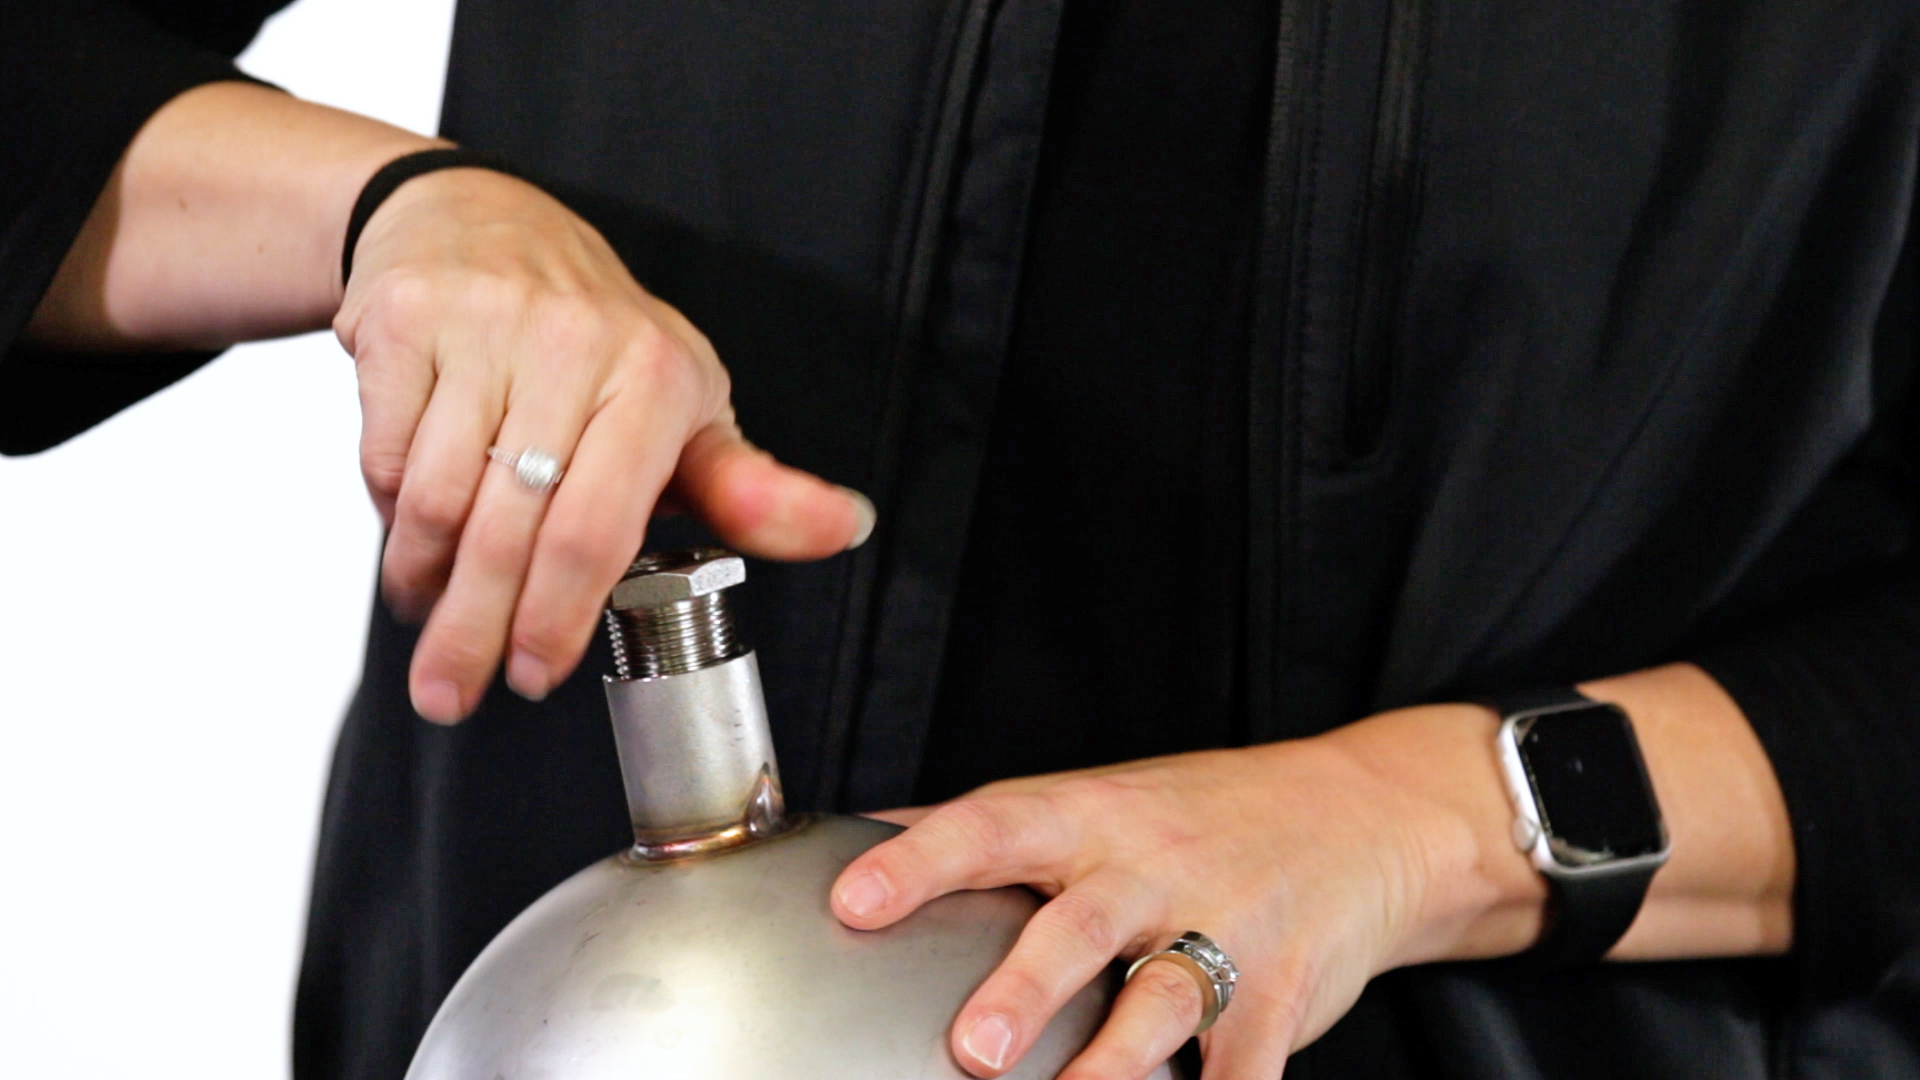
2. Drill a hole through the end of the float ball where the coupling is
Typically a half-inch hole will work. This is where you will pour in the sand.
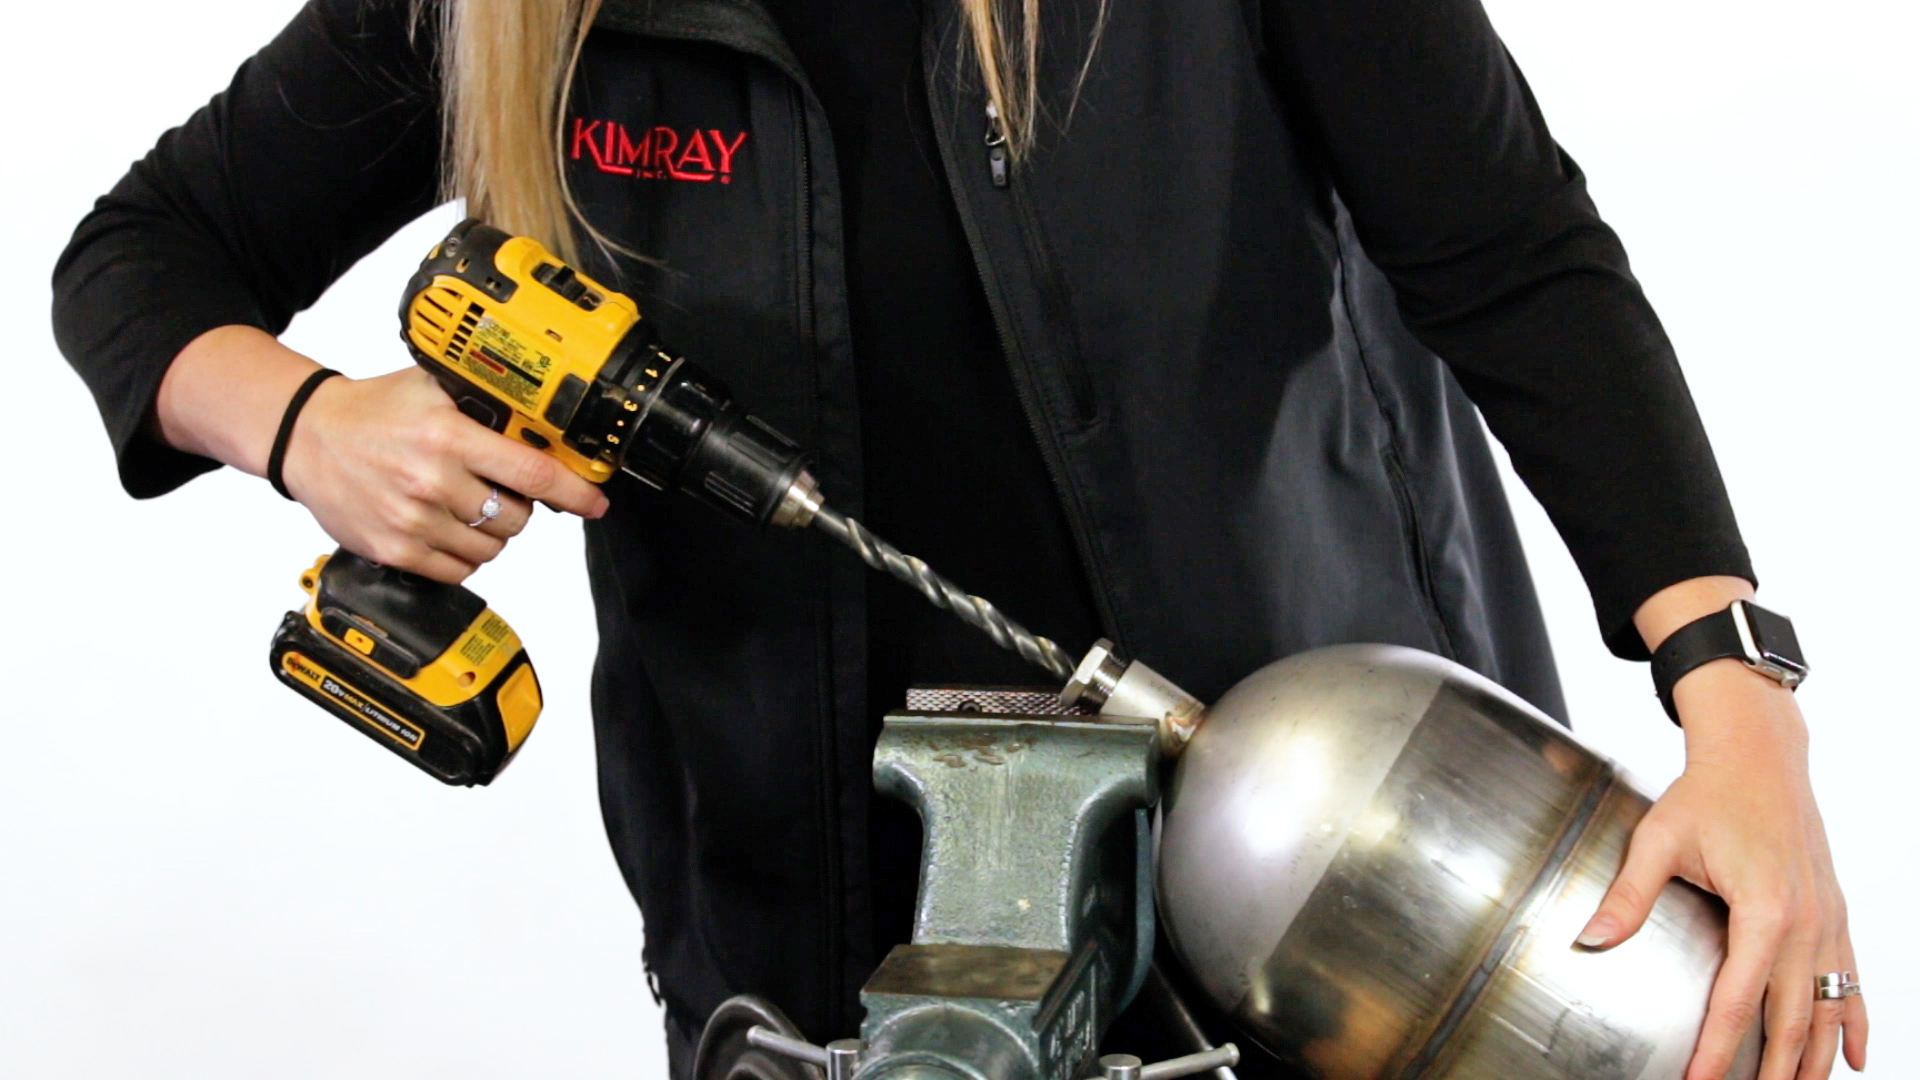
3. Using a funnel, pour sand into the float ball
Make sure to use dry sand. If you overfill, it’s much easier to remove dry sand from the float ball than wet. (Note: this is one reason some choose to fill the float ball with BBs.) The total weight needed for a 7" x 12" float ball with float rod is approximately 13.5 pounds, but the weight needed will vary.
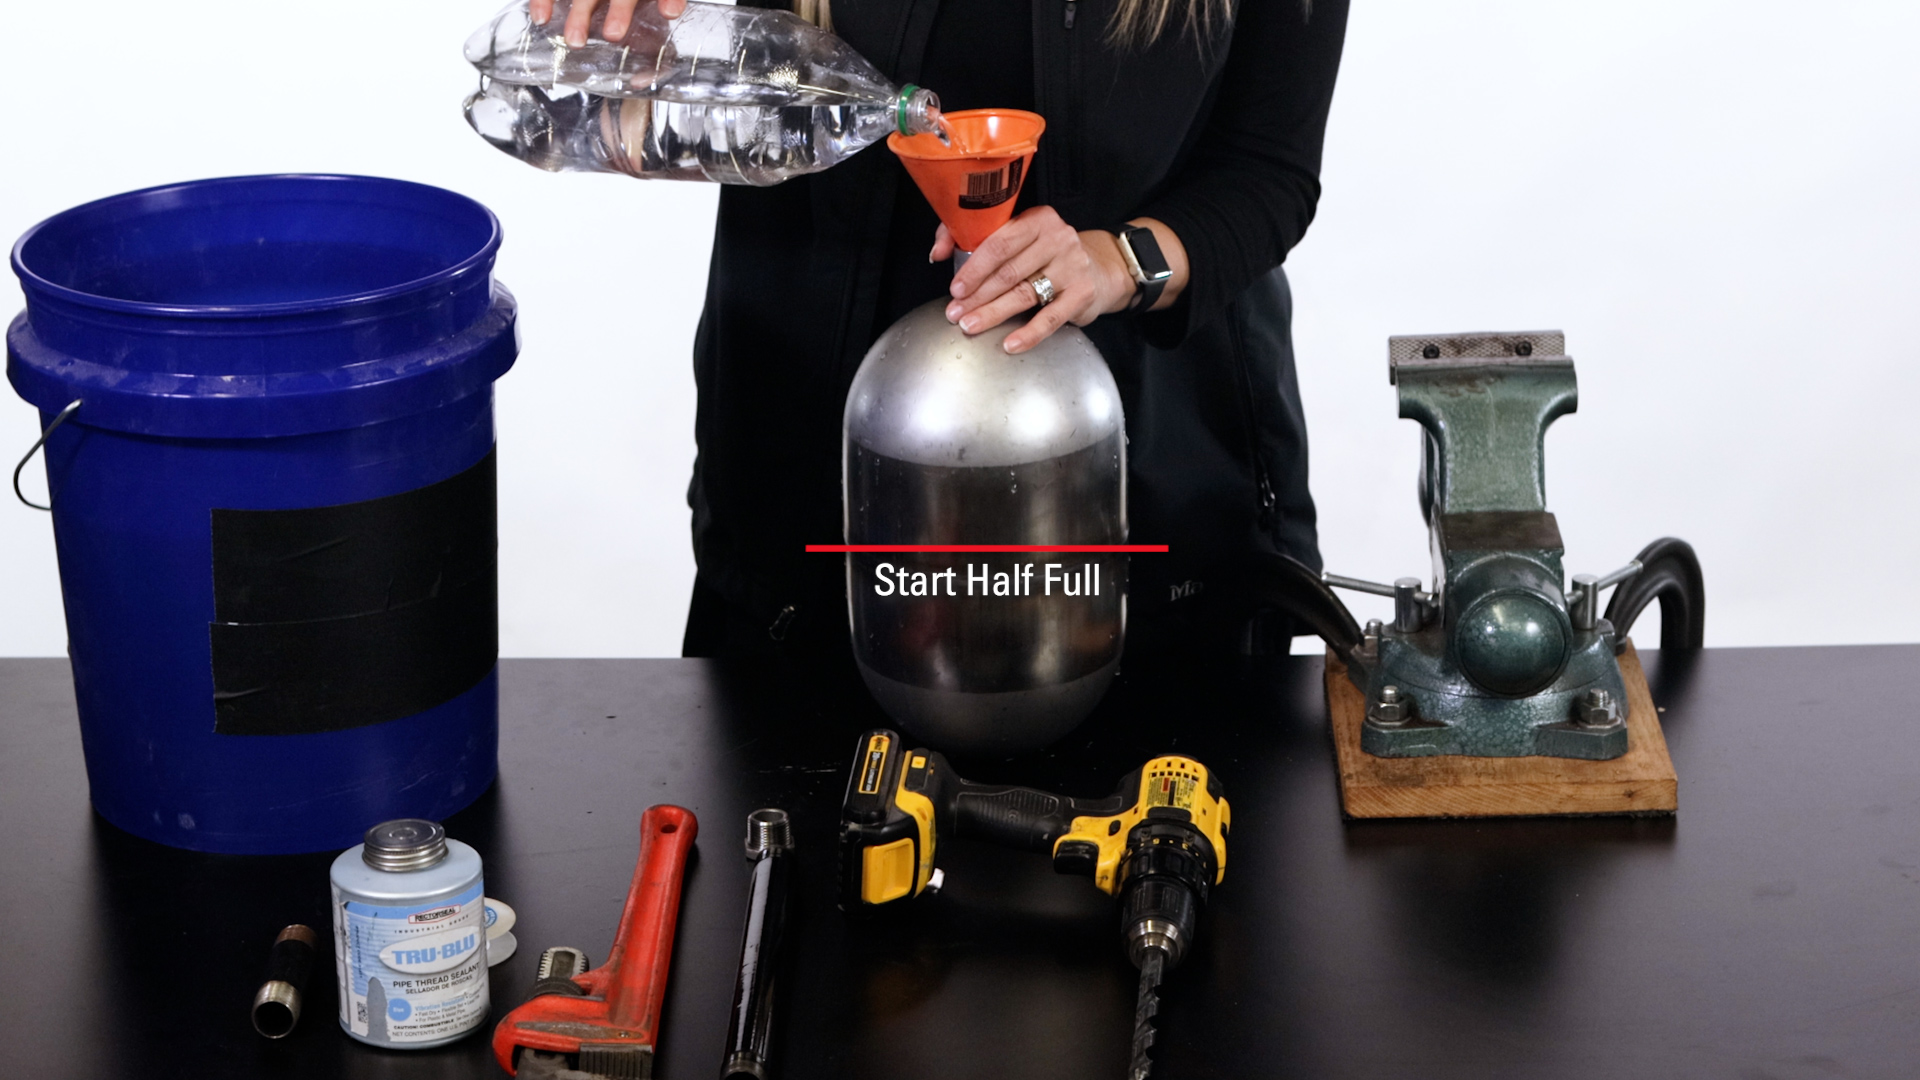
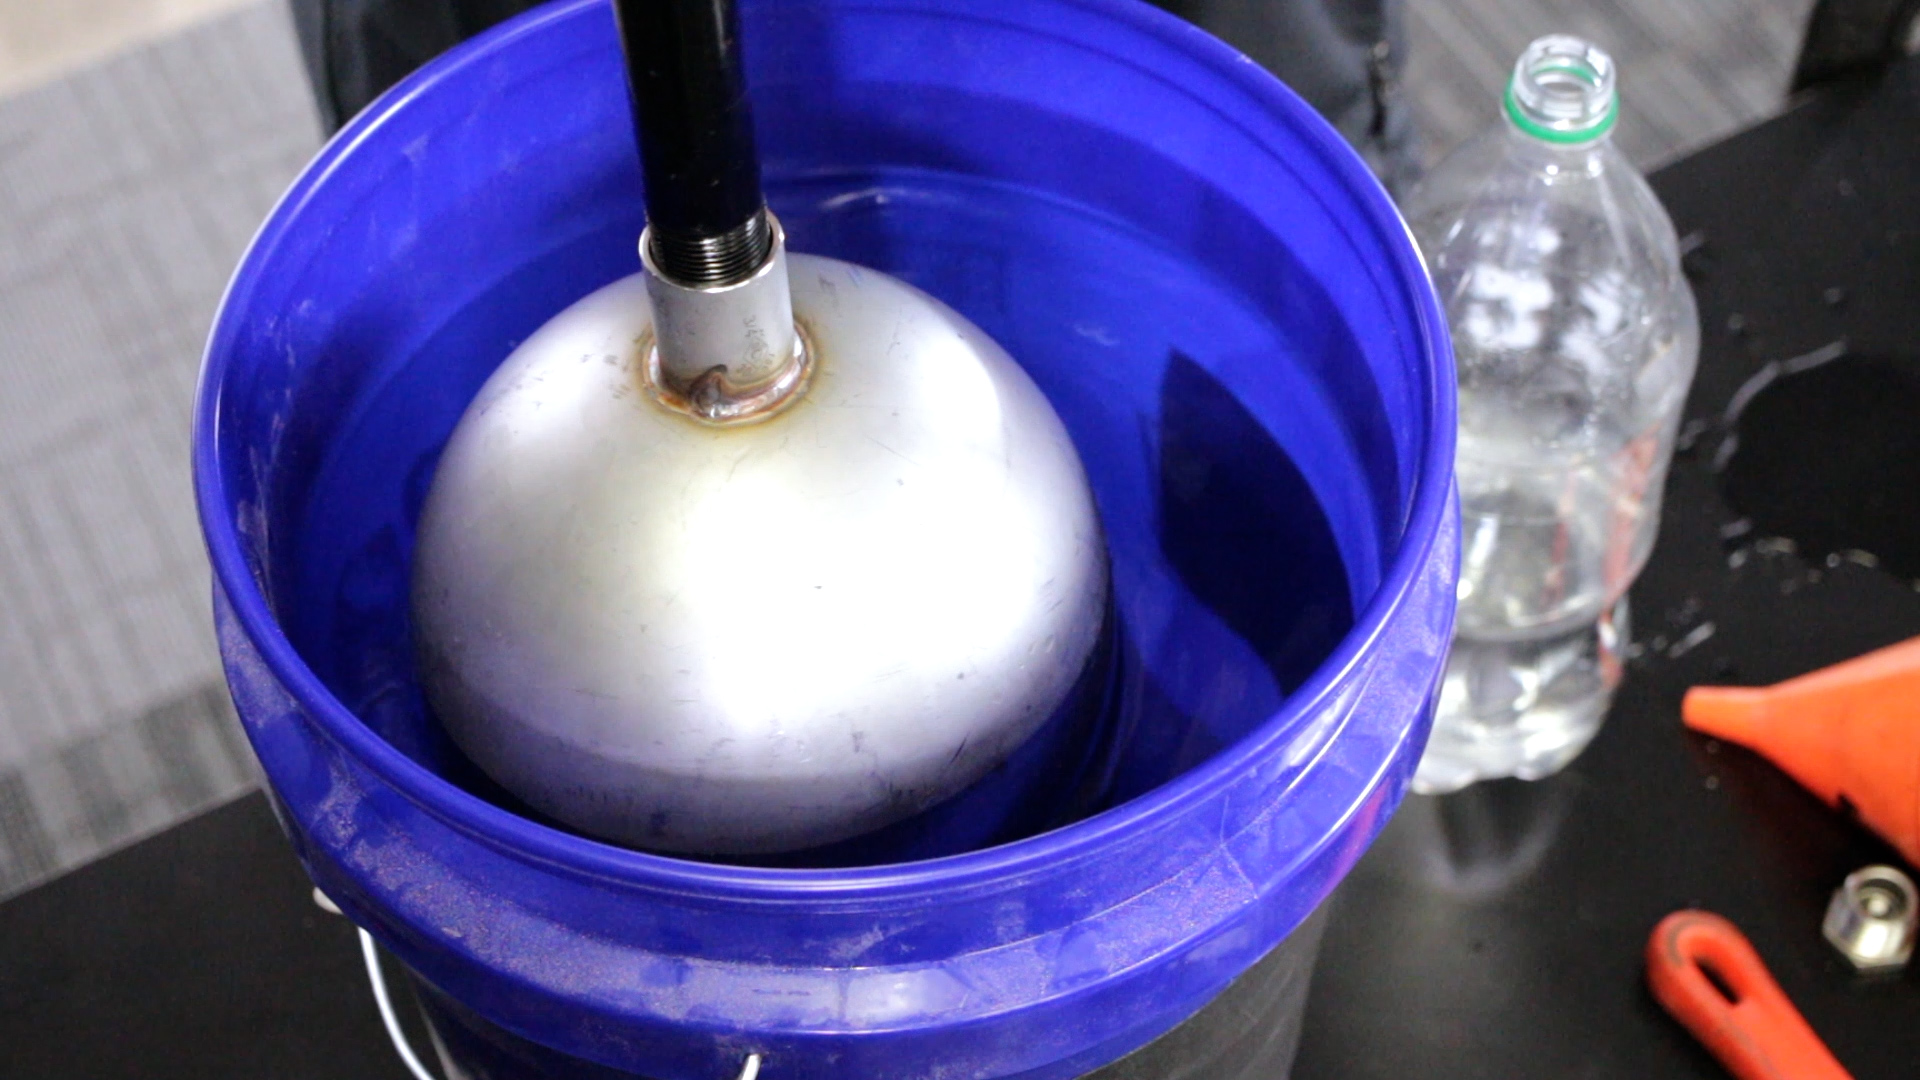
4. Insert the float ball and float rod into a bucket of fresh water
- If the float ball has surface area protruding from the water level, it’s not heavy enough so you’ll need to add more sand. (Note: make sure you thread on the float rod and include it as part of your weight.)
If the float ball is fully submerged up to the float rod coupling, you are ready to move to number 5.
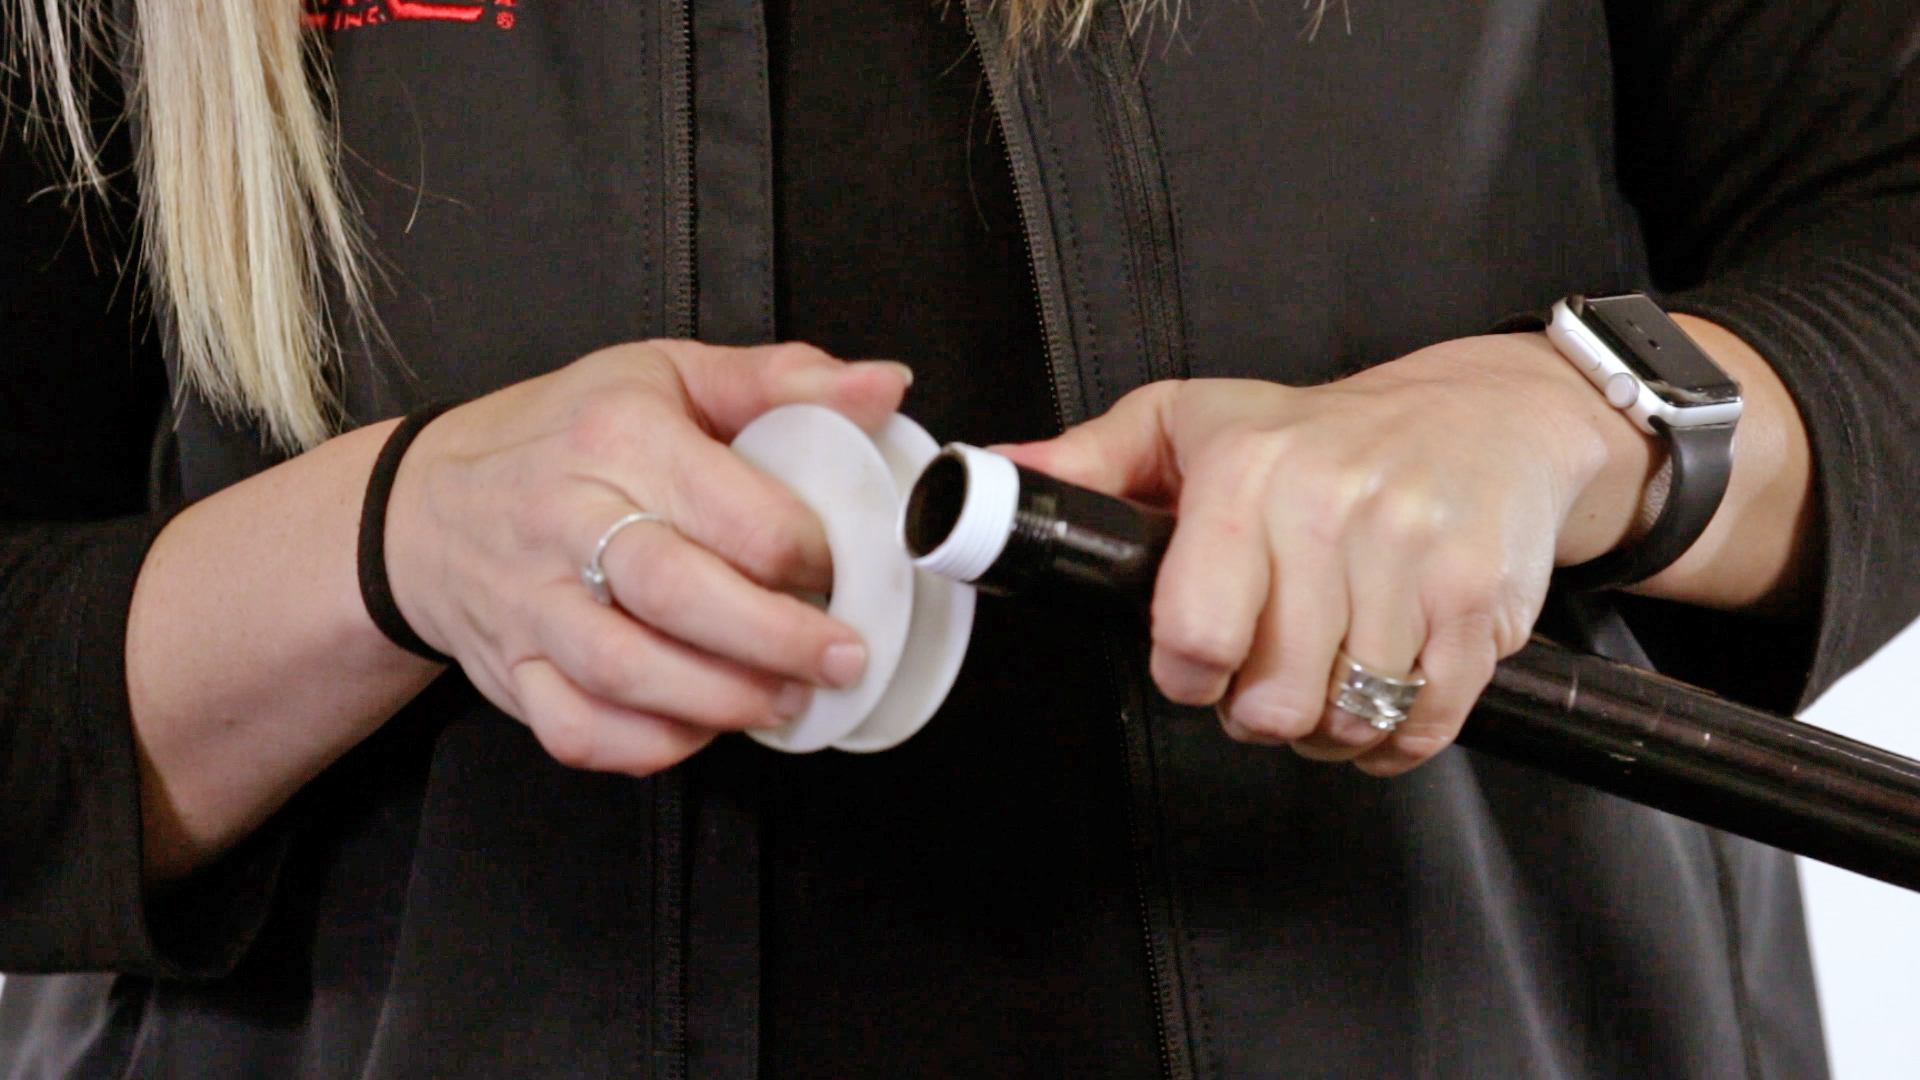
5. Tape the threads and attach the float rod
Do this very carefully to achieve a good seal. When the float is under pressure, water can easily be forced in, so make sure to tape well and tighten the float rod so it won’t ingress.
If you have further questions about weighting the float, reference our Liquid Dump Valve Quick Start Guide or reach out to your local Kimray representative.
