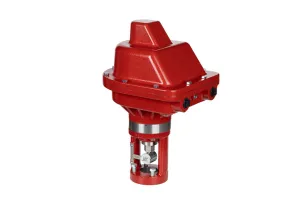
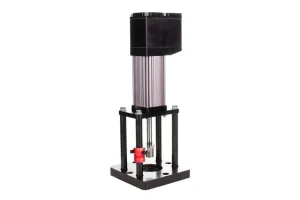
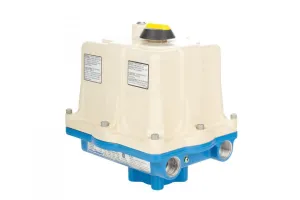
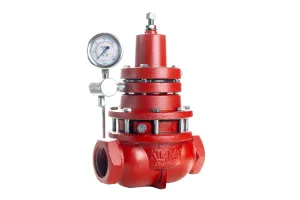
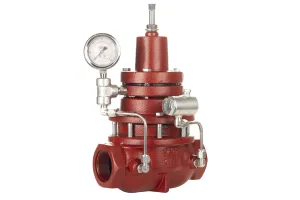
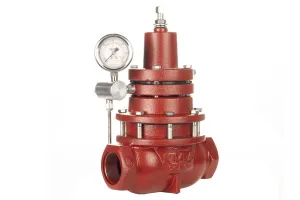
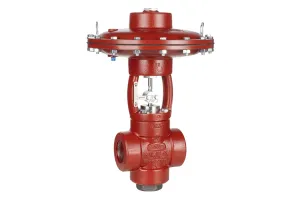
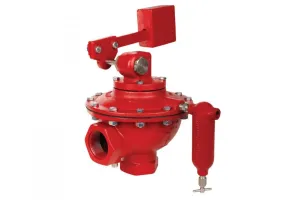
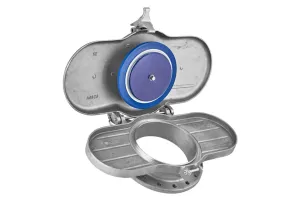
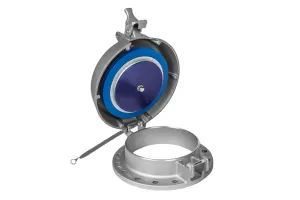
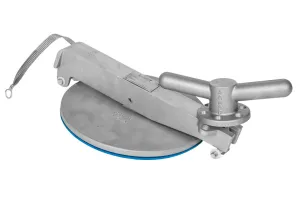
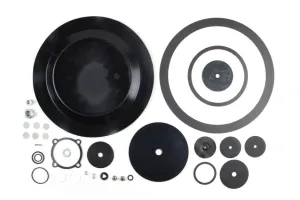
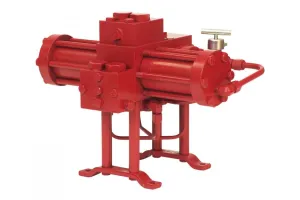
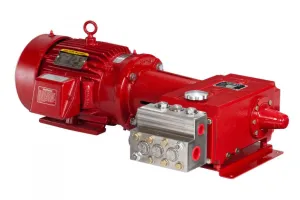
As production falls off on a well, Weight Operated Dump Valves that were sized for original production may be too large for the reduced production volumes.
This can lead to oscillation of the trim and weighted lever arm, which over time will prematurely wear the shaft, seals, and trim components, as well as create inconsistent flow.
With an Orifice Reducer Assembly, you can address this issue by reducing valve flow volume at a low cost without replacing the entire valve.

Orifice Reducer Assembly
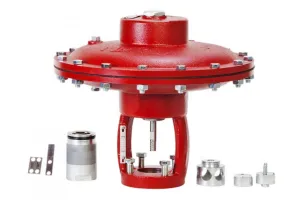
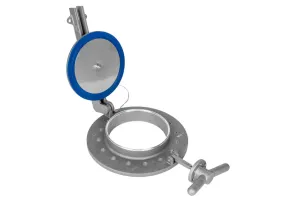
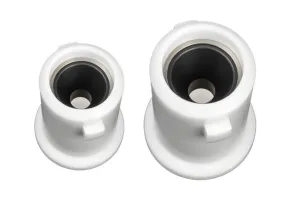
Designed for 2” and 3” Weight Operated Dump Valves, the Orifice Reducer Assembly effectively changes the high-end Cv by restricting the flow downstream of the trim.
Here’s how it works.
As the liquid level rises in the vessel, the liquid head pressure increases, eventually lifting the seal up off the seat.
As the seal is lifting further off the seat, the Cv is increasing, allowing more flow.

With the Orifice Reducer Assembly installed, the orifice restriction only allows the Cv to go up to a certain level, maxing out at 10.7 for the 2” valve or 11.0 for the 3” valve. Regardless of how much more open the valve gets, the flow stays the same, maxed out at that point.
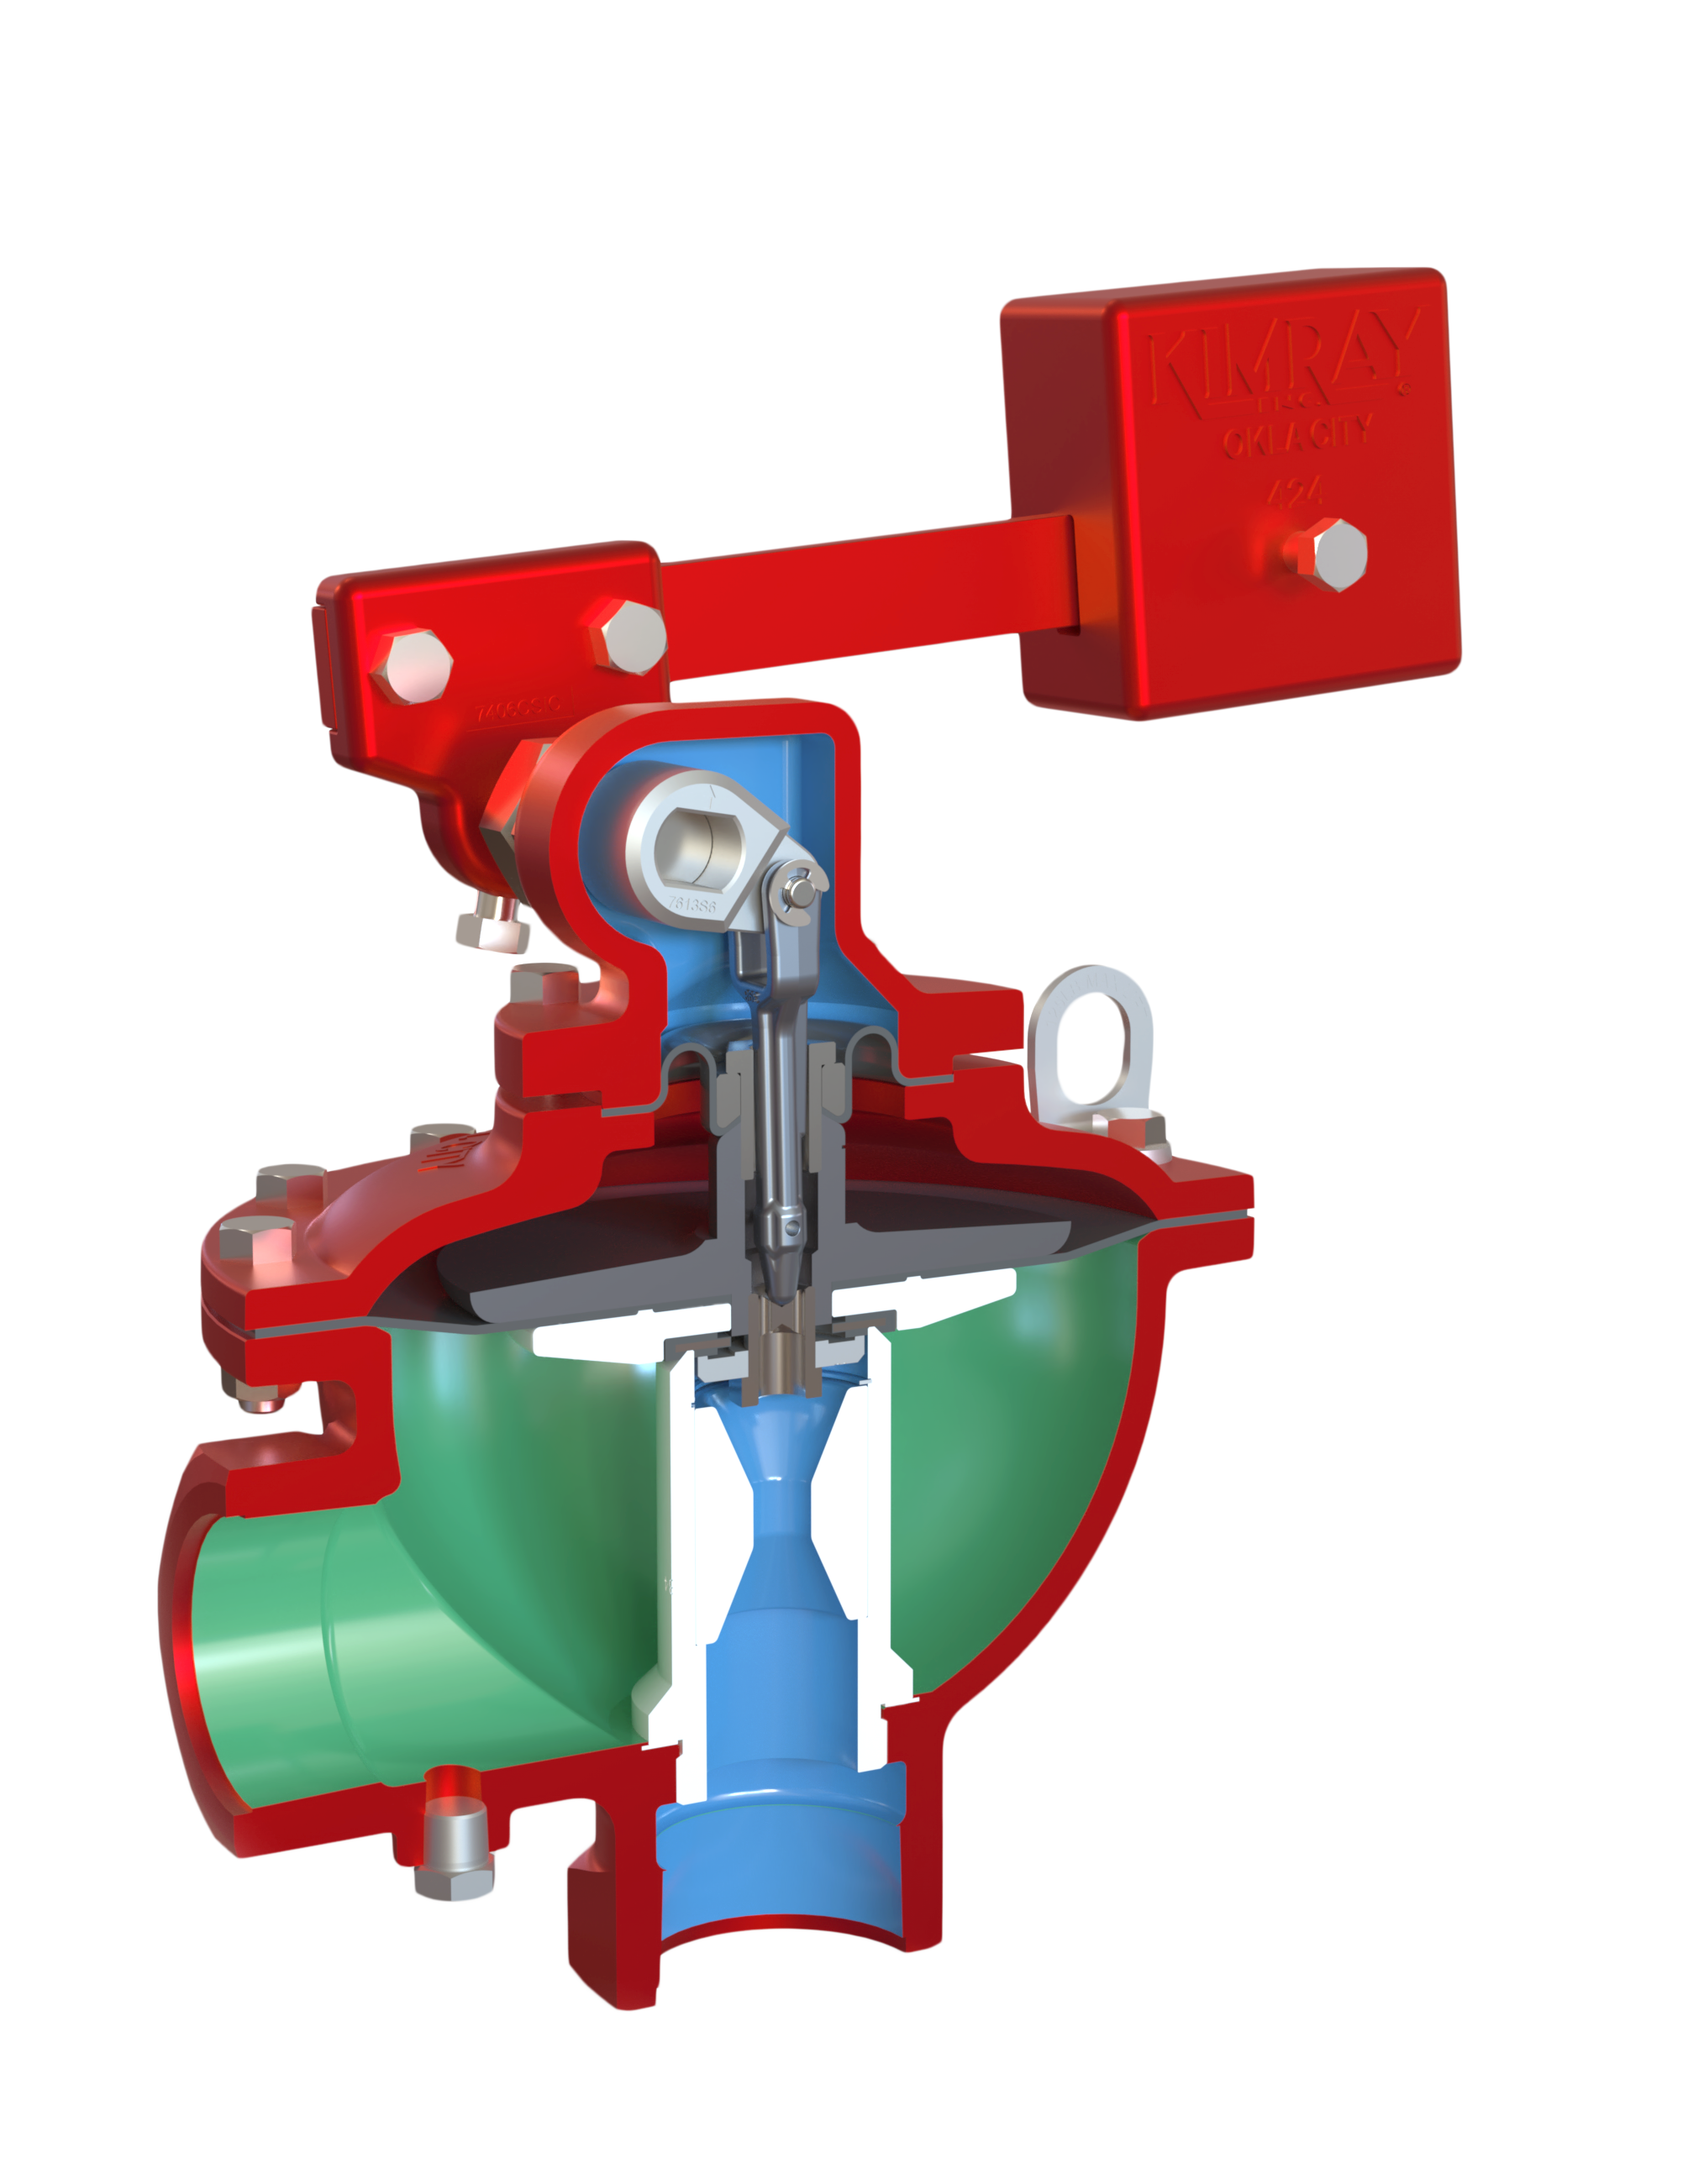
This can mean that the valve will stay open longer, leading to more consistent flow, fewer actuations, and reduced likelihood of oscillation.
Calculating Instantaneous Flash Rate for Emissions
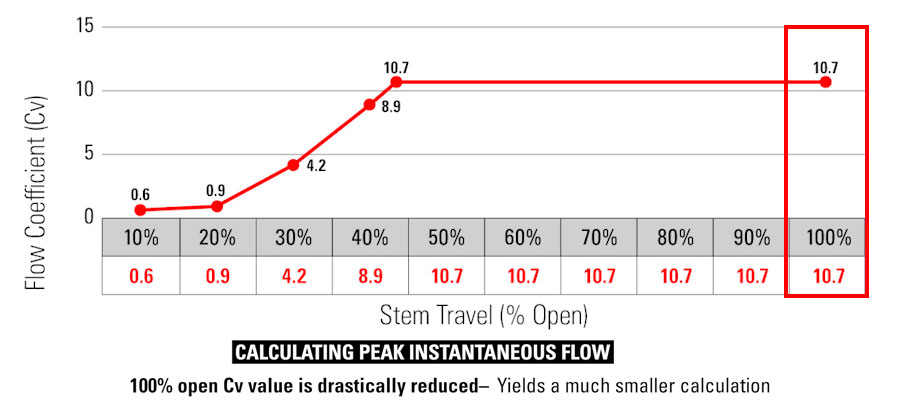
When calculating the peak instantaneous volume flash rate for emissions reporting, producers are typically required to use the 100% open Cv value of the valve.
Another benefit of installing an Orifice Reducer Assembly is that it drastically reduces this 100% open Cv value, yielding a much smaller calculation.
How to Install the Orifice Reducer Assembly
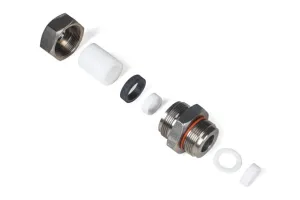
The Orifice Reducer Assembly is made of corrosion-resistant Delrin and comes as a full seat assembly that easily replaces the existing seat in your valve.

This can be done by your team or the Kimray Field Services team as needed.
installing the Orifice Reducer Assembly
| 2” Weight Operated Dump Valve | 3” Weight Operated Dump Valve |
| Orifice Reducer Seat Assembly: 7932DEL | Orifice Reducer Seat Assembly: 7934DEL |
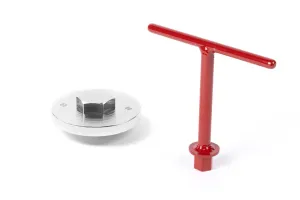
| Seat Wrench: 384SW | Seat Wrench: 385SW |
| Tools | |
| 1” Socket (for seat wrench) | |
| 9/16” Socket | |
| 11/16” Open-end wrench | |
| Flathead screwdriver and/or mallet (optional for disassembly) | |
| Chemicals | |
| Multi-purpose lubricant/grease | |
| Degreasing solvent | |
Disassembly
- Set the valve body into a vice.
- You can remove the drip pot and weight for easier handling.
- Remove the bolts connecting the upper housing to the body.
- Pull off the entire upper housing assembly. If it is stuck, tap it with a mallet and pry it apart with a flat head screwdriver.
- Use the Kimray seat wrench to unscrew the removable seat.

Inspection / Cleaning
- If the gasket or any part of the gasket remains stuck to the seat in the valve, remove it, using a pick if needed but being careful not to scratch the surface.
- Clean off the area where the gasket was with a degreasing solvent and wire brush if needed.
- Inspect for any corrosion or scratches that could allow a leak path. If pitting or scratches are significant, you might need a new valve body.
Assembly
- Apply grease to the seat area of the new reduced orifice assembly where the gasket will sit.
- Attach the gasket and apply grease to it as well.
- Start threading the seat in by hand and tighten with the seat wrench. DO NOT OVERTIGHTEN, as the Delrin seat will crack or the gasket will tear.
- Align the upper housing assembly so that the outlet to the drip pot is 90° from the valve body inlet.
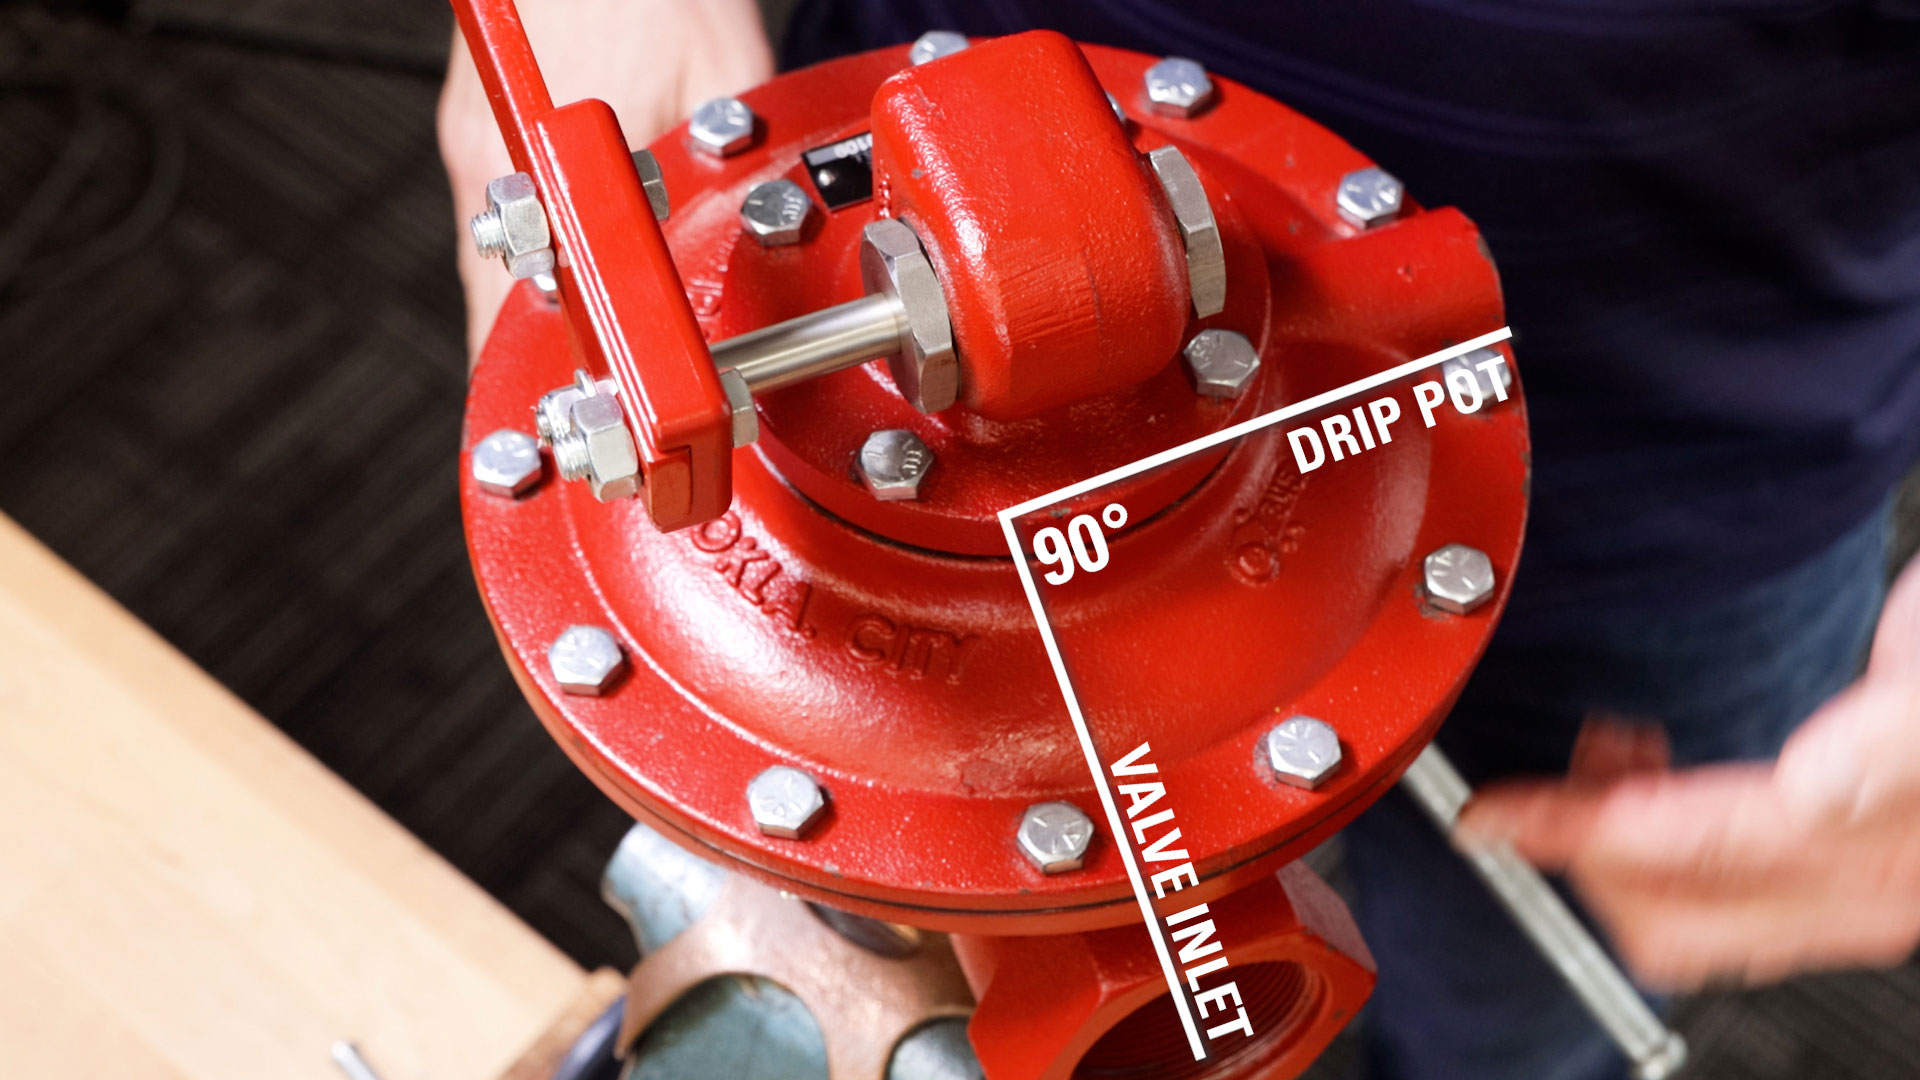
- Tighten the bolts in a cross-cross pattern to avoid any misalignment (25 ft-lb torque).
- Lastly, attach the weight and drip pot.
To learn more about symptoms of an oversized valve, watch our video 3 Likely Symptoms of an Oversized Valve.
To order Orifice Reducer Assemblies for your valves, call your local Kimray store or authorized distributor.
