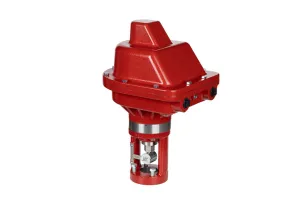
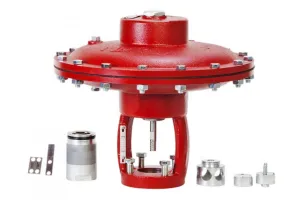
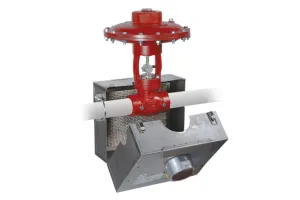
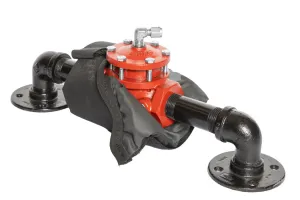
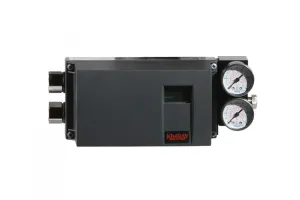
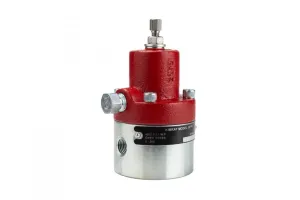
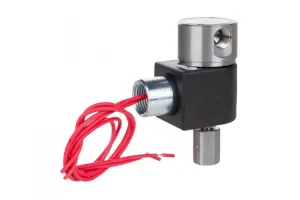
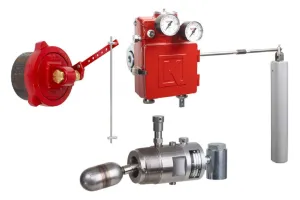
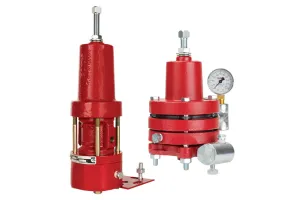
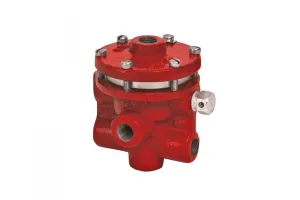
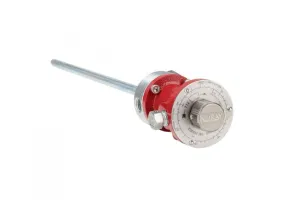
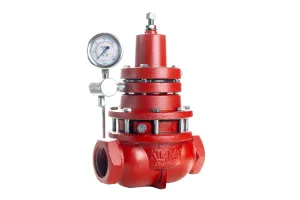
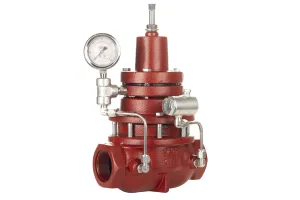
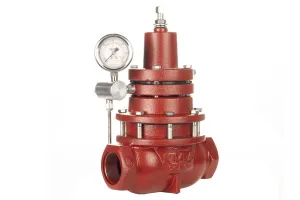
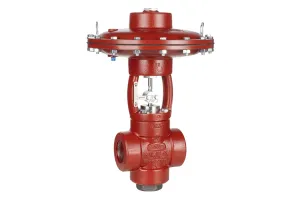
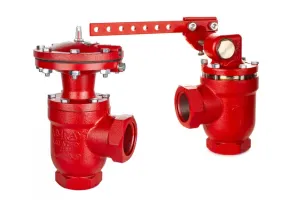
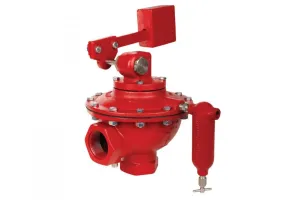
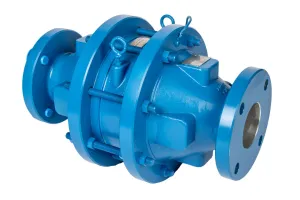
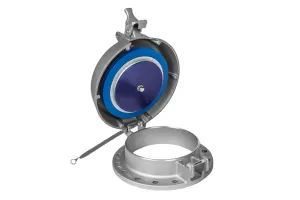
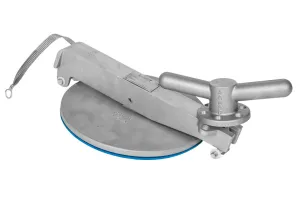
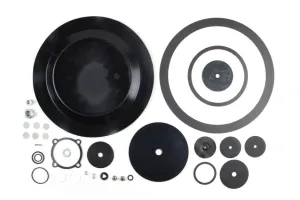
The Kimray Weight Operated Dump Valve* is a weight-operated throttling valve designed to hold liquid level in production vessels such as heater treaters, free water knockouts, and saltwater disposal systems.
In this video, Product Manager Mike Fick shows you how to repair a 2” Kimray Weight Operated Dump Valve. You can find the step-by-step instructions below.
How to Disassemble a Weight-Operated Dump Valve
- Secure the valve in a vise.
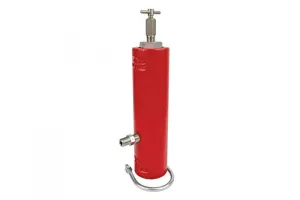
- Unscrew the nipple with drip pot attached, and remove the bleed valve from the drip pot.
- If you have an original hub design, you will need to remove the trunnion plug, loosen the stuffing box nut, loosen the set screw almost completely, and use a punch to remove the shaft.
- However, if you have a new style hub design, there is no set screw. Therefore, you will need to remove the nut and washer, and slide the hub off.
- Then remove the stuffing box assembly from the shaft.
- Remove the follower, Teflon packing and packing ring from the stuffing box assembly. Keep the follower, as it is not part of the repair kit.
- Then remove the gasket from where the trunnion plug was. NOTE: If the shaft is bent, it may be necessary to cut the shaft off, then tap the trunnion shaft out through the stuffing box.
- Remove the 4 bolts from the bonnet and remove the bonnet. NOTE: If the bonnet is stuck, pry it gently with a flathead screwdriver.
- Remove the snap rings.
- Next, remove the pin.
- Remove the trunnion hub.
- Loosen the diaphragm bolt and remove the stem assembly from the body.
- Pull the pin from the stem assembly.
- Then Pull the stem through the diaphragm bolt.
- Remove the diaphragm.
- Then remove the retainer from the diaphragm.
- Remove the bolts connecting the upper housing to the lower body. NOTE: If the the upper housing is stuck, pry it apart with a flathead screwdriver.
- Flip it over and loosen the diaphragm assembly with a wrench.
- Then remove the pivot, ratio plug, and seat disc. If you have the old style, you may have to use a flathead screwdriver to pry out the seat. If it’s the new style, it should come right out.
- Remove the diaphragm, then the diaphragm plate.
- Inspect the removable seat. It’s ideal if you don’t have to remove this. However, if you spot damage or potential leak paths, removal is necessary.
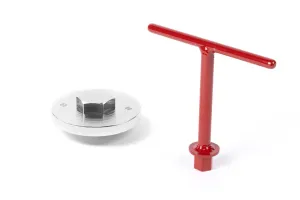
- Unscrew the removable seat with the Kimray seat wrench. However, this can be very difficult. If you have trouble getting the seat out, you may need to take it by your local Kimray repair shop for additional help.
- Lastly, remove the gasket from the removable seat.
How to Inspect a Weight-Operated Dump Valve for Damage
- Inspect every part except for the diaphragms, since they will all be replaced.
- Inspect to make sure the main trunnion shaft it is not bent. If it is bent, it needs to be replaced.
- Make sure there is not corrosion where the bottom of the seat meets the body if you do replace the seat. If it is corroded there, it won’t seal properly, and you need a new valve body.
- The drip pot and needle valve also need to be examined.
- Use an air nozzle to blow out the particles from inside, as any loose particles left in the seat area could allow for leakage. Do this with the drip pot as well.
- Finally, flip the upper housing over and verify that upper housing communication hole is clear and free of debris.
- Use a parts washer to clean the following parts. If you don’t have access to one, use a degreaser and a wire brush to clean the following:
- Plug
- Stuffing Box
- Nut
- Bonnet
- Pivot communication holes
- Stem
- Diaphragm Plate
- Ratio Plug
- Removable Seat, if you did not remove it previously
- Housing
- Body
How to Assemble a Weight-Operated Dump Valve
- With all of your parts cleaned and your repair kit ready, you can now reassemble the valve.
- Apply all-purpose grease to the seat area of the body.
- Flip the removable seat upside down and apply all-purpose grease.
- Then attach the gasket.
- Apply all-purpose grease to the gasket as well.
- Install the removable seat into the body. You may have to use seat wrench.
- Be careful not to over tighten the seat as this can tear the gasket.
- Secure the diaphragm plate in the vice upside down, and place the diaphragm on top.
- Place the disc onto diaphragm.
- Then place the rubber seat into the disc.
- Use a flathead screwdriver to work the rubber seat into place.
- Place the ratio plug on the disc, beveled side facing up.
- Insert the pivot into the ratio plug. Tighten pivot with a wrench.
- Then return the body to the vice, and place the diaphragm assembly on the body.
- Place the diaphragm housing on the body and get the nuts and bolts started by hand.
- Tighten the bolts in a criss-cross pattern to avoid any misalignment.
- Insert the stem into the diaphragm bolt, and then the bolt into the retainer with the beveled side facing down.
- Place the assembly into the diaphragm, and then put the pin into the stem hole.
- Hold the stem pin in place and install the stem diaphragm assembly into the diaphragm plate.
- Tighten the assembly using a wrench. Don’t over-tighten as this can strip the threads.
- When installing the new hub design, make sure the flat side of the link hub is at the bottom.
- Insert the pin through the stem and hub link and secure it with the two new snap rings.
- Lift the link hub slightly and place the bonnet over the stem assembly and onto stem diaphragm assembly. Align the bonnet with the direction of the valve opening.
- Tighten the four bolts in a criss-cross pattern to avoid misalignment.
- Grease the shaft, and insert the thicker end into the bonnet opposite the side of the equalizing pressure port.
- Apply grease to both sides of the new gasket and install it on the plug, making sure the gasket rests against the shoulder of the plug. Then tighten with a wrench until snug.
- Slide the washer onto the stem. Grease both sides of the gasket and place it on the stuffing box.
- Hand tighten the stuffing box into the bonnet.
- Now install the packing ring with Teflon packing, the follower, and the nut onto the shaft. Tighten until snug.
- NOTE: If you have the new style valve, the assembly will be slightly different: After installing the shaft, slide the bushing into the trunnion plug, add the o-ring to the outside, then grease both the busing and the o-ring. If you’re converting from old to new style, make sure both gaskets have been removed from the bonnet.
- Thread the trunnion plug into the bonnet and tighten with a wrench. Next, put the small o-ring inside the stuffing box and insert the bushing. Install the o-ring around the outside, then grease both o-rings. Thread the stuffing box into the bonnet, and tighten with a wrench. Install the new hub with the arm attachment slot facing away from the bonnet. Attach the washer and nut. Tighten until snug.
- Thread the nipple and drip pot into the equalizing pressure port and screw in the lower part of the bleed valve.
- Lastly, complete the assembly by attaching the lever bar and weight.
If you have further questions about the Weight-Operated Dump Valve or any Kimray product, contact your local Kimray store or distributor.
*Note: This product was formerly called the Kimray Treater Valve
