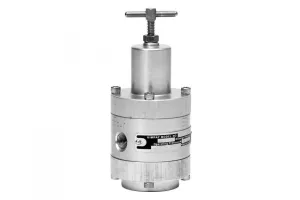
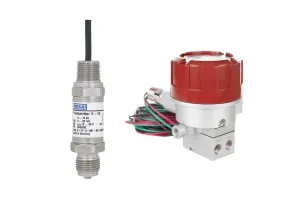
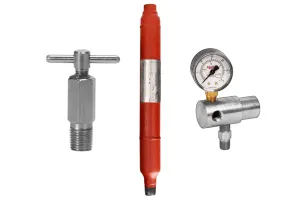
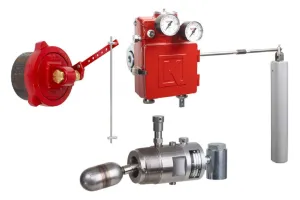
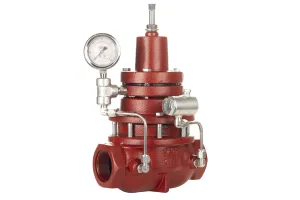
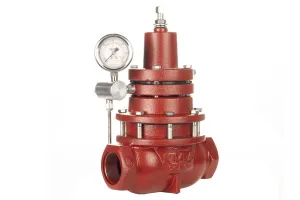
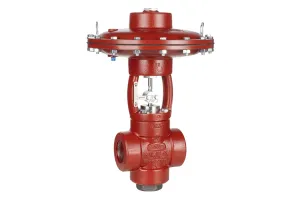
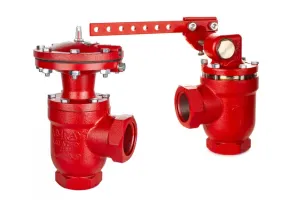
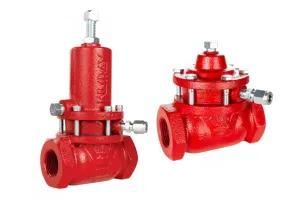
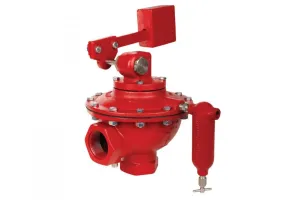
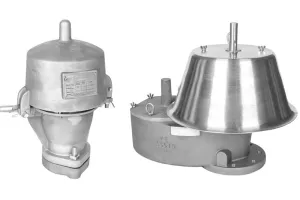
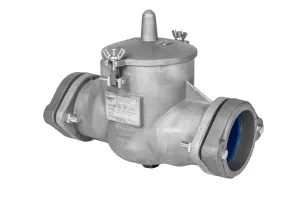
There are a lot of Pilots and Relays in Section P of the Kimray Catalog with subtle variations and a lot of different models. A couple of things to clarify before we dive in: you'll hear me say "low pressure," "high pressure," and then there's products like the "bellows controlled pilots," which are actually high pressure. I've mentioned before in these videos that 300 PSI is the line for Kimray products. For most in our industry, that's the dividing line between high pressure and low pressure.
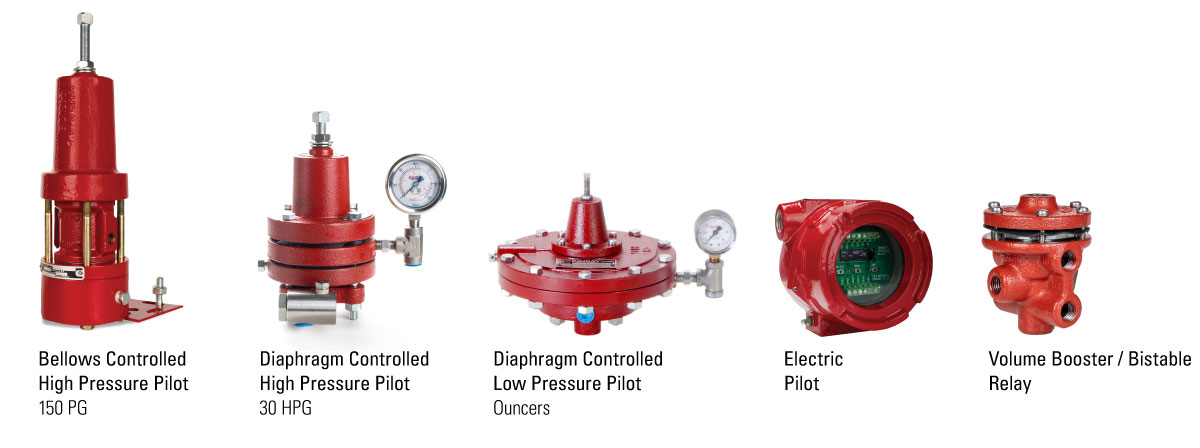
For the pilots and relays, however, a 300 PSI pilot, which we'll look at here in a second, is considered a high-pressure pilot because we also have low-pressure pilots that operate below 20 PSI. But then we have the bellows-controlled pilots that operate above 500 PSI. So, just a couple of distinctions we need to make off the top.
When I'm referring to "ounces pilot," that just means the low-pressure pilots, so anything from a few ounces to 20 PSI. If you hear me say "HPG" or "30 HPG," that's just referring to the diaphragm controlled pilots. If you hear me say "PG pilots," I'm referring to the bellows controlled pilots. This is just older language versus what we're referring to them now, just so we're all on the same page.
Pilots and relays, on their own, don't do anything; they need to control something. They communicate with other pieces of equipment, like control valves, and control certain processes. Just like a control valve on its own won't do anything—it needs a pilot to tell it what to do. All of these pilots that we'll look at are helping to control processes.
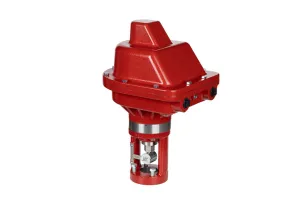
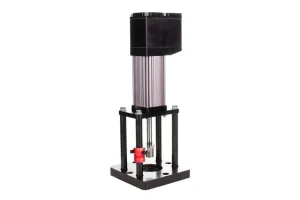
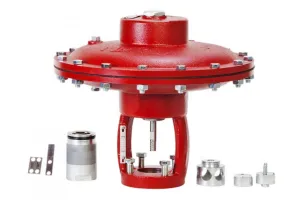
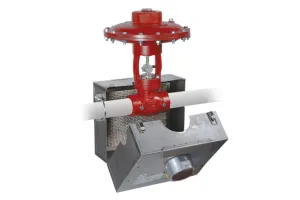
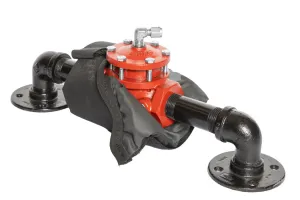
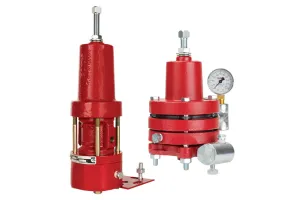
Here, you can see a couple of examples of the pressure packages that we can make with these pilots. We're going to talk about just the pilots today and not the other accessories that make up those packages. We've got tons of content already on those pressure packages, including really good animations if you're curious about how those work.
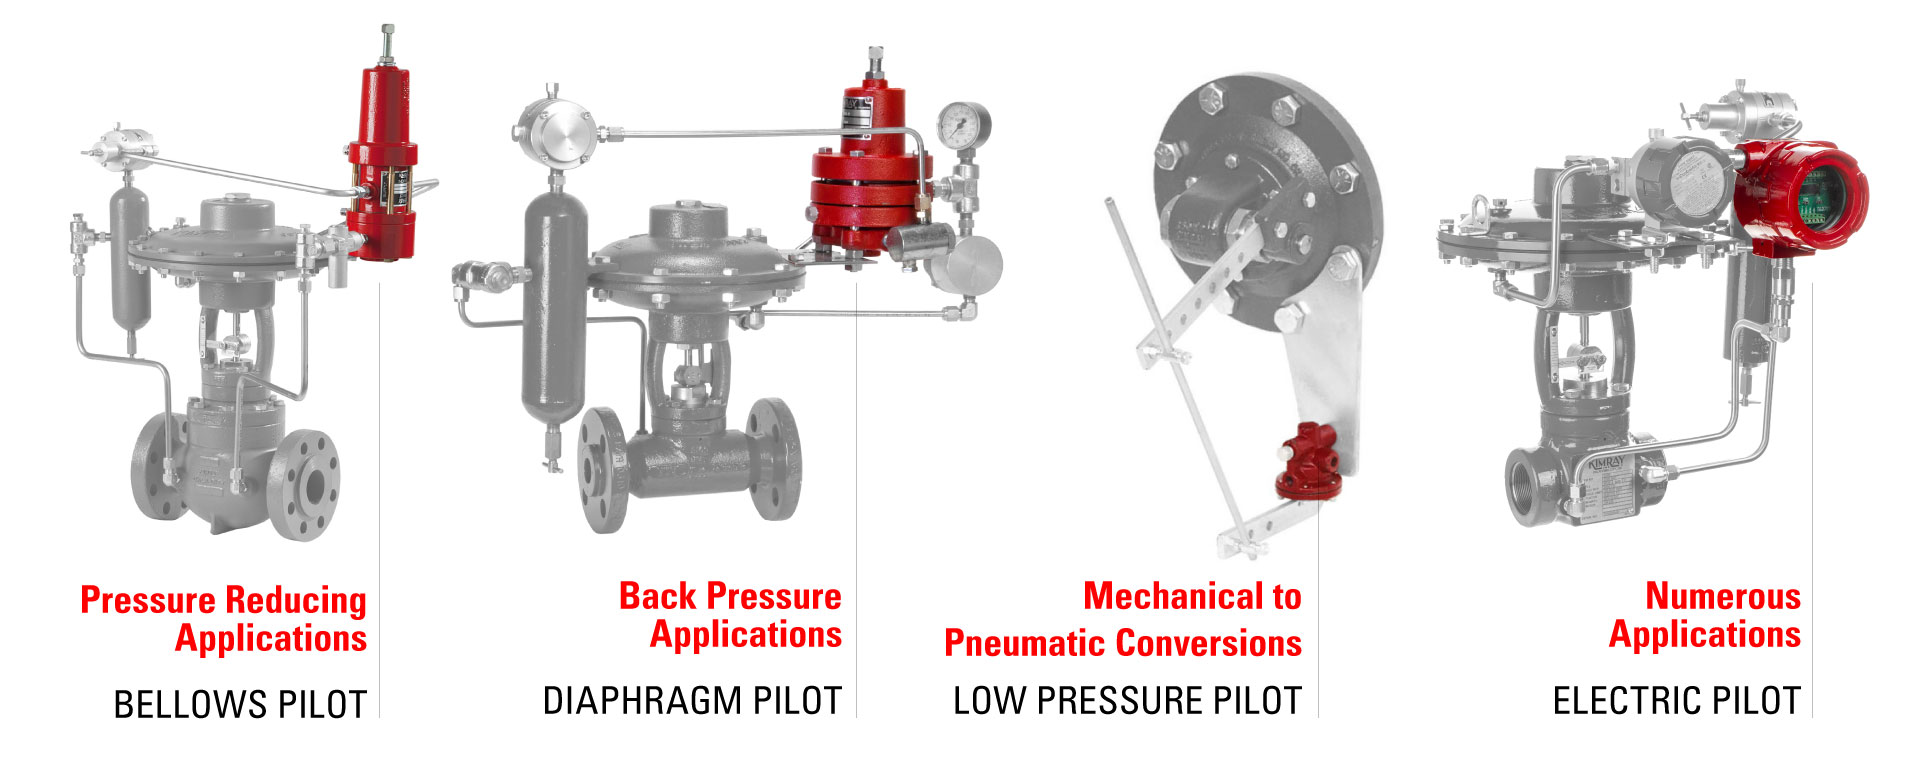
Explore High Pressure Back Pressure Packages Explore High Pressure Pressure Reducing Packages
Pilot Models
Diaphragm Controlled High Pressure Pilot
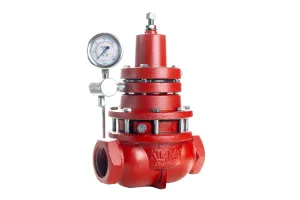
The first pilot we're going to look at today is the Diaphragm Controlled High Pressure Pilot, which many refer to as the 30 HPG pilot. This will work in any application below 300 PSI. It controls pressure, monitoring either the upstream or downstream pressure of a control valve. It can be used in both back pressure and pressure-reducing applications.
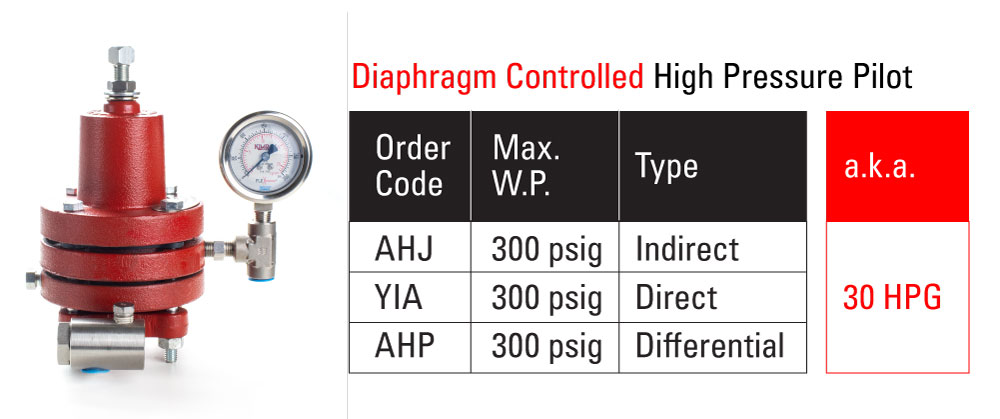
This is the indirect-acting pilot, so when the monitored pressure goes above its set point, it vents the pressure signal going to the control valve. When the monitored pressure falls below the set point, it outputs to that control valve. This is true for both standard back pressure and pressure-reducing applications.
In back pressure applications, you're monitoring and protecting what's upstream of the valve, so those valves are fail-open or pressure-to-close valves. In a pressure-reducing application, you're monitoring and protecting what's downstream of the valve, so that's a fail-closed or pressure-open valve. Those are one and the same.
The standard setup for this pilot is indirect-acting. If you have an application where you need the opposite of that, you can get these in direct-acting versions, but we won't cover the direct-acting version today. Just know that it is available if you need that.
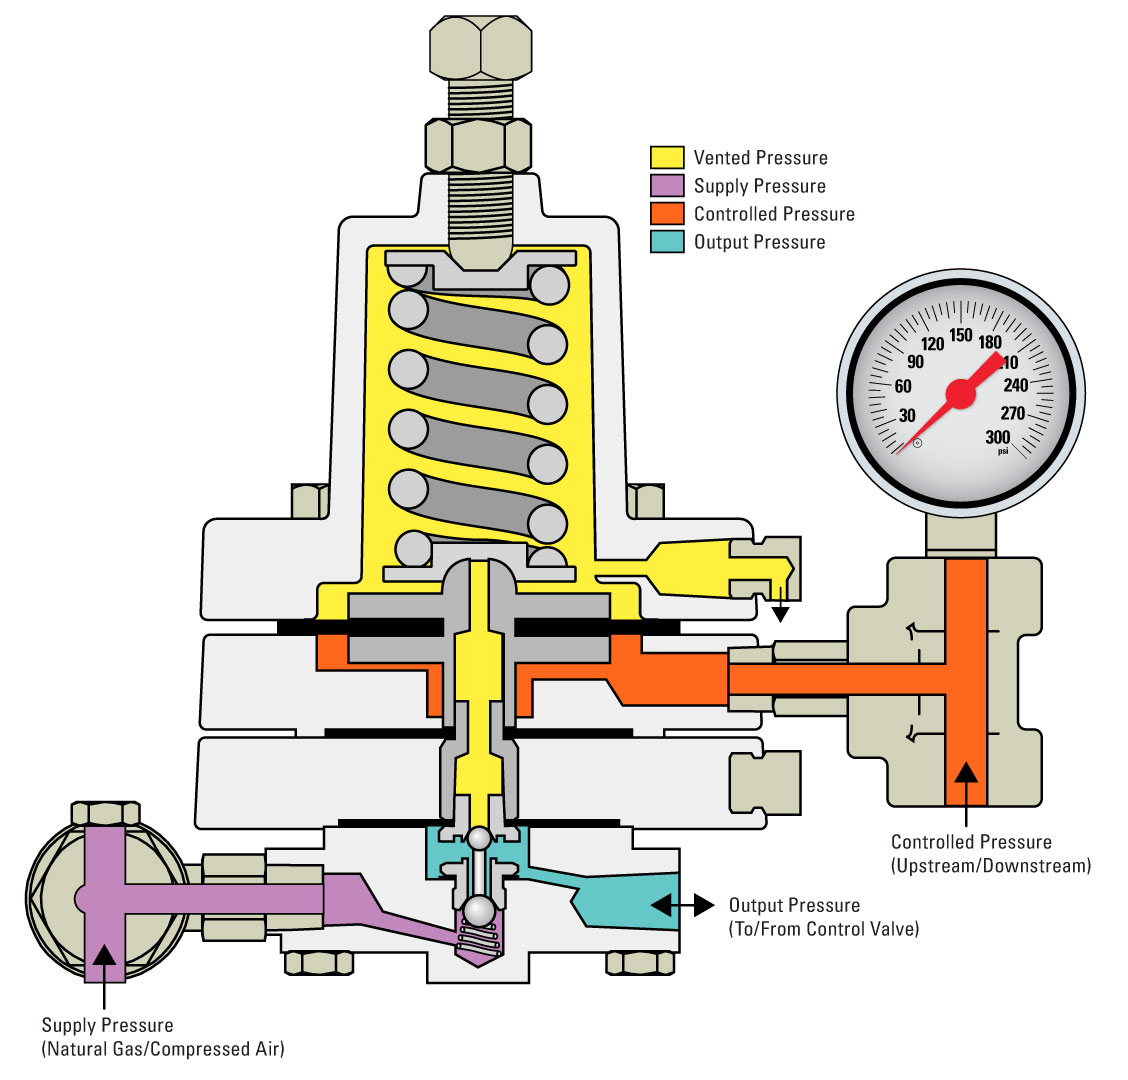
Here in this diagram, you can see that the orange is the controlled pressure or the monitored pressure, so that's going to be hooked to the downstream side or the upstream side of your control valve, depending on if you're controlling back pressure or trying to reduce the pressure.
That pressure is communicated to underneath the spring and diaphragm assembly on the pilot. As that pressure increases or decreases, it works against the spring. The more tension you have on the spring, the more pressure it takes to overcome that tension and the higher the set point will be. When that monitored pressure overcomes that spring tension, it moves the pilot seats, the upper seat up or down, to adjust the output of the pilot.
You supply this pilot with 30 PSI of supply pressure. You can do that with natural gas or compressed air—either one will work. When you're using this with our high-pressure control valves, the compressed air for supply is completely separated from process flow, so you don't have to worry about oxygen mixing with processed gases.
The teal color is the output of the pilot, so that's the line going to the control valve. That 30 PSI supply pressure actuates the valve, and then when that valve needs to move again, it vents that signal back through the pilot.
You could also capture this if you've got a low-pressure gathering system; you just want to make sure that the differentials in that system are high enough so the pilot does not have trouble venting into that line. You can capture it—it's just a quarter-inch threaded spot where you can put tubing to capture that vented signal, or if you're using air, you can vent straight to the atmosphere.
Diaphragm Controlled Low Pressure Pilots
The second pilot we'll look at is the Diaphragm Controlled Low Pressure Pilot. Its operating range is from half an ounce up to 20 PSI. There are three different spring ranges, so just make sure you're selecting the correct spring range for your application.
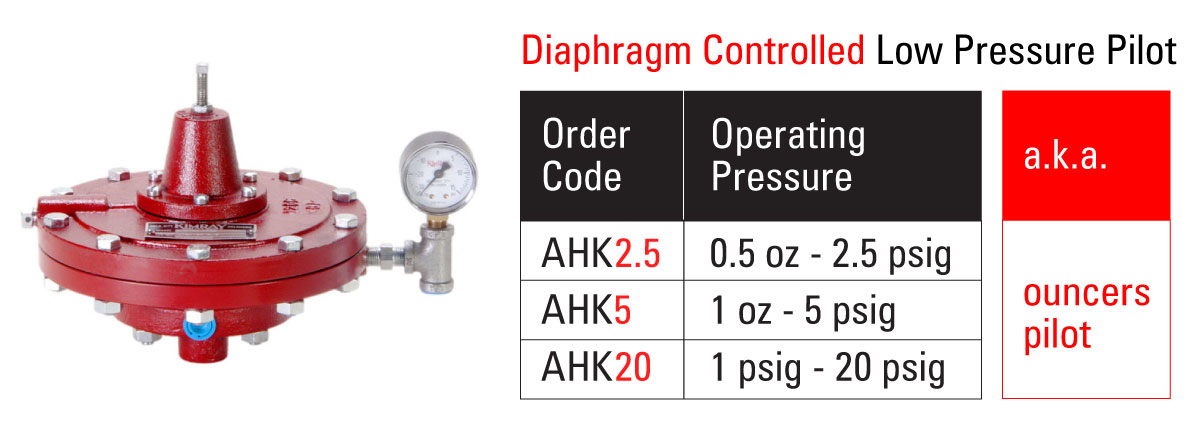
The spring is a lot lighter, and the surface area of the sensing diaphragm is much larger because we're trying to sense and control much lower pressure. We need that larger surface area to create enough force to actuate against the spring. If you have applications that are right around 10 PSI, there's some overlap between the pilots.
If you are around 10 PSI and you're never going to be above that, it's probably a good idea to use the low-pressure pilots instead of the diaphragm-controlled pilots because you'll have a wider operating range and can dial it in a lot better than if you're operating at the minimum of the diaphragm-controlled pilot.
Bellows Controlled Pressure Pilot
The third pilot we'll look at is the Bellows Controlled High Pressure Pilot. The main difference between the diaphragm and bellows-controlled pilots is, obviously, the bellows. The diaphragm is limited to 300 PSI and can't go over that or it could rupture. The bellows design allows for much higher pressures.
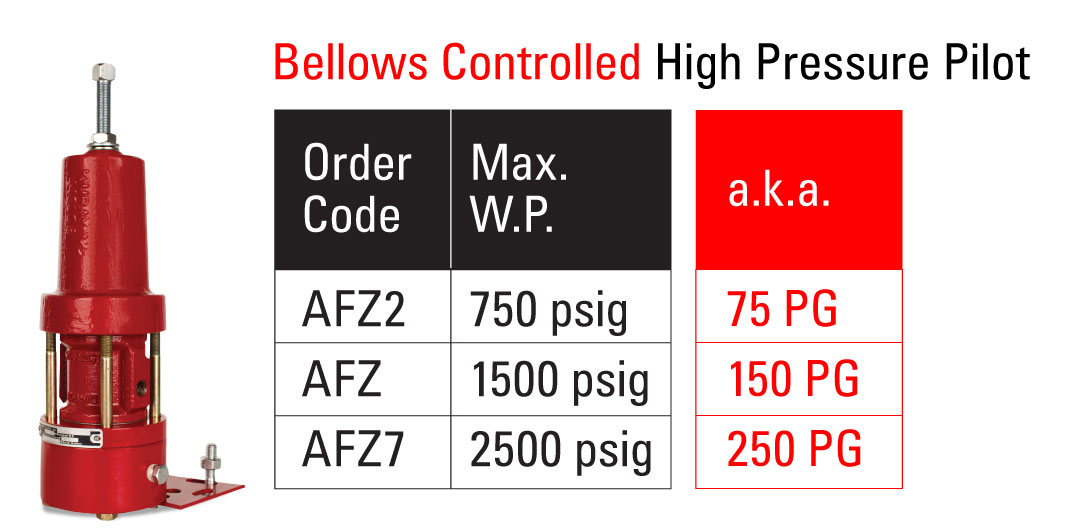
There are three options in the bellows-controlled pilots: the 75, which is good up to 750 PSI; the 150, good up to 1500 PSI; and the 250, good up to 2500 PSI. Think of the bellows as a kind of metal accordion. There's a lot of surface area, even though the bellows is relatively small, allowing you to operate at higher pressures.
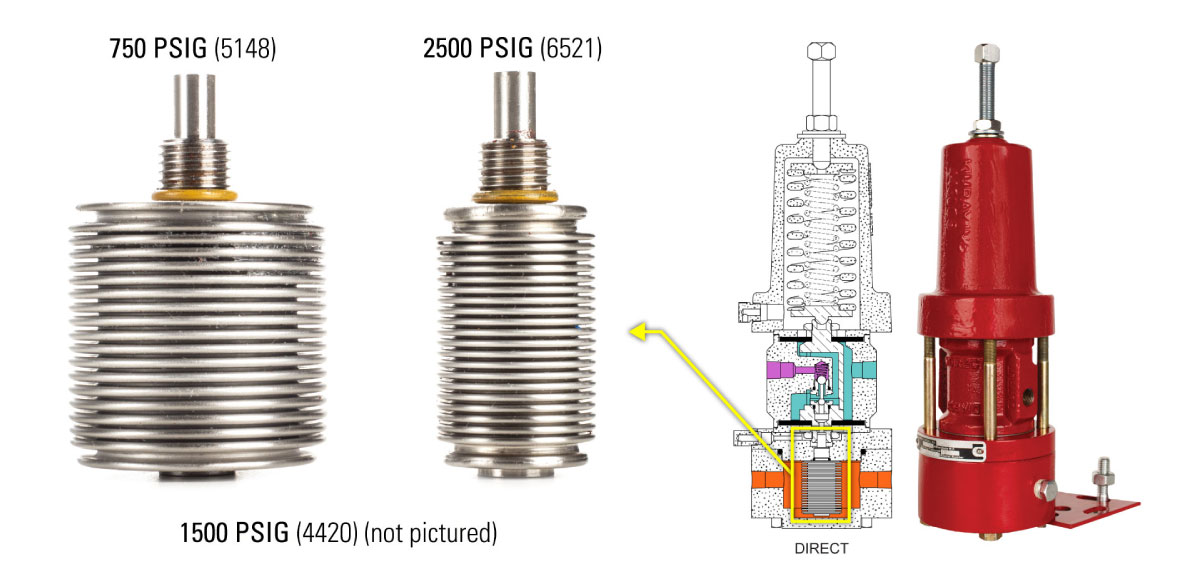
We used to have a 50, but its operating range was encompassed by the 75 pilot, so we discontinued that a few years ago. There might still be some out there, so if you see a 50, it's nothing weird—it's still our product, just not something we make anymore.
Much like the diaphragm-controlled pilot, the bellows-controlled pilot operates in much the same way. The sensed pressure goes around the bellows, which constricts the bellows, working against the tension on the spring. The more tension you have, the higher the set point; less tension means a lower set point.
Supply pressure is just at 30 PSI, and you can use compressed air or natural gas for supply. The output goes to the control valve to operate it, and then it is vented back through the pilot. If you want to capture the vented gas, you can do that at the pilot, or if you're using compressed air, you don't have to worry about that.
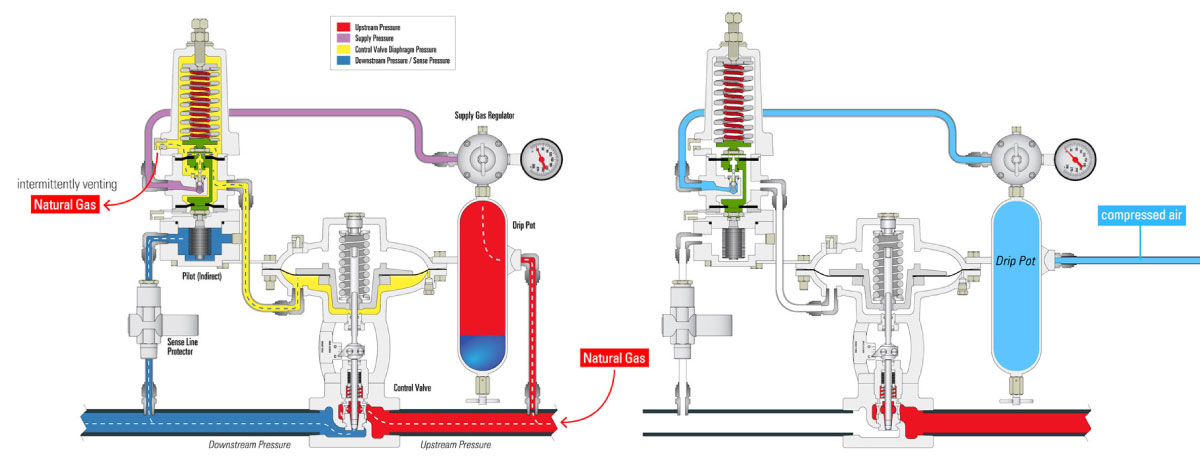
With the bellows-controlled pilots, you can have both gas and liquid on the sensing line. If you are going to use it in a liquid application, make sure there is no vibration. While you can have liquid on the bellows, if there is high vibration, you risk cracking the bellows and the pilot failing. Just make sure it's not in a high-vibration area, like on a compressor skid, if you are using it in a liquid application.
Most of the time, people use this for gas control, so back pressure or pressure-reducing applications, but liquid on the bellows won't affect its operation.
Relay / Volume Booster
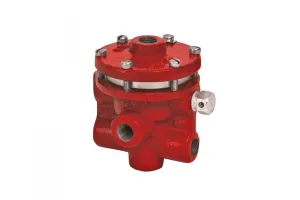
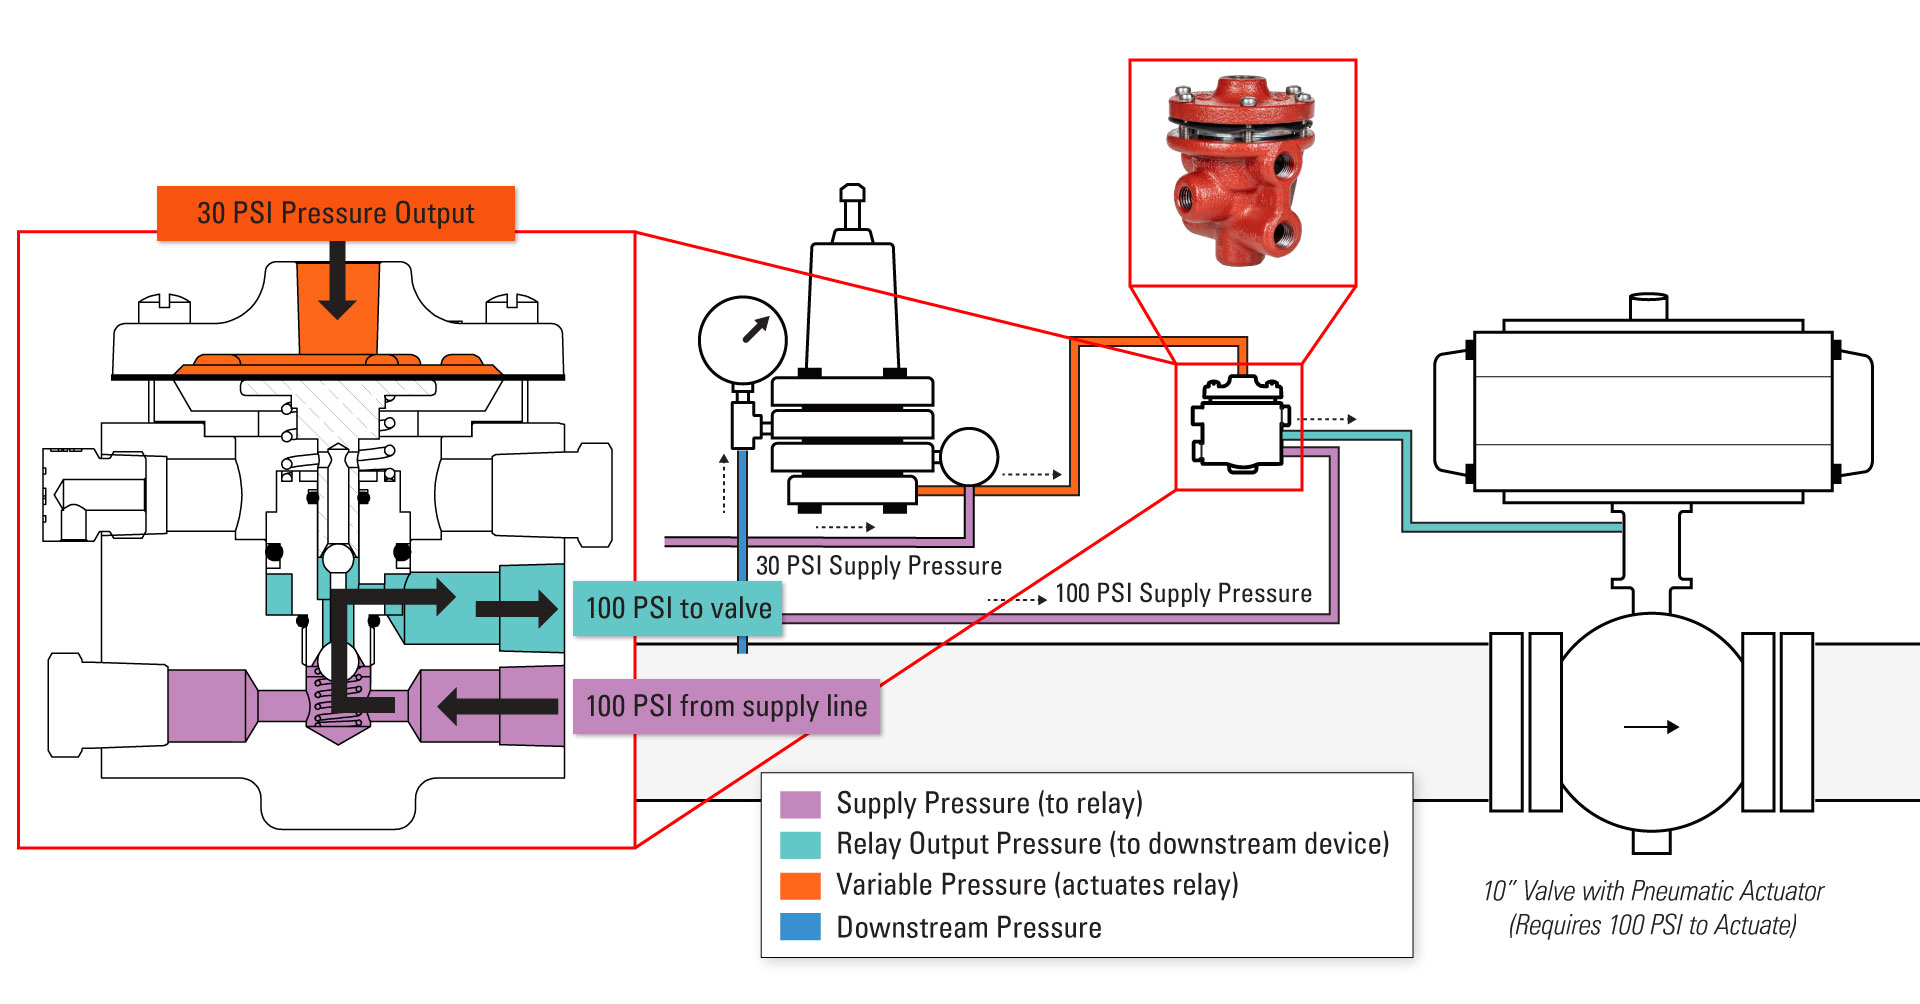
Next, we're going to talk about our Relay, a volume booster, which you would use in applications where a pilot can only output 30 PSI, but you need more pressure to actuate larger valves or different kinds of valves requiring higher pressures up to 300 PSI. This relay takes in that variable signal, up to 30 PSI, and boosts it up to that higher amount, up to 300 PSI.
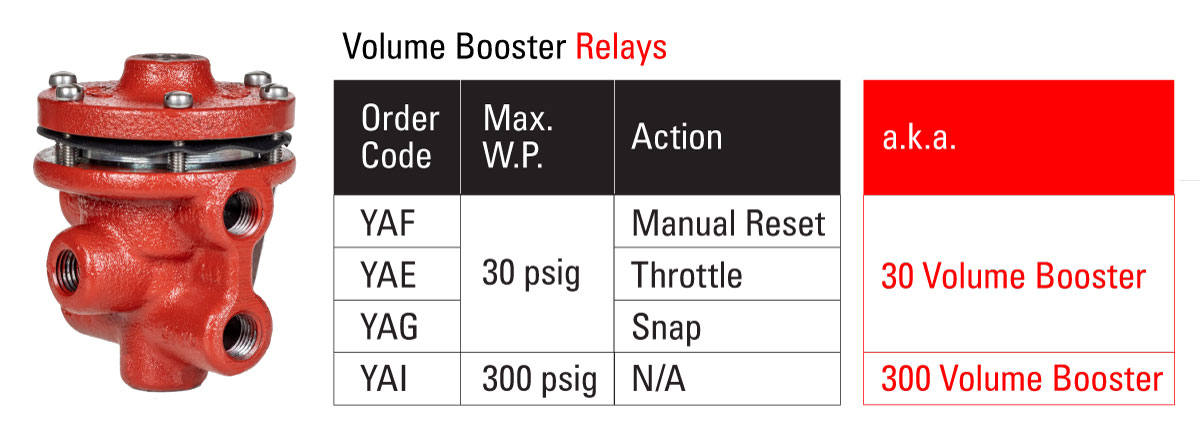
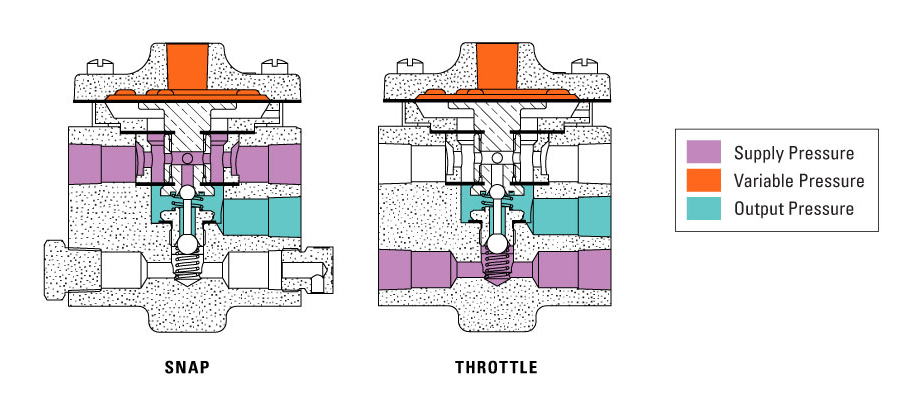
There are a lot of different connections coming into the relay. The variable pressure comes into the top, which is more or less your on/off signal. Then you supply the relay with whatever pressure you want it to boost up to, and it will have an output to that controller, valve, or whatever you're controlling in that application. It's a way to use existing equipment and pilots but get a higher pressure output from them.
Manual Reset Pilot
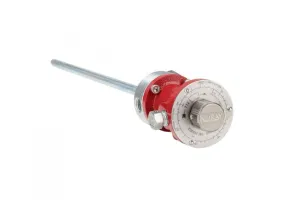
We also have the manual reset pilot, which operates a lot like the relays but has a manual reset. Anytime that variable pressure is sent to the manual reset pilot, it trips the reset lever and doesn't allow any supply gas through it. You would use this in applications for high temperature or high-pressure shutdowns.
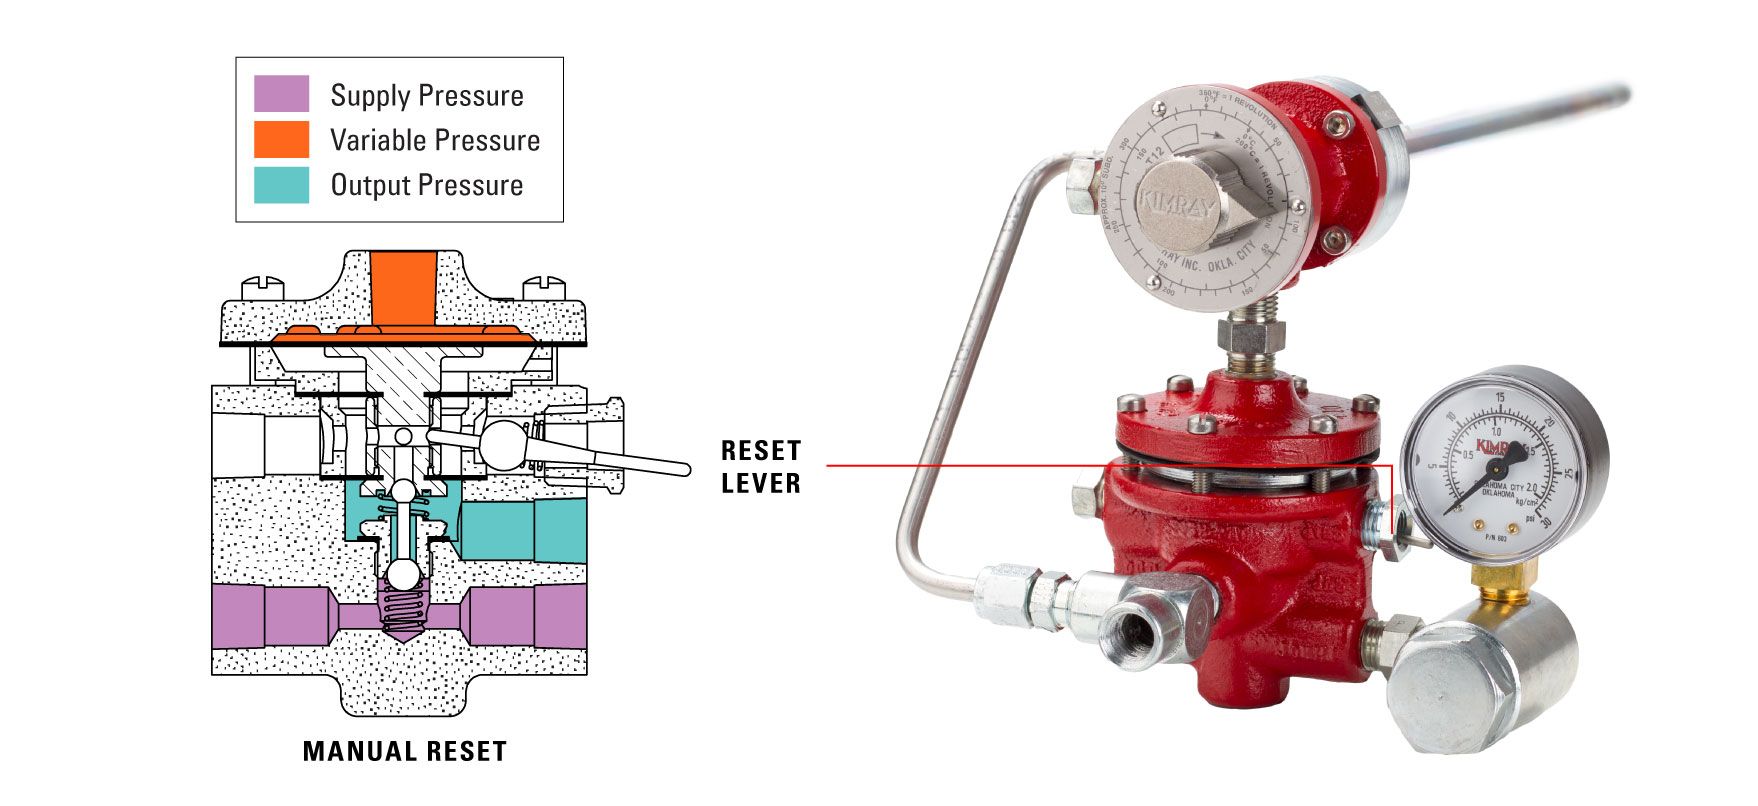
Commonly, it's used in conjunction with our T12 Temperature Controller for a high-temperature shutdown. We have some videos on that if you want to check them out, but anywhere you want to manually shut down a process and then have to reset it after fixing it, this is where you would use the manual reset pilot.
Bistable Pilot
Up next, we've got the Bistable Pilot. This pilot is used in applications where you're wanting there to be several inputs to the pilot, but one signal change could either trip it one way or the other. Think of it as an on/off switch. One example of how it's used is on our VR control valves.
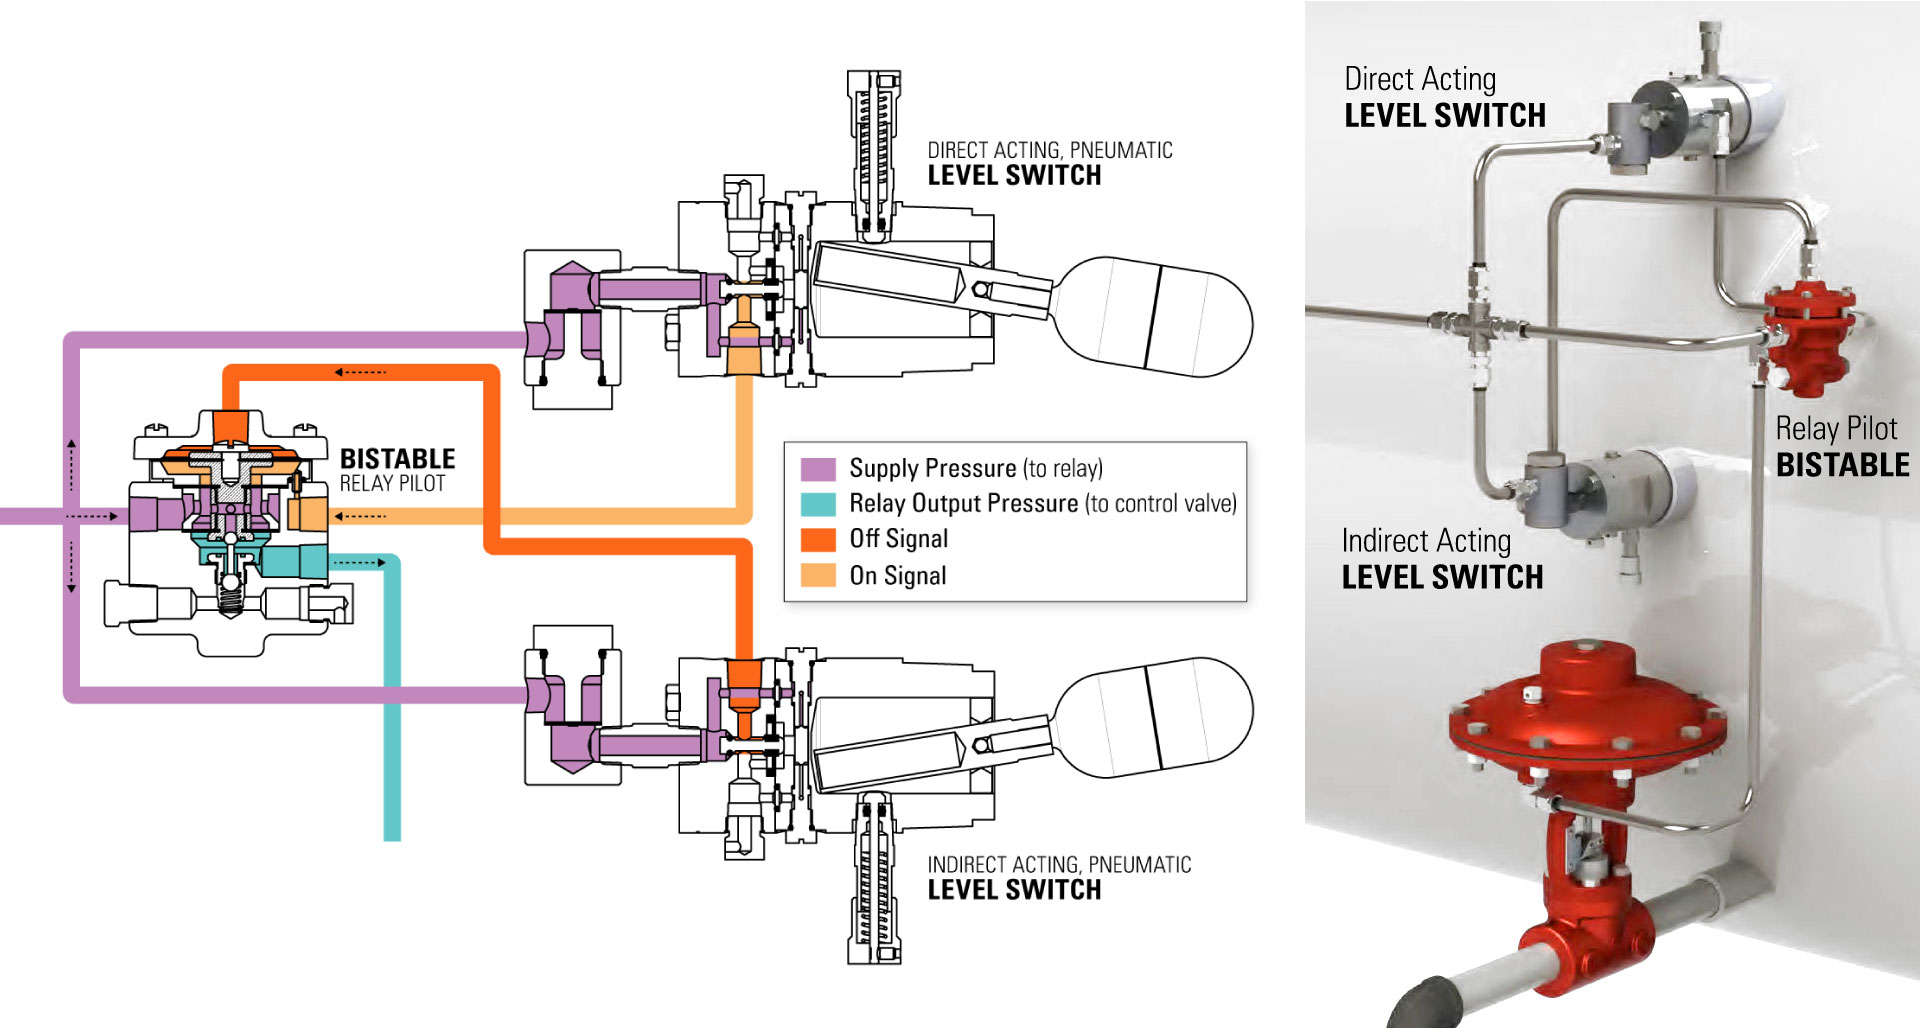
If you've got that with the block and bleed manifold, the manual reset pilot, and a bistable pilot, you can have a three-way or four-way dump valve system where one signal trips the bistable pilot, allowing another signal to come through the manual reset pilot and operate the relay.
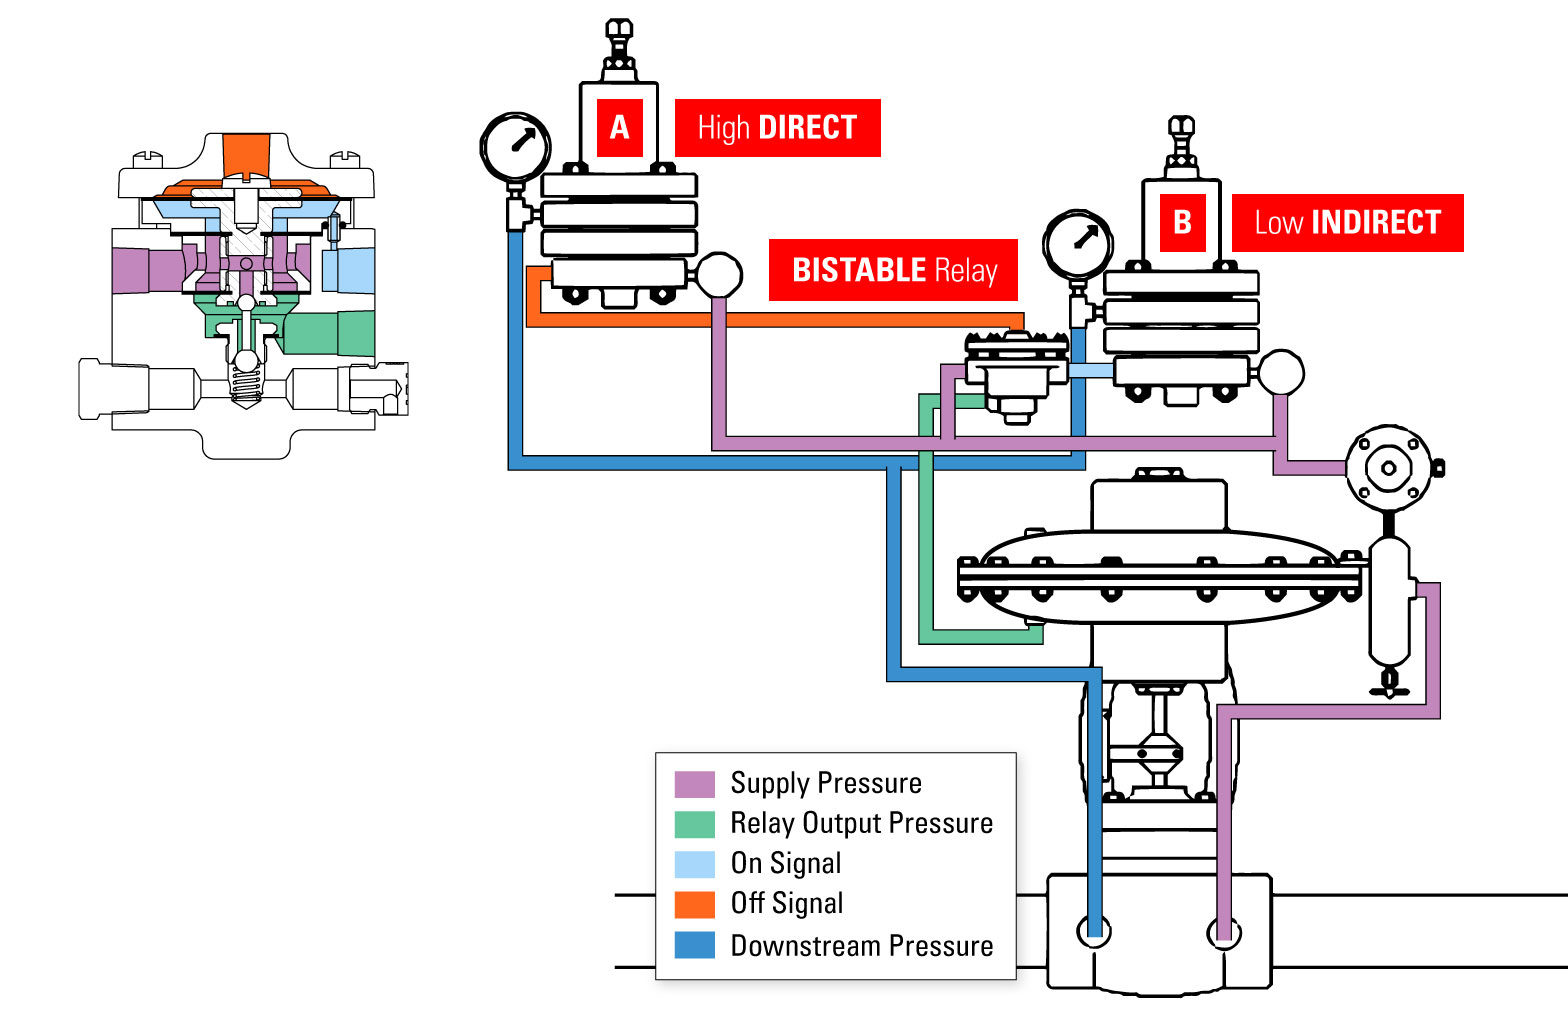
It's a way to have multiple signals interacting and controlling one process but in a more complex way. This pilot itself, when actuated, allows or disallows pressure through to control valves.
Electric Pilot
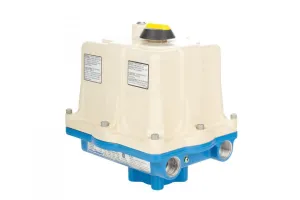
The Electric Pilot can be used with any electric actuator to automate a control valve. This pilot is very versatile and can be used in:
- Back Pressure
- Pressure Reducing
- Pressure Differential
- Gap Control
- Timer
The pilot takes an input signal—like a pressure or timer—and outputs a signal to an electric actuator.
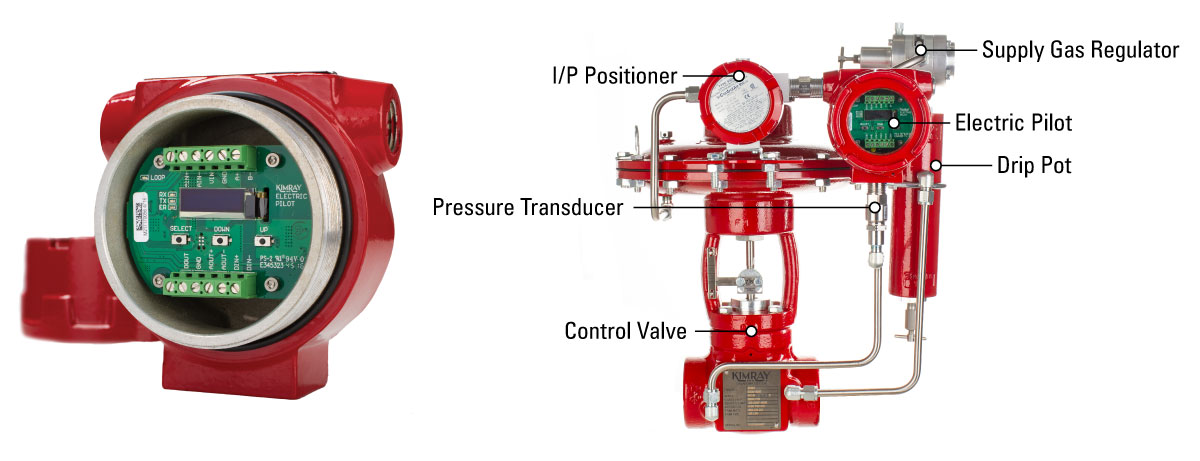
You can also use the pilot in a package called an Electric Valve Controller, which mixes pneumatic and electric operation. In this application, the pilot monitors your control pressure, and then has an output to an I/P, which is then converting that 4-20 milliamp output into a pneumatic output to the valve itself.
The benefit of this set up is you can retrofit valves without having to change them out completely.
So if you've got all pneumatic valves and you're wanting to automate that system without having to change over to electric actuators, you could then use our pilot to kind of to be the in-between from electric to pneumatic.
Pressure Differential Controller
The Pressure Differential Controller is used in applications where you are wanting to control a difference in pressure across an orifice plate. You might hear this referred to as a “PDC controller.”
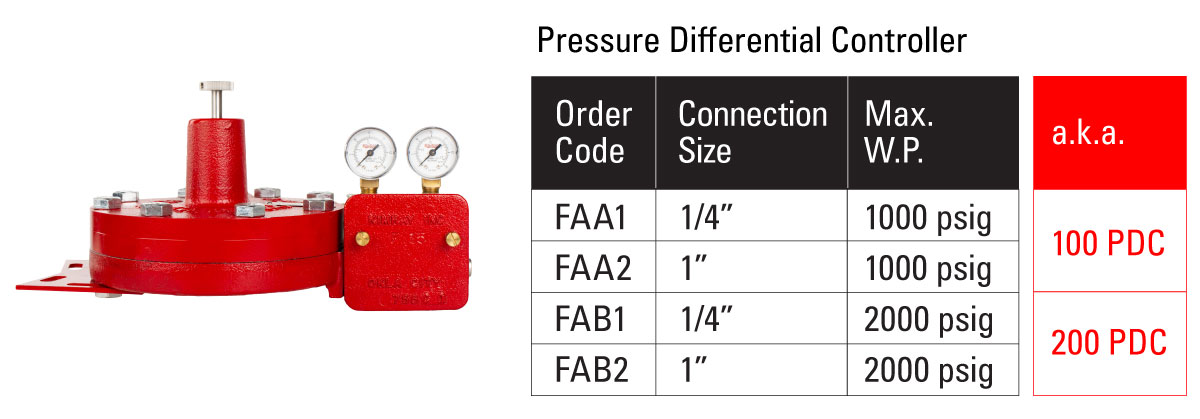
This controller has inputs for both the upstream and downstream pressure. Those two pressures work against each other with a spring in the pilot. That spring is what controls the difference between the two pressures.
The output of this pilot can be either compressed air or natural gas. Again, 30 PSI is all that's required.
The more tension you have on this spring, the higher the difference between upstream and downstream pressure will. So when you meter gas, you use an orifice plate. If there's a known pressure difference between the upstream side of that orifice plate and the downstream side, you can calculate the flow rate.
For example, let's say that you're operating at 500 PSI on the upstream side of the orifice plate, and 495 PSI on the downstream. That’s a 5 PSI differential, and if the upstream pressure increases by 5 PSI, the downstream pressure is also going to increase by 5 PSI so you keep that same differential even though that pressure is changing.
If the downstream pressure changes for whatever reason, the pilot will actuate a control valve to also change the upstream pressure, so no matter what pressure changes you're seeing, this controller will maintain that pressure differential across that orifice plate, which helps you maintain flow rate and keep that consistent.
Pilot Repair
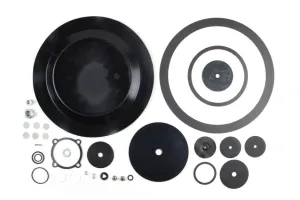
We offer repair kits for all these pilots and relays, so you can repair them as needed. We have repair videos for most of the pilots, but you if you need help repairing you can always reach out to us and we can help you through that process.

If you’d like more information on these or any other Kimray products, contact your local Kimray store or authorized distributor.
