
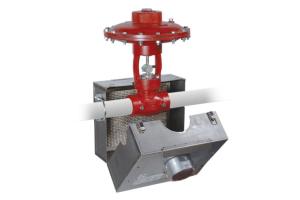
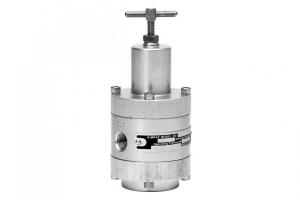
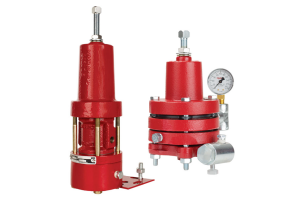
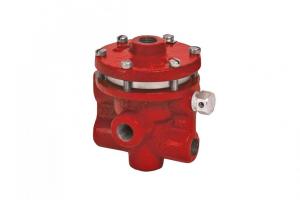
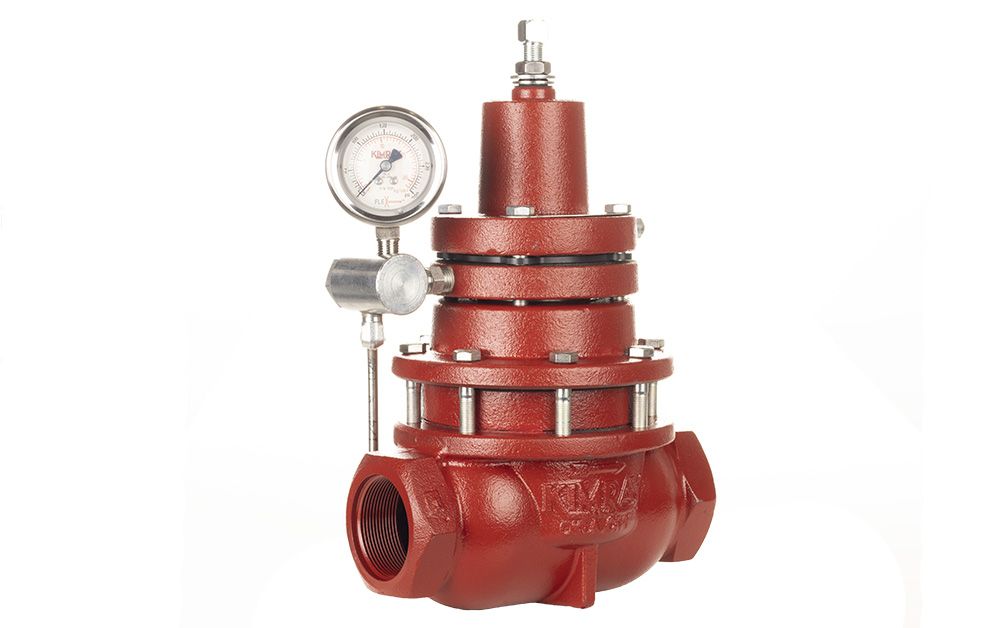

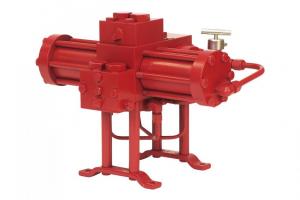
The Kimray Liquid Dump Valve is a reliable, zero-emission valve used to dump liquid from oil and gas production vessels such as treaters, separators, and free water knockouts.
In this video, we’ll show you how to repair a dump valve. These instructions apply to the 2” Piston-Balanced Throttling (PBT) Mechanical Dump Valve. (Note: This product is now called the Lever-Operated Piston Balanced Throttling Liquid Dump Valve.) If your valve is diaphragm balanced, we also have a Diaphragm Balanced Dump Valve repair video.
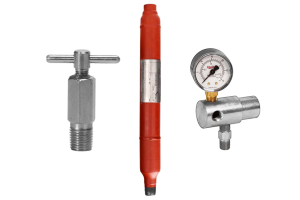
Tools Needed
- 7/16” Wrench
- 9/16” Wrench
- 11/16” Wrench
- Crescent Wrench
- Pick
- Needle nose pliers
- Repair Kit
- Kimray Seat Removal Tool
How to Repair a Dump Valve: Disassembly
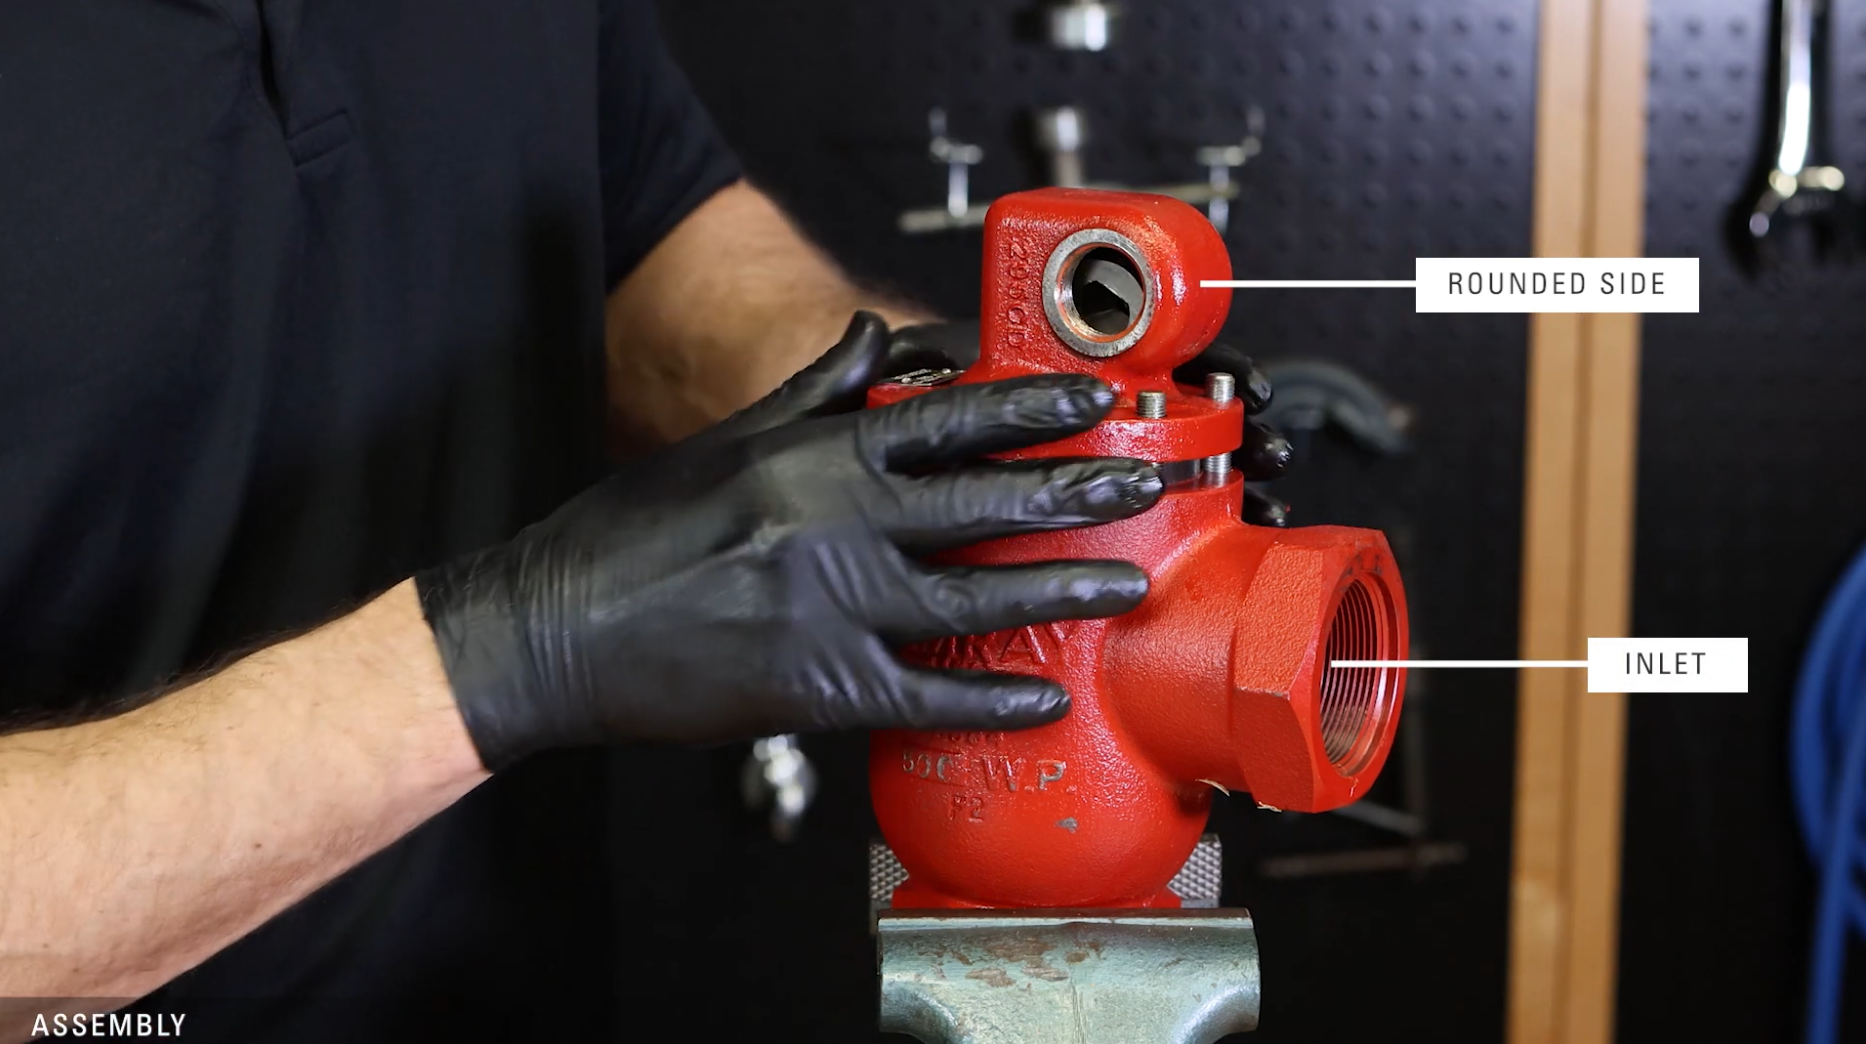
Before we begin disassembly, it’s important to note that on the PBT valve, the bonnet is the opposite direction of other mechanical valves. The flat side is always away from the inlet. On other mechanical valves the flat side is on the same side as the inlet.
- Using a 9/16” and 11/16” wrench, loosen the bolts to remove the lever arm.
- Use a ½” wrench to remove the lever hub nut and washer.
- Use a 9/16” wrench to loosen the lower bolt. Two to three full turns will allow the lever arm to slide off without removing the bolt.
- Use a crescent wrench to loosen the plug and the stuffing box. If it doesn’t come off easily, tap the wrench with a mallet.
- Remove the plug, stuffing box, and shaft.
- Remove and discard all the O-rings (3x) and bushings (2x) from the plug and stuffing box.
- Examine the shaft. If it’s bent or heavily scored, it will need to be replaced.
- Use a 9/16” wrench to remove the bonnet bolts. A socket wrench can be used for most of the bolts but you’ll need a wrench for the two remaining nuts above the inlet.
- Remove the bonnet. The two remaining studs stay in place.
- Discard the gasket. It may be stuck to the bonnet.
- Pull up on the trunnion hub to remove the piston assembly. You may need to use a screwdriver for leverage.
- Use the Kimray Seat Removal Tool to remove the seat. *NOTE: Your tool will vary depending on your valve model.
- Discard the gasket and inspect the removable seat and threads for any damage.
- Remove the valve body and put the piston assembly in the vise by the lock nut.
- Use needle nose pliers to remove a snap ring to slide the link pin out and disconnect the trunnion hub from the nut. Snap rings don’t normally need to be replaced, but if one is damaged or missing, there are replacements in the repair kit.
- Use a crescent wrench to loosen the nut and a 7/16” wrench on the flats to keep the stem from spinning.
- With the nut off, pull the cylinder out.
- Rotate the stem using the 7/16 wrench so that the piston assembly can be completely disassemble.
- Lift the piston, seat, and ratio plug off the vise.
- Remove the nut from the vise and discard.
- Use compressed air to clear any debris that may be in the communication hole on the stem.
- Remove and discard the packing and O-rings from the piston.
- Examine the seat. The seat is reversible, so if one side is damaged, you can flip it over to use it again. A new seat is included in your repair kit, so if you’re doing a full repair, you can replace the seat or save it for a future repair.
- Inspect the ratio plug for any damage. If it’s damaged, it will need to be replaced.
- Discard the O-ring and examine the cylinder for scoring on the inside. If it’s damaged it may need to be replaced.
- Clean the communication holes of any debris.
How to Repair a Dump Valve: Assembly
- Put the flats of the stem in the vise.
- Attach the new backup, O-ring, and second backup on the piston and apply grease.
- Slide the piston onto the stem with the O-rings on the bottom, followed by the seat with the good side facing up if you’ve flipped it, and then the ratio plug on top.
- Lightly grease the threads of the stem.
- Using a 9/16” wrench or socket wrench, tighten the new lock nut from the repair kit onto the stem.
- Remove the piston assembly and flip it over and put the nut in the vise.
- Replace the O-ring on the cylinder and slide it onto the stem.
- Apply Loctite to the threads and tighten the nut with a crescent wrench. Use a 7/16” wrench on the flats to keep the stem from turning.
- Slide the link pin through the two links and the nut and secure with a snap ring. Replace any other snap rings as needed.
- Grease the top of the cylinder and place the gasket on top.
- Then apply more grease on top of the gasket.
- Remove the piston assembly and mount the valve body onto the vise.
- Carefully attach the gasket to the removeable seat and add grease.
- Thread the seat into the body by hand and tighten with the Kimray removeable Seat Tool.
- Grease the O-ring on the piston assembly and push it down into the valve body. If it doesn’t slide in easily, it may be crooked.
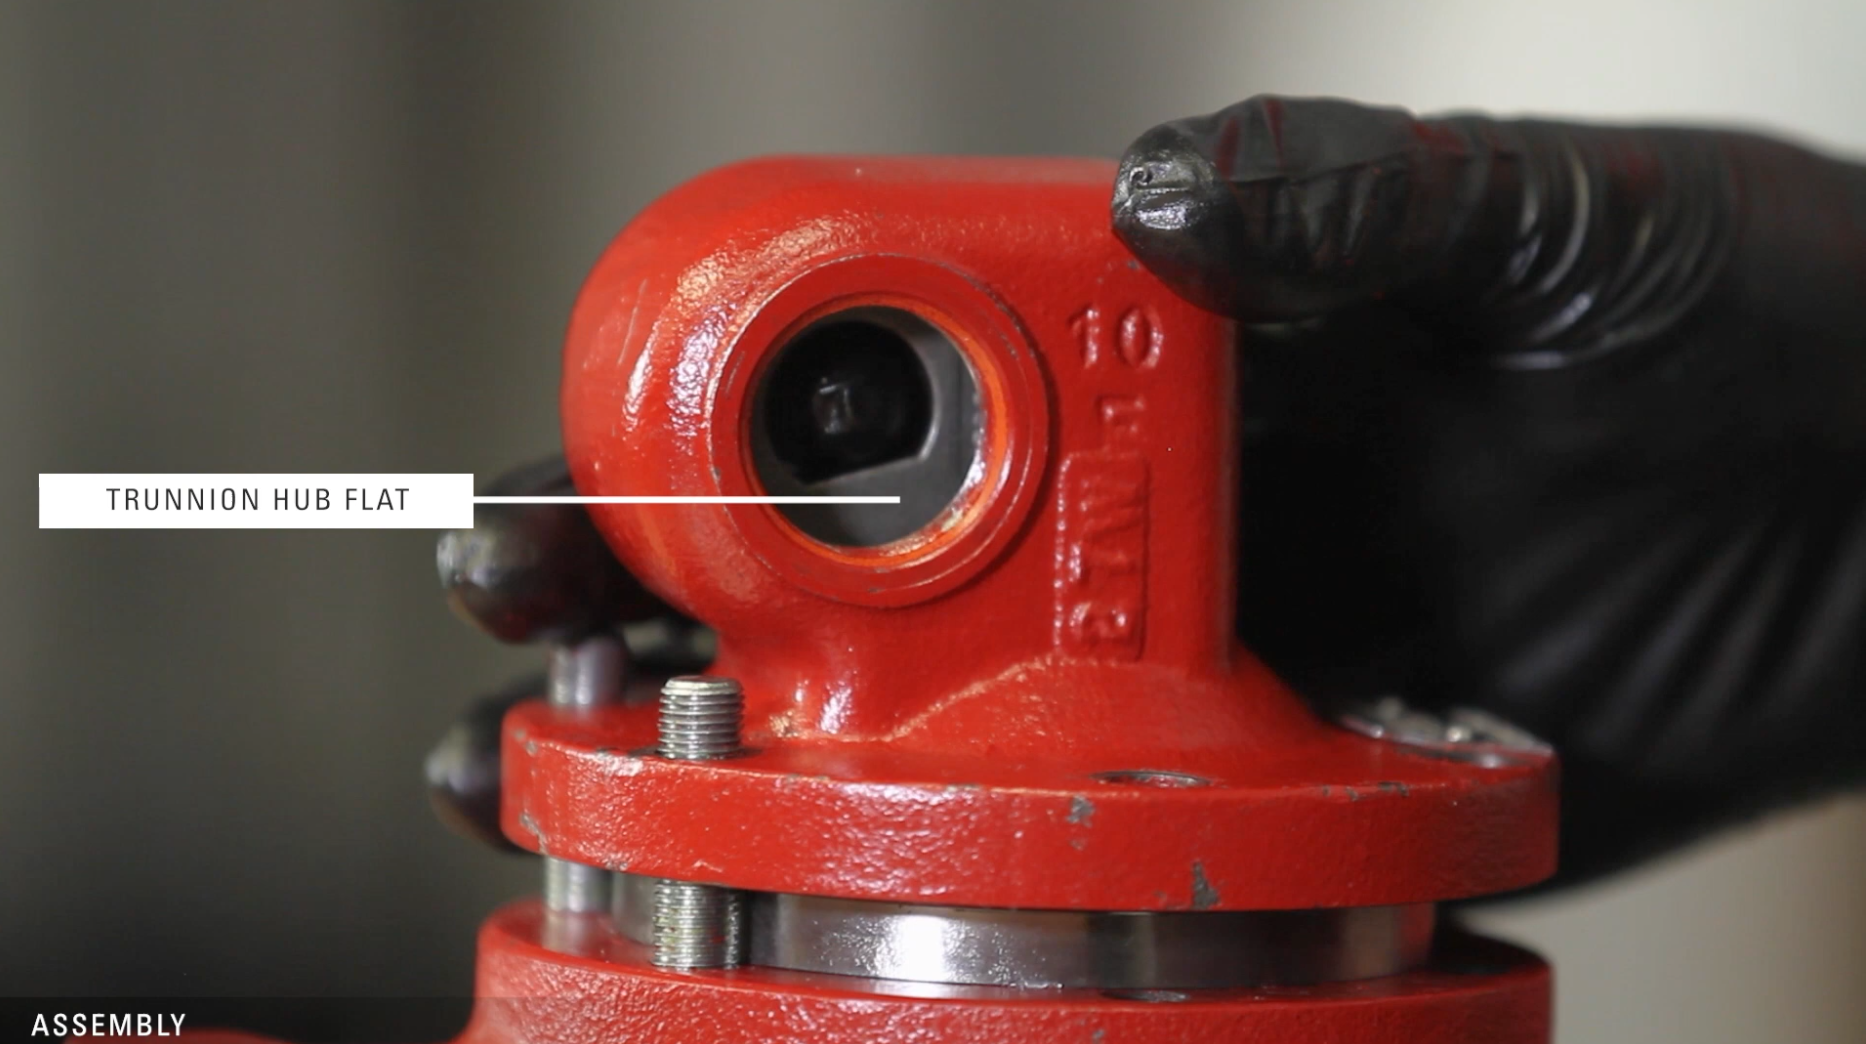
- Place the bonnet on top of the body, verifying that the trunnion hub is in the correct position with the flat side at the bottom.
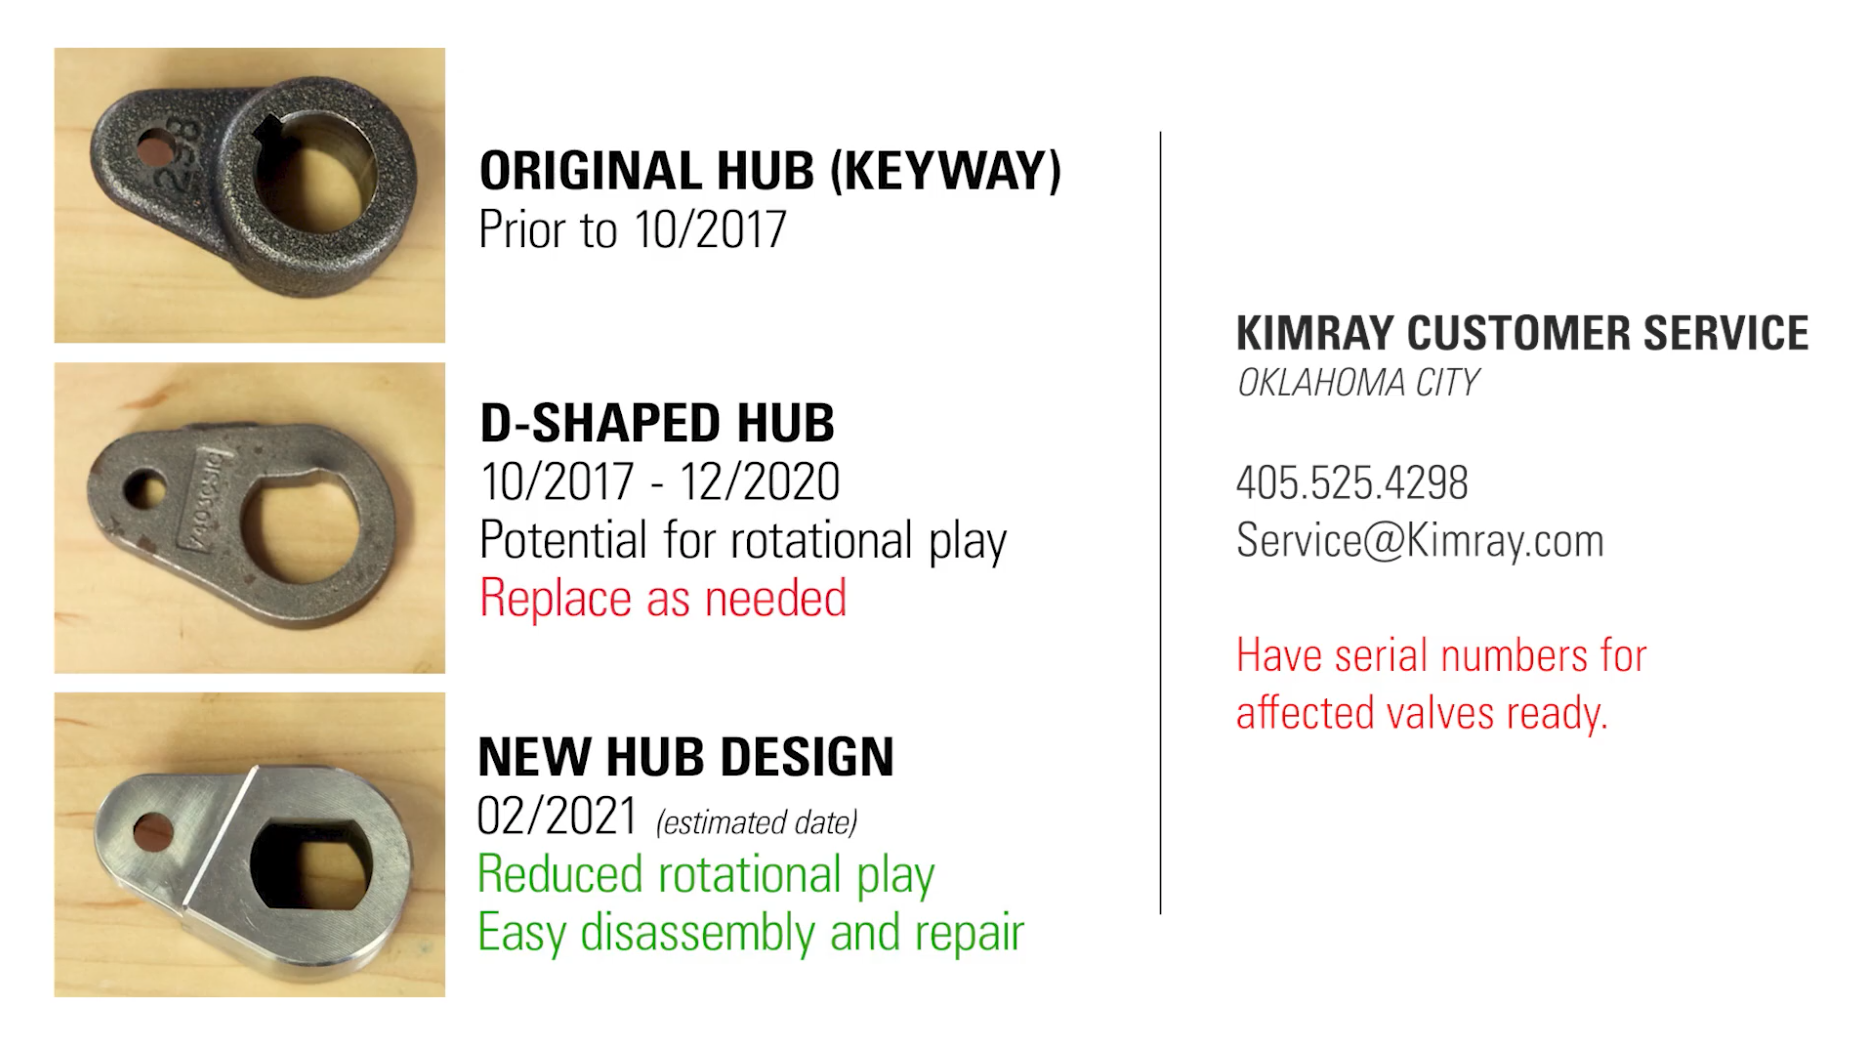
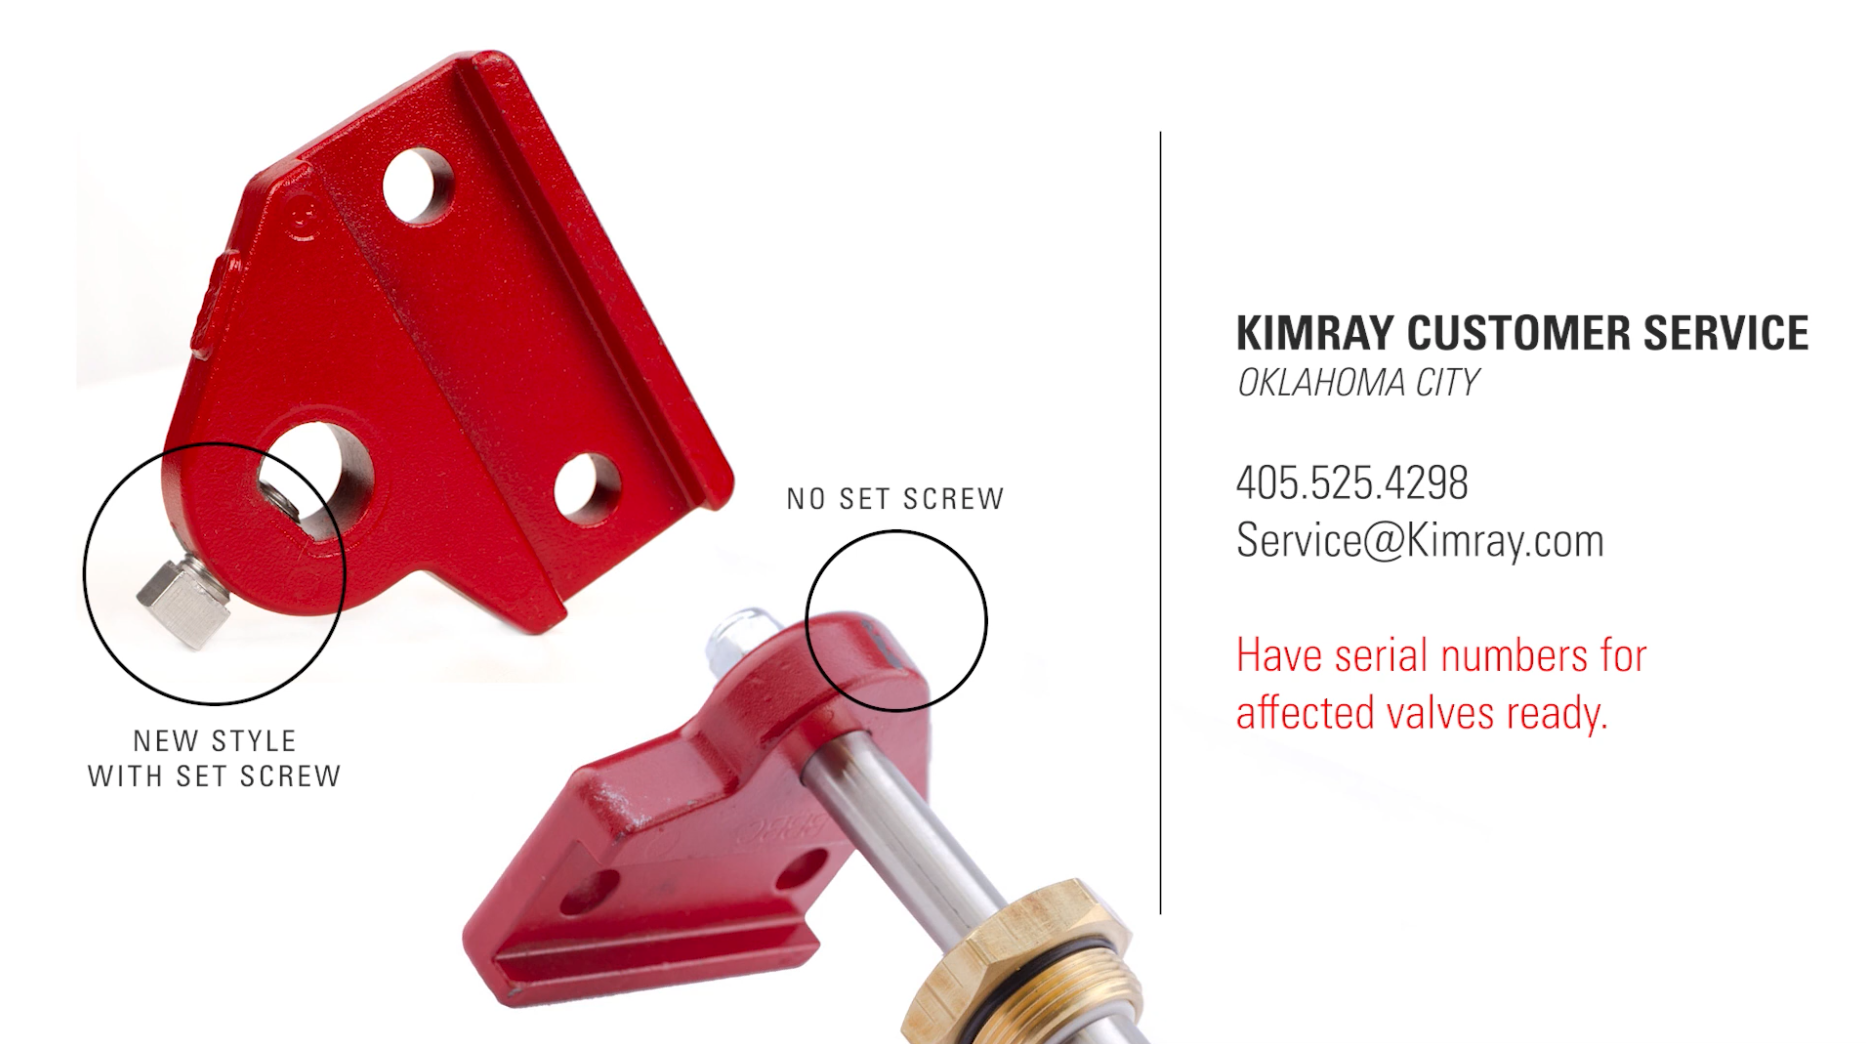
- If you have the version of the hub and shaft that only has one flat, we recommend you replace it with the new style hub and shaft with double flats to reduce angular play in the hub and shaft connection. If you have the version with one flat, Kimray can send you the new style hub and shaft free of charge. Contact Kimray customer service (405-525-4298 or service@kimray.com) and have your serial numbers ready. If you have the original keyway style, you can keep that in your assembly. Replacements are not needed unless they are damaged.
- If you have the version of the hub and shaft that only has one flat, we recommend you replace it with the new style hub and shaft with double flats to reduce angular play in the hub and shaft connection. If you have the version with one flat, Kimray can send you the new style hub and shaft free of charge. Contact Kimray customer service (405-525-4298 or service@kimray.com) and have your serial numbers ready. If you have the original keyway style, you can keep that in your assembly. Replacements are not needed unless they are damaged.
- Make sure this new style hub is in the correct orientation with the flat on the bottom side in line with the pin hole when the hub is facing towards the inlet of the valve.
- While lifting up on the hub assembly, place the bonnet on the body with the rounded side facing the inlet of the valve and confirm the trunnion hub is in the correct position.
- Tighten the bonnet bolts and nuts.
- With the inlet facing away from you, insert the shaft into the right side of the bonnet
- If you installed the hub with double flats, you will be installing the shaft with double flats. Make sure the single flat on end of the shaft is facing down.
- Grease the inside and outside of the plug and stuffing box and install the O-rings over the threads.
- Then install the new O-ring and bushing inside the stuffing box.
- Install the bushing in the plug.
- Add the plug and stuffing box to the shaft and tighten them with a crescent wrench. Use a few taps with a mallet to secure them in place.
- Slide the lever hub onto the shaft, with the slot for the lever arm facing the valve.
- Tighten the washer and nut on the end of the shaft with a 1/2" wrench. In the latest version of the hub design, there are not threads on the end of the shaft, so you can skip this step.
- Next, tighten the set screw on the bottom of the lever hub with a 9/16” wrench.
- If your lever hub does not have a set screw on the bottom, we recommend replacing it with the newest style lever hub as mentioned earlier. Contact Kimray customer service (405-525-4298 or service@kimray.com) and have your serial numbers ready.
- If your lever hub does not have a set screw on the bottom, we recommend replacing it with the newest style lever hub as mentioned earlier. Contact Kimray customer service (405-525-4298 or service@kimray.com) and have your serial numbers ready.
- Finish by attaching the lever arm to the lever hub. Notice the slot for the lever should be facing towards the valve. The nuts should be facing the valve.
Note: Currently there are four additional parts in the repair kit that are used in older hub designs.
For help repairing your dump valve, contact your local Kimray store or authorized distributor.