
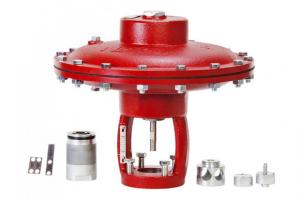
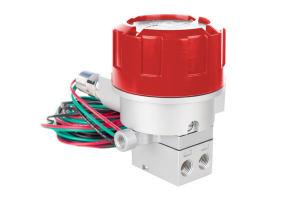
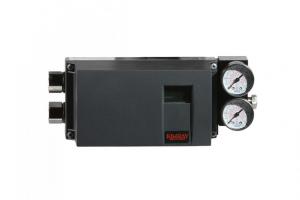
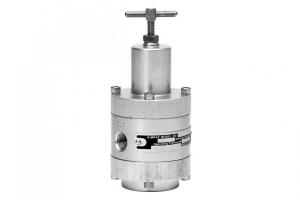
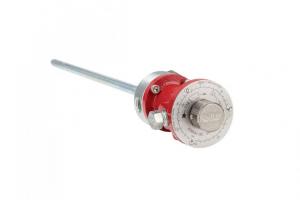
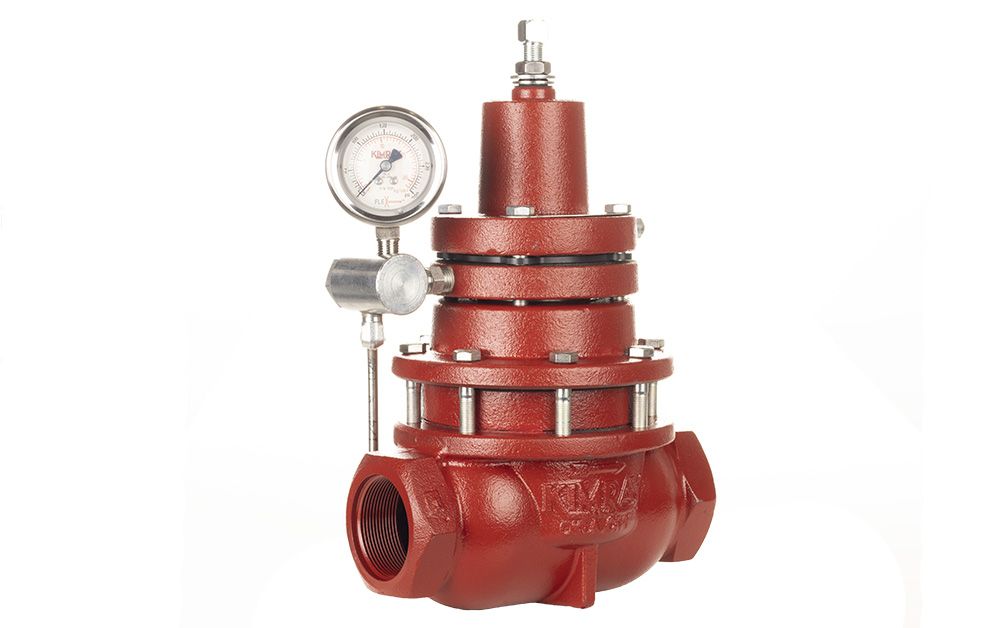

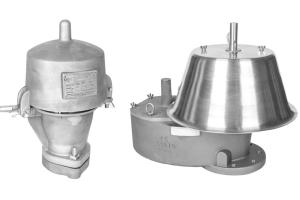

The Kimray Electric Pilot is a stand-alone electric controller that can control pressure, flow, temperature, or level. It features an interactive screen and allows you to control process conditions without the use of a Remote Terminal Unit (RTU), Programmable Logic Controller (PLC), or any other computing hardware.
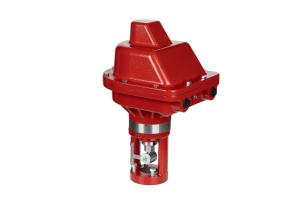
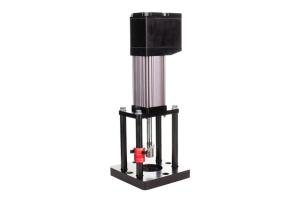
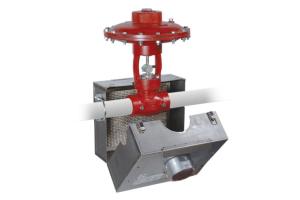
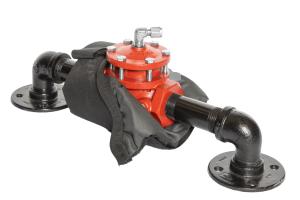
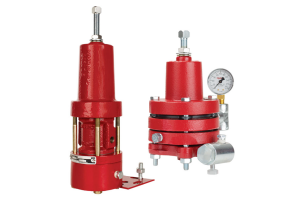
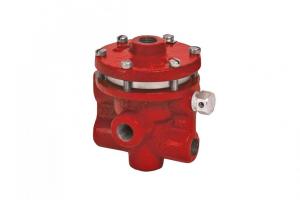
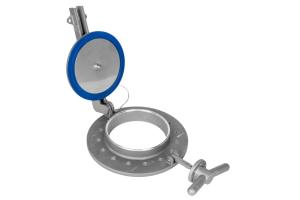
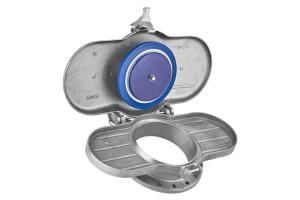
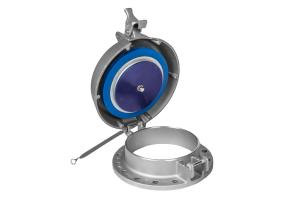
In this video, Alex Crow shows you how to install an Electric Pilot with a Valvcon Electric Actuator and R2L on a 2-inch Kimray High Pressure Control Valve. You can find step-by-step instructions below.
How to Install a Kimray Electric Pilot
For this setup process, you’ll want to have already calibrated your Valvcon Actuator. If you need help, see our video, “How to Install and Calibrate the Valvcon and R2L.”
- First, thread the Pilot onto the Valvcon. Depending on your site, you may need to mount it close to the transducer.
- Take the wires coming from your pressure transducer and terminate them to the pilot on the Analog IN positive and Analog IN negative terminals.
- Connect another set of wires to the Analog OUT positive and Analog OUT negative terminals.
- Run these wires to the position control—terminals 15 and 16.
- Connect the power wires to terminals 19 and 20 on the actuator. In the video, we use 24 volts DC. The pilot can share power with the Valvcon.
- Run these wires to the Pilot, and terminate them alongside the incoming power on the Voltage IN and Ground terminals.
How to Power Up a Kimray Electric Pilot
Now we’re ready to turn the power on and set up the Electric Pilot.
- First, push the Select button until you reach Sensor Setup. Then push the Up button.
- Push the Up button again until you reach Pressure. Push the select button.
- Select PSI.
- Now use the Up and Down buttons to set the maximum and minimum working pressure of your pressure transducer. In the video, we say the transducer maximum is 2000 PSI and minimum is 0 PSI.
- Now you will be on the Application menu. Use the Up or Down buttons to cycle through and select your application. In the video we select Back Pressure.
- The next menu is for Set Value. Use the Up and Down buttons to scroll to your desired set point. In the video, we 650 PSI. Press select to enter that value.
- Now press select until you get to the mode Menu. Then Use the Up or Down buttons to cycle through and select Manual mode.
- Move the Controller Output to 50%. This will open the valve approximately halfway and allow pressure to flow through. Press select.
- Hit select until you get back to Mode Menu.
- Press the Up button and select Autotune.
- The Pilot will now send varying signals to the valve to see how it reacts. This should take 10-15 seconds. Once it has completed Autotune, it will automatically move to Run Mode and begin controlling your set value.
Now your pilot, actuator, and valve are set up for back pressure regulation.
You can leave it on this screen, and it will move to standby mode after approximately four minutes.
If you ever need to change your Set Value, you won’t need to run autotune again. You will only need to do that if you change your valve or trim size.
