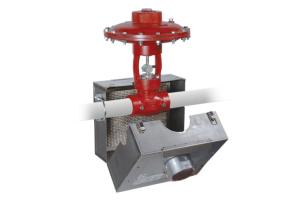

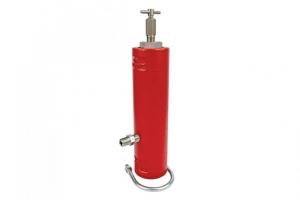


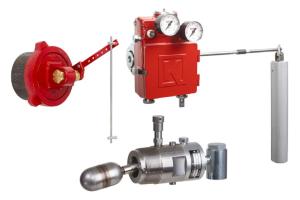

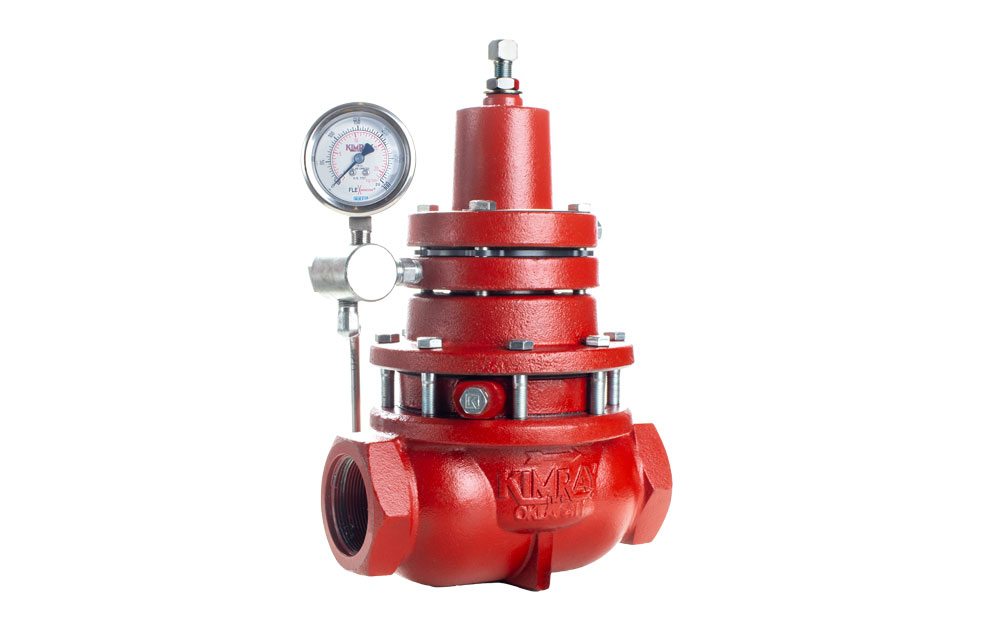
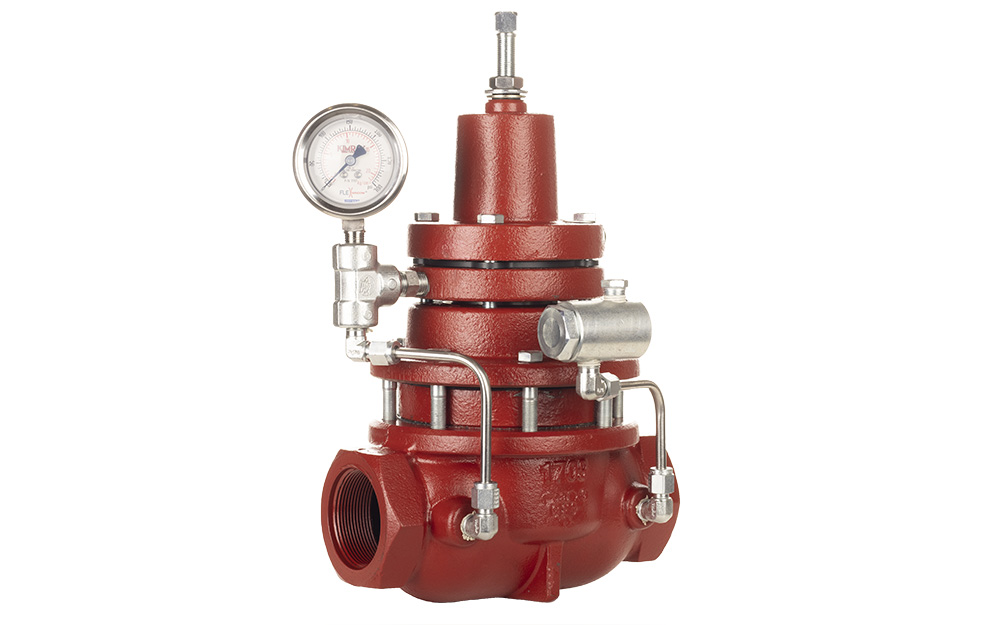
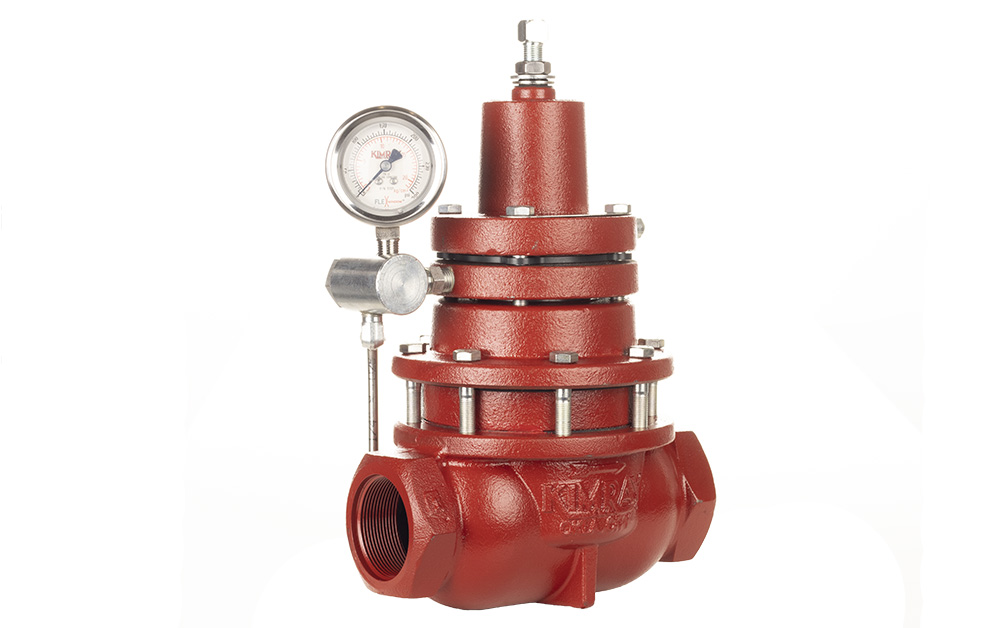
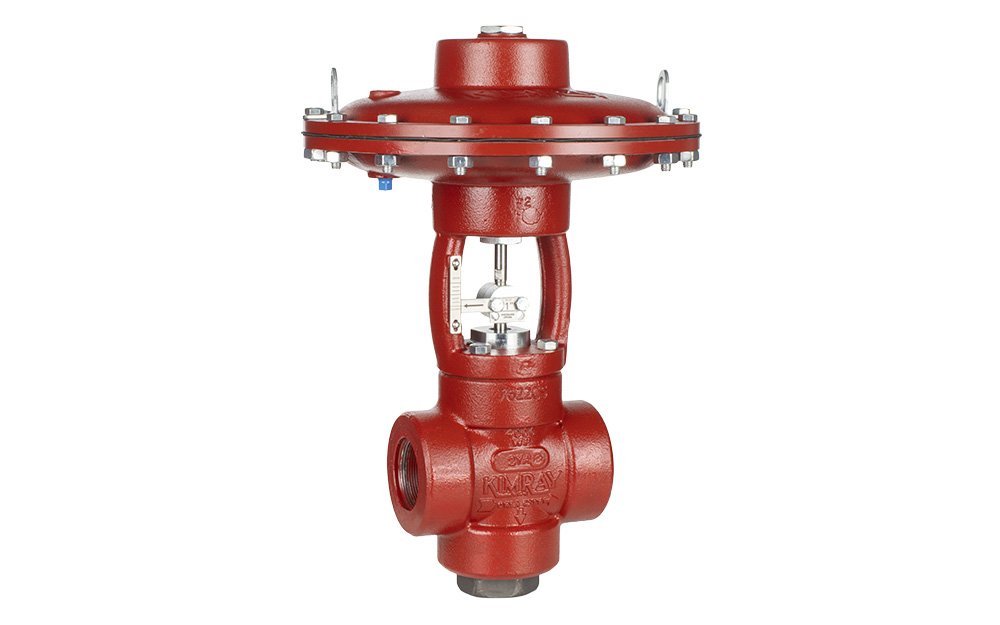
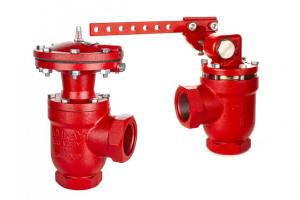
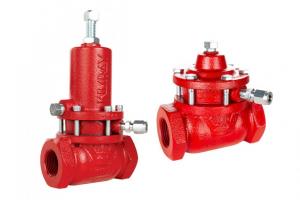
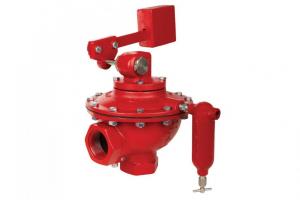
The Weight Operated Dump Valve is a product that producers use to control levels in heater treaters.
Certain conditions can cause oscillation of the weighted lever, accelerating the progressive wear on the stuffing box seal, allowing a leak to occur.
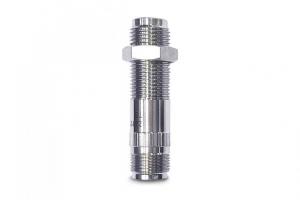
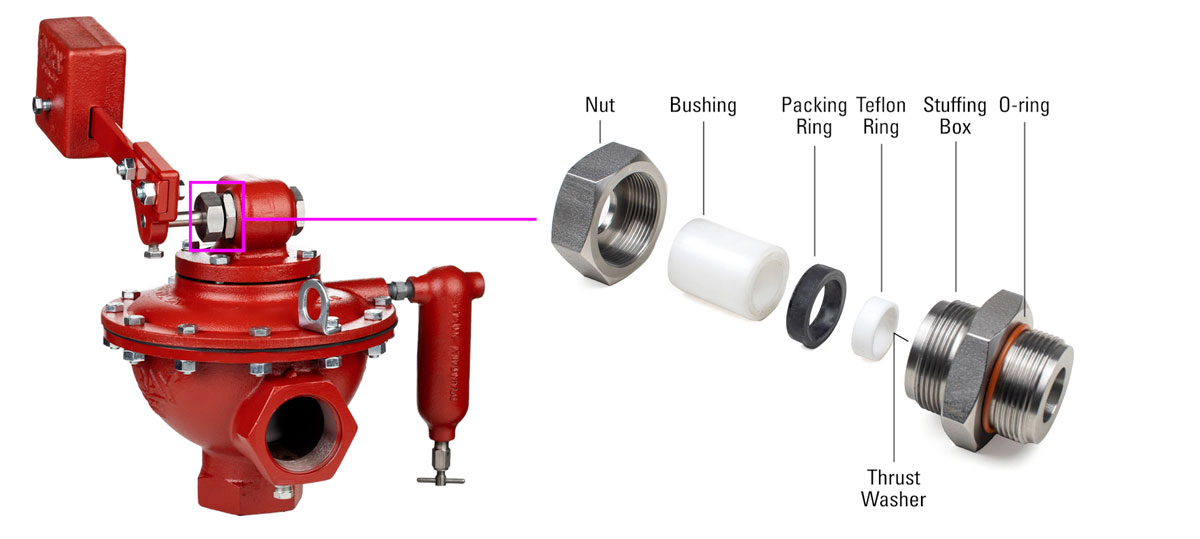
The Stuffing Box
The Weight Operated Dump Valve uses equalizing gas directly from the vessel to balance the valve, which gives it the sensitivity to be able to actuate based on the small pressure changes resulting from the rising liquid head.
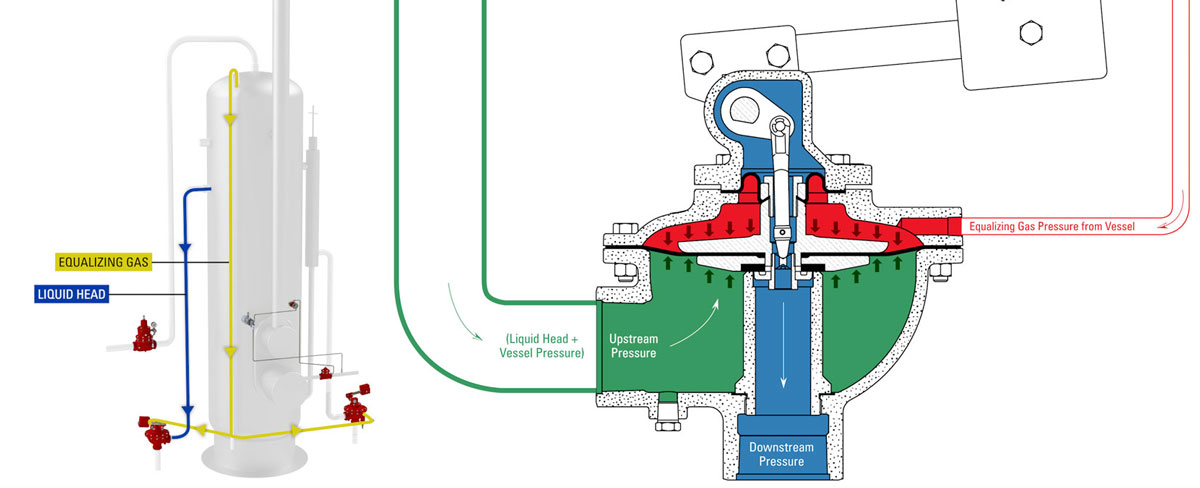
When this equalizing pressure becomes different than the upstream pressure in the valve, it creates an imbalance of forces on the diaphragm. This can cause oscillation of the trim, which is visible from the outside as an oscillating lever arm.
This oscillation, over time, can lead to premature wear on the shaft and seals, leading to leaks at the stuffing box connection.
The most common causes of the imbalance and oscillation are:
- The equalizing line is being shared with another pneumatic device.
- Condensate is collecting and blocking the line due to a dip (or in the drip pot if it’s not being drained regularly).
- The valve is oversized
Understanding that these conditions can exist in a heater treater system, Kimray has designed a new adjustable stuffing box to combat the oscillation and leaks. Now you can adjust the stuffing box nut to tighten the seal on the shaft.

The new design combats the issue in two ways:
- The tighter hold on the shaft significantly dampens the oscillation and can even eliminate it altogether.
- The adjustability ensures that you can tighten the seal if leaks ever begin to occur.
Design Features
Material:
The new design is made of stainless steel for corrosion resistance, and is available in optional 316 stainless steel for enhanced corrosion resistance and NACE compliance.

Seal:
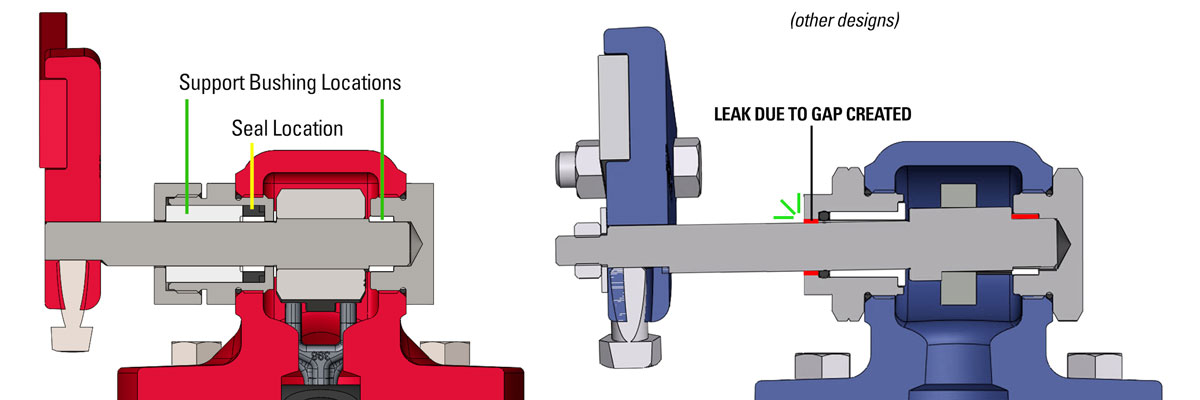
The seal being located in between the two supporting bushings provides strength and stability to the shaft eliminating any potential angular movement.
In other designs the seal is not in between the two bushings so the weight and dynamic movement of the lever and unavoidable thickness variations in the bushings can allow angular movement of the shaft.
Adjustability:
By tightening the stuffing box nut, the packing ring is compressed, which tightens the squeeze on the Teflon sleeve, providing a low friction surface to compress and seal around the shaft. If leaks ever do occur, simply tighten the nut until the leak stops. No need to isolate the valve and remove the stuffing box to replace the seal.
Kits:
With the release of the new stuffing box design, Repair kits will include components needed for repairs on this version and all previous versions, all in one kit.

The repair kit part numbers will remain the same:
- 2": REL
- 3": REM
Additionally, we offer a conversion kit that can be used to replace any existing stuffing boxes, compatible with all previous versions of the weight operated dump valve:
- 2": RZL
- 3": RZM
How to Convert Your Stuffing Box to the New Style

- Loosen the set screw and remove the lever hub arm assembly.
- Remove the stuffing box with a wrench.
- Remove the shaft and inspect the critical seal area 5/16” out from the shoulder. This is where the new packing Teflon ring will sit. If the surface finish in this area is rough or there are scratches that could allow a leak path, replace the shaft.
- Slide the Teflon thrust washer onto the long end of the shaft. The thrust washer is important to reduce the friction between the stuffing box and the shoulder of the shaft.
- Re-install the shaft with the flat on the end facing down.
- On the side of the stuffing box with the smaller inner diameter hole, add grease where the O-ring will sit.
- Add the O-ring to the same side of the stuffing box and add more grease to the outside of the O-ring.
- Hand start this side of the stuffing box into the bonnet and tighten with a wrench.
- Add grease to the shaft.
- Slide the Teflon ring onto the shaft followed by the packing ring.
- Then use the bushing to push it into the stuffing box.
- Tighten the adjusting nut onto the stuffing box as tight as you can get it with your hand, then an extra ¼ turn with a wrench.
- Use a wrench to remove the trunnion plug from the other side of the bonnet.
- Use a pick to remove the Teflon ring and replace it with the new one from the kit.
- Replace the trunnion plug and fully tighten with a wrench.
- Put the lever arm back on and tighten the set screw.
- After the valve is installed and pressurized, the nut should be tightened further, only as much as needed to stop any leaks, plus an additional 1/8 turn. Over-tightening the nut could hold the shaft too tightly and impede proper operation.