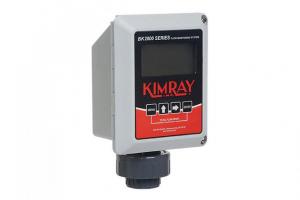

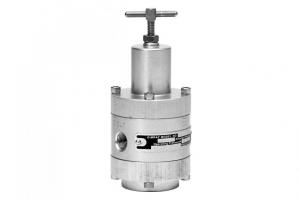


What is an Electric Pilot?
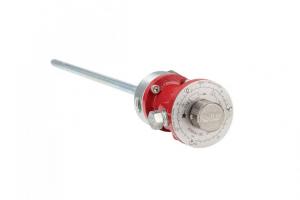
An Electric Pilot is a versatile electric control product designed for upstream oil and gas operations. The pilot can control pressure, flow, temperature, or level—all electrically, while giving you remote feedback and releasing zero natural gas emissions.
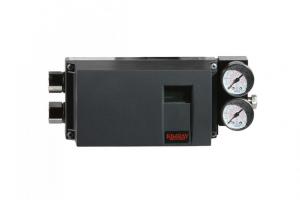
In a previous video, Kyle showed you how to use the electric pilot with an actuator and an I/P in a package we call the Electric Valve Controller.
Watch: How to Use an Electric Valve Controller
But this little guy can do so much more than that. It can receive and send any 4-20 MA signal. You can think of it as a miniature PLC.
In this video and blog we show you how easy it is to set it up for these 6 common oil and gas applications:
- Gap Control
- Temp Control
- Suction Control
- Back Pressure
- Timer
- Flow Control
How to set up the electric pilot for GAP CONTROL
Let’s say you want to use it for Gap Control on a separator.
Our goal in this application is to keep the separator at a pressure range in between two set points.
Here’s what you’ll need:
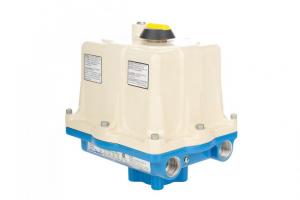
- Electric Pilot
- Pressure Transducer
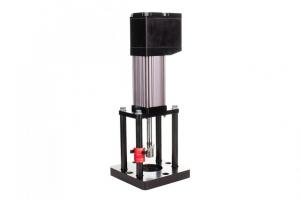
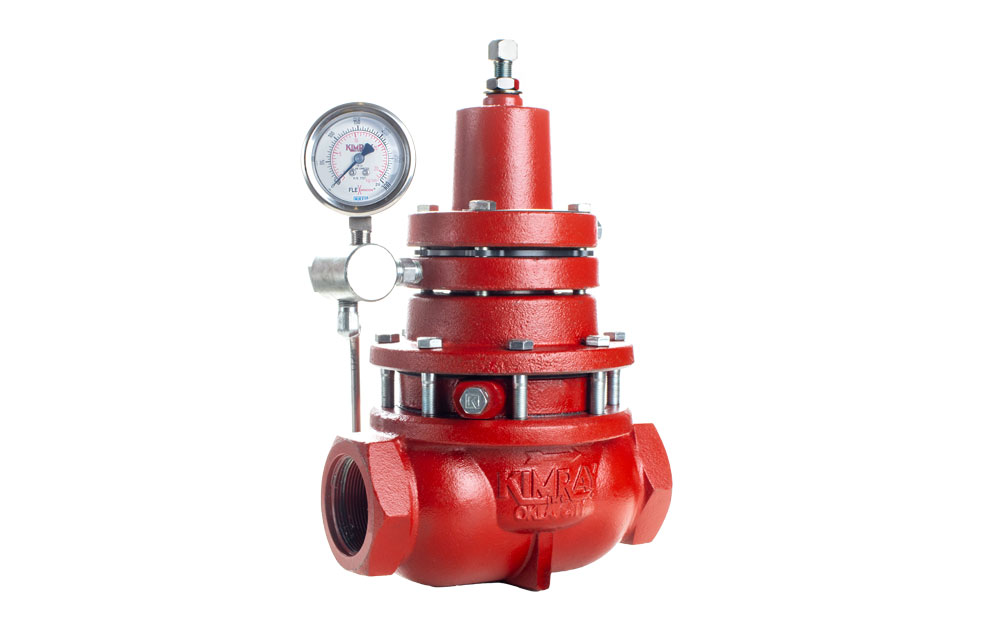
- Electric Actuator
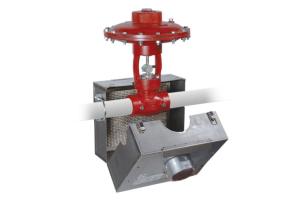
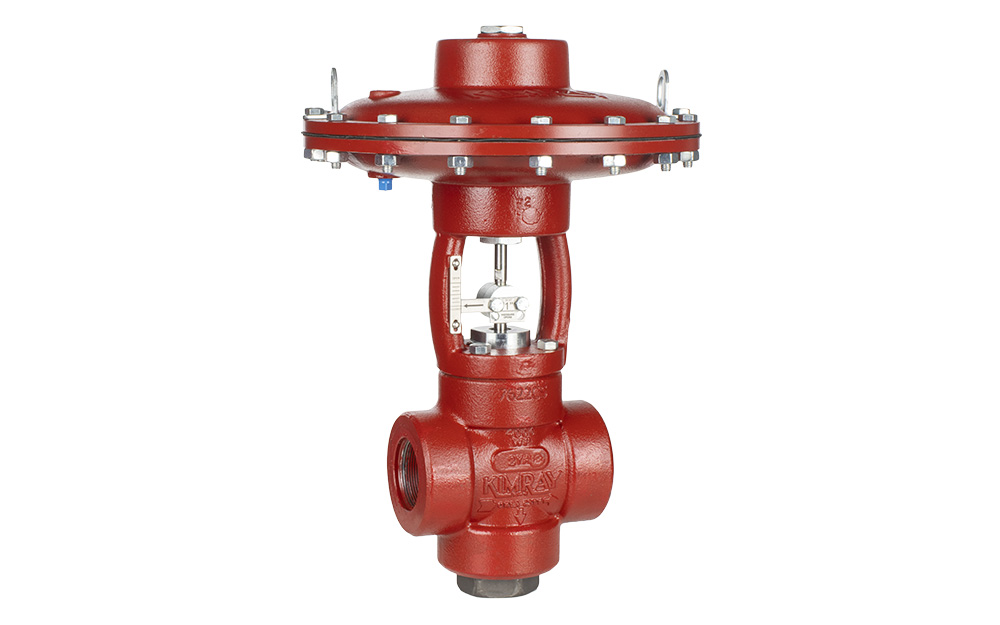
- Valve Body
Step Set Up for Gap Control
- From the home screen, press the select button until you get to Sensor Type.
- Then press the up button.
- Toggle through the sensor types until you get to Pressure.
- Press select.
- Now, toggle through the units. We’re going to choose PSI for this application.
- Push select.
- Now, use the up and down buttons to choose your maximum set point.
- Press select.
- Next use the up and down buttons to choose your minimum set point.
- Press select.
- Now choose your application. This is gap control.
- Press select.
- Now choose your opening pressure. We’ll choose 500 PSI.
- Press select.
- Now choose your closing pressure. We are using 50 PSI.
- Press select.
- Now choose run mode.
- Press select.
Now your valve is set up for gap control.
How to set up the electric pilot for TEMPERATURE CONTROL
Let’s say you want to the pilot to maintain Temperature Control.
Our goal in this application is to keep the temperature of a vessel like a heater treater in between two temperatures.
Here’s what you’ll need:
- Electric Pilot
- RTD Sensor
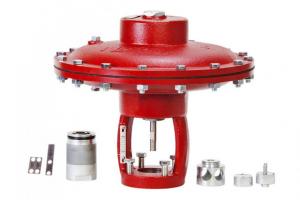
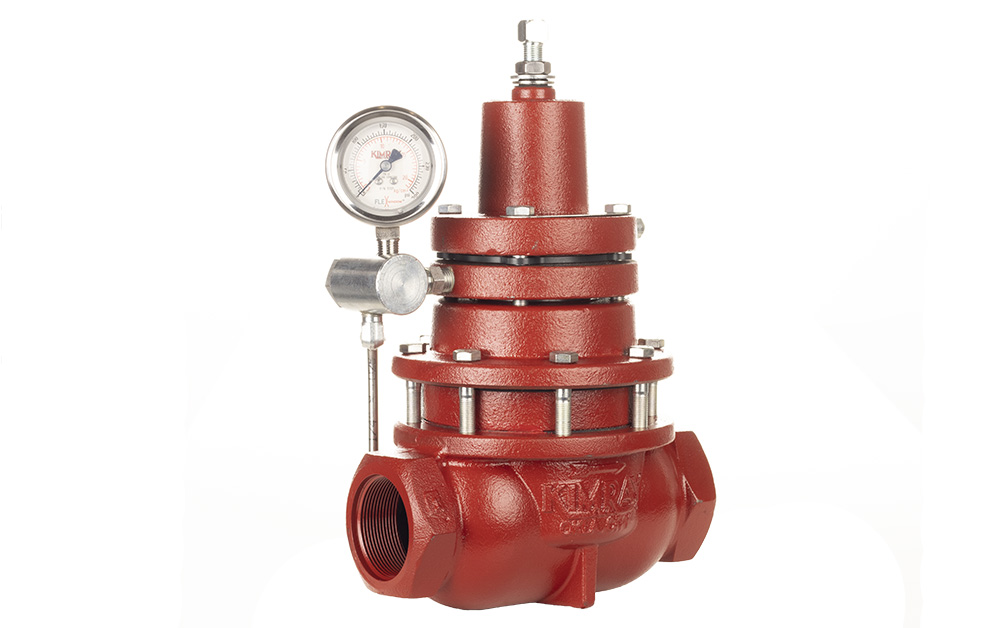
- Electric Low Pressure Valve with RTD Board
Step-by-Step Set Up for Temperature Control
- If it’s new, your screen will say undefined. If it’s been used before you’ll need to reset the opilot by holding up and down buttons for 5 seconds to reset the setting.
- From the home screen, toggle to your Sensor Type. We’ll use Temperature.
- Press select.
- Choose unit of temperature.
- Press select.
- Use the up and down buttons to choose your maximum set point.
- Press select.
- Use the up and down buttons to choose your minimum set point.
- Press select.
- Now choose application. We will use High Limit.
- Press select.
- Now choose your high limit set value. We’re using 450 degrees.
- Now choose run mode.
- Press select.
Now your valve is set up for temperature control.
How to set up the electric pilot for SUCTION CONTROL
Let’s say you want to use it for Suction Control.
Our goal here is to control the pressure downstream of our valve.
Here’s what you’ll need:
- Electric Pilot
- Pressure Transducer
- Electric Actuator
- Valve Body
Step-by-Step Set Up for Suction Control
- Use the up button to toggle through sensor type until you get to Pressure.
- Press select.
- Use the up and down buttons to toggle through the units of pressure. Choose your unit, KPA or PSI.
- Press select.
- Choose your sensor maximum.
- Press select.
- Choose your sensor minimum.
- Press select.
- Use up and down buttons to toggle to application: For suction control it will be PR Reducing.
- Choose your set point.
- Press select.
- From this point, move your mode into manual.
- Press select.
- Use your up and down buttons to move open the value until you are about 5-10% below your set point. So if your set point is 800 pounds, 10% is 80. Subtracted from 800 = 720.
- Press select.
- Now choose autotune.
- Press select
The pilot will now take over your suction control.
How to set up the electric pilot for BACK PRESSURE
Let’s say you want to use it for Back Pressure. Our goal in this application is to keep pressure on a separator so it can dump fluids at the appropriate rate.
Here’s what you’ll need:
- Electric Pilot
- Pressure Transducer
- Electric Actuator
- Valve Body
Step-by-Step Set Up for Back Pressure
- Use the up button to toggle through sensor type until you get to Pressure.
- Press the up button.
- Use the up button to select unit of pressure.
- Press select.
- Use the up and down buttons to select the sensor maximum.
- Press select.
- Use the up and down buttons to select the sensor minimum.
- Press select.
- Applications will now appear on the screen. Toggle through until you reach Back Pressure.
- Press select.
- Toggle up or down to select your Set Value.
- Press select.
- Toggle to autotune.
- In back pressure applications, you do not need to manually adjust the valve before autotune, since the sensor is on the upstream side and already pressurized.
- Press Select.
Now your valve is set up to hold back pressure.
How to set up the electric pilot as a TIMER
Now we want use the Electric Pilot exclusively as a timer.
Our goal in this application is to signal an electric actuator to open and close a control valve fully at specific set intervals.
Here’s what you’ll need:
- Electric Pilot
- Electric Actuator
- Valve Body
Note: This uses discrete on/off communication, so no sensor is needed.
Step-by-Step Set Up for Timer
- Use the up and down buttons to toggle to Timer Only.
- Press select.
- Set the hold open time with the up or down button. The values are here are in quarter of an hour. The screen shows this in decimal points. For instance, “.25” equals 15 minutes; ".50" equals 30 minutes, and so on.
- Press select.
- Use the up and down buttons to set the hold close time.
- Press select.
- Set your mode to run.
- Press select.
Now your pilot is set to signal the actuator to open and close the valve at these timed intervals.
How to set up the electric pilot for FLOW CONTROL
Now let’s use it for Flow Control.
Our goal in this application is to keep the flow rate consistent across an orifice for measurement.
Here’s what you’ll need:
- Electric Pilot
- Flow Meter
- Electric Actuator
- Valve Body
Step-by-Step Set Up for Flow Control
- Toggle through Sensor Types to Flow.
- Press select.
- Use up or down buttons to choose units. In this instance, we’ll select gallons per minute.
- Press select.
- Use the up and own buttons to select sensor maximum.
- Press select.
- Use the up and down buttons to select sensor minimum.
- Press select.
- Toggle through applications until you reach either PID direct or indirect. We will use indirect for this.
- Press select.
- Toggle up or down to choose your Set Value.
- Press select.
- Now choose manual.
- Press select.
- Run your CO% up until you get 5-10% of your set point.
- Press select twice.
- Now choose autotune.
- Press select.
We have an array of smart products designed to help you improve your efficiency and lower your emissions. Check out kimray.com/emissions to learn more.